


Hello!
This is my new build, and it´s the Harrier! It has been on my build list for some time and now the time has come! The Harrier is one of the most fascinated aircraft i know, and is the USMC´s trusted war horse along with the F-18 Super Hornet! It must be a big satisfaction for the Marines on the ground to have this aircraft in the sky, fully bombed up, waiting for your phone call! The Hasegawa kit has two options for you to build! The first one is VMA-513 "Flying Nightmare" witch is the one i´m going to build! The other one is VMA-214 "Black Sheep"! Both are commander aircraft! I will build the Harrier with a full PE set from Eduard!
Build contents!
Hasegawa AV-8B Harrier 2Plus VMA-513 "Flying Nightmares"
Kit no: 09815
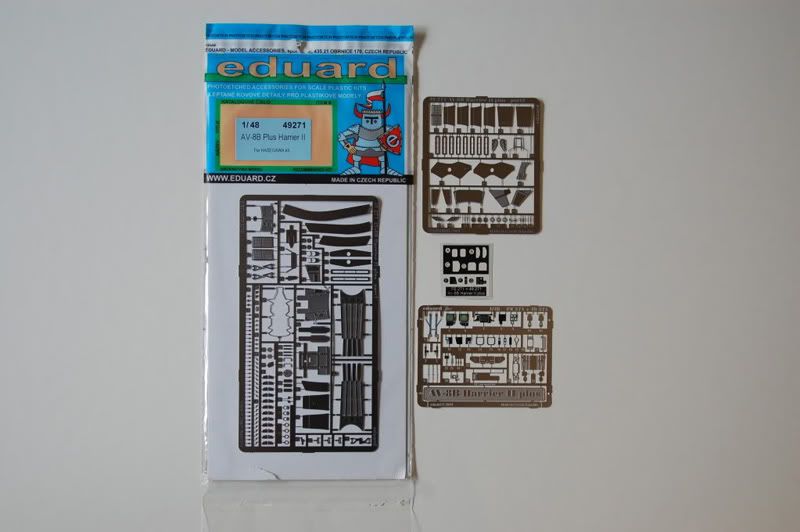
Eduard PE set for AV-8B Harrier 2PLUS
Item no: 49271
Vallejo Colors for main camouflage:
047 US Grey (topsides)
049 Medium Sea Grey (topsides)
050 Light Gray (undersides)
Tamiya Colors:
XF-8 Flat Blue (for the fin) Closest match i could find!
The rest of the aircraft will be painted with various colors from Vallejo, Tamiya and Gunze color range! Also there will be some scratch building an corrections!

Here are some pics of the box top and Eduard PE set!
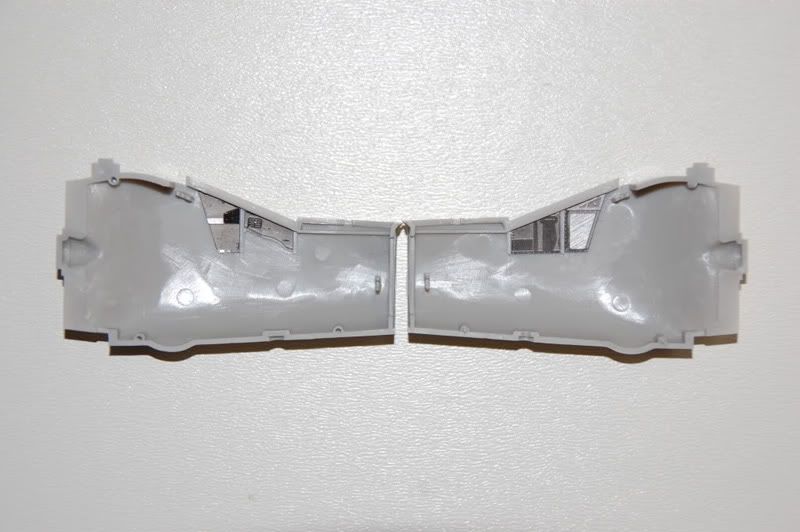
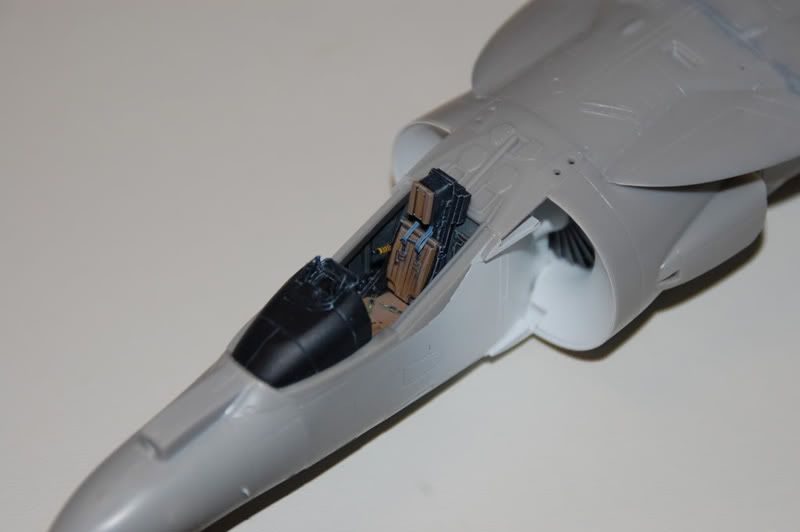
There are a lot of PE to fiddle with, some pics on cockpit tub, ejection seat and cockpit sidewalls!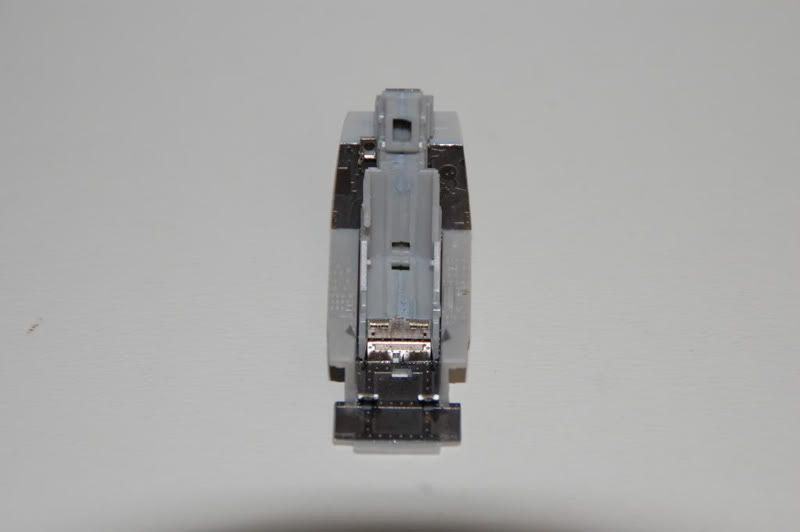
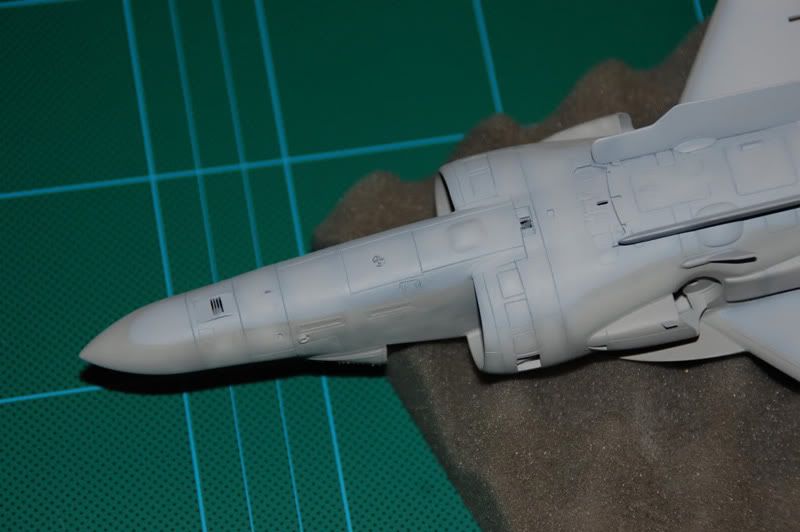
It´s a little tricky to assemble the fuselage, its made up of three parts instead the usual two! There are two sides and one bottom part! Lot of dry fitting is the key to achieve a good fit! Be patient!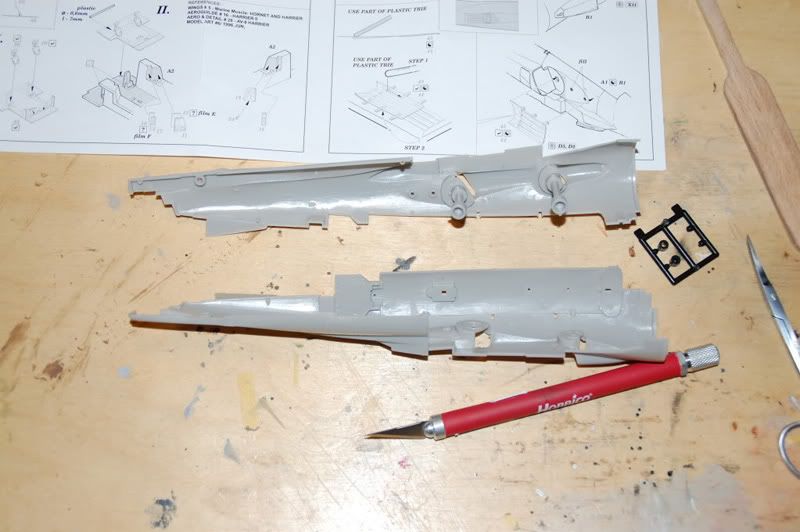

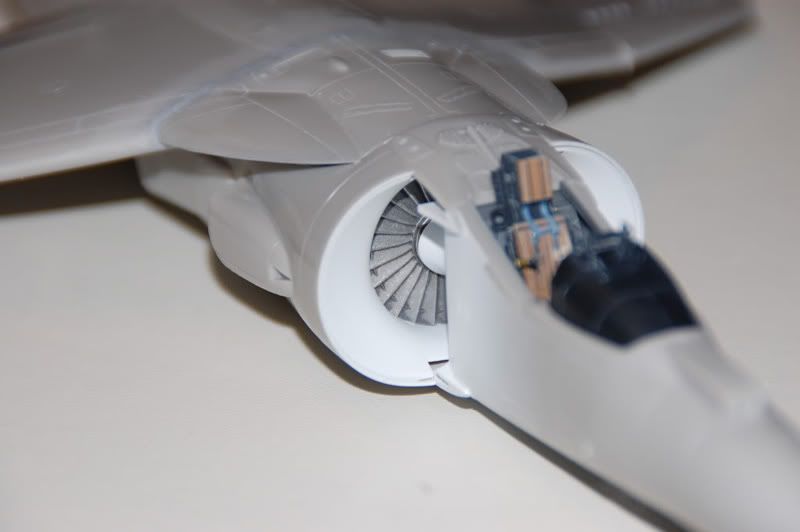
The fuselage assembled and the big fan of the Pegasus engine is in place!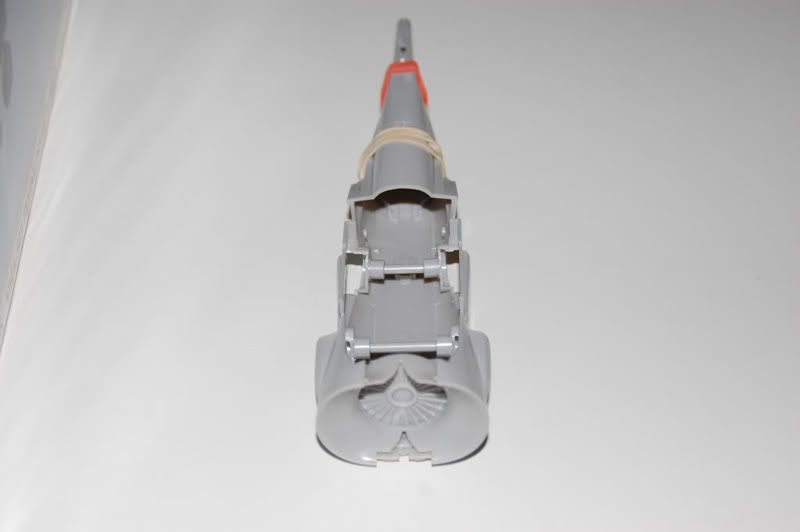
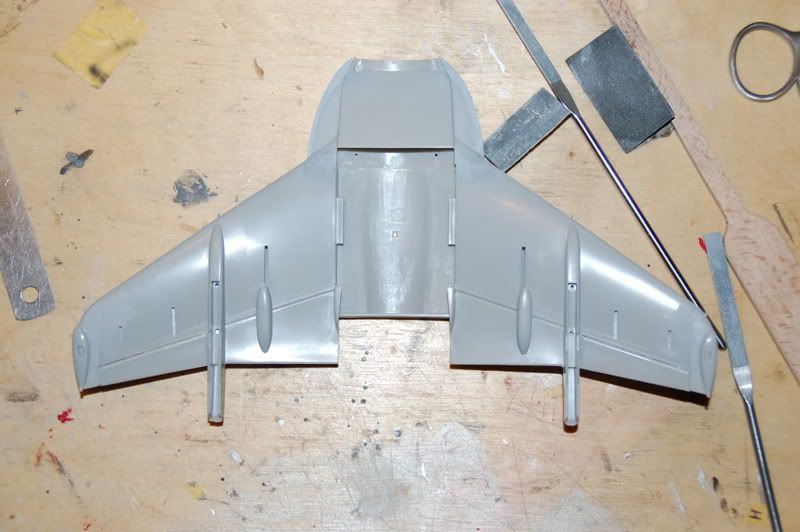
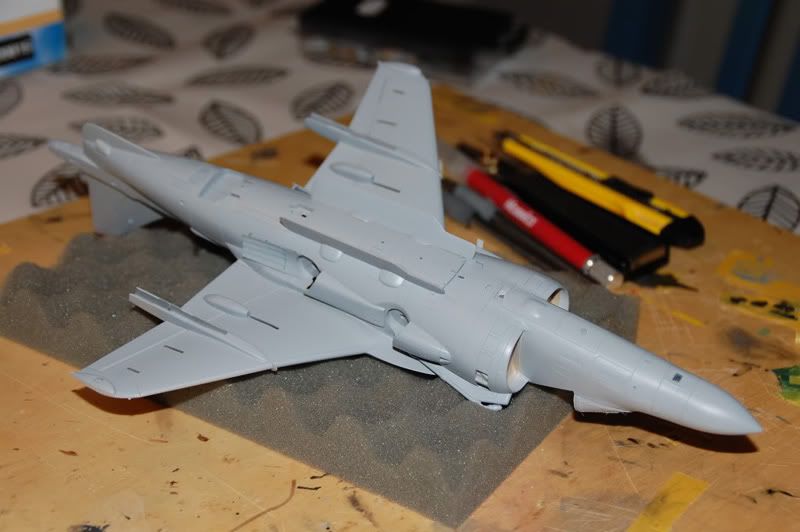
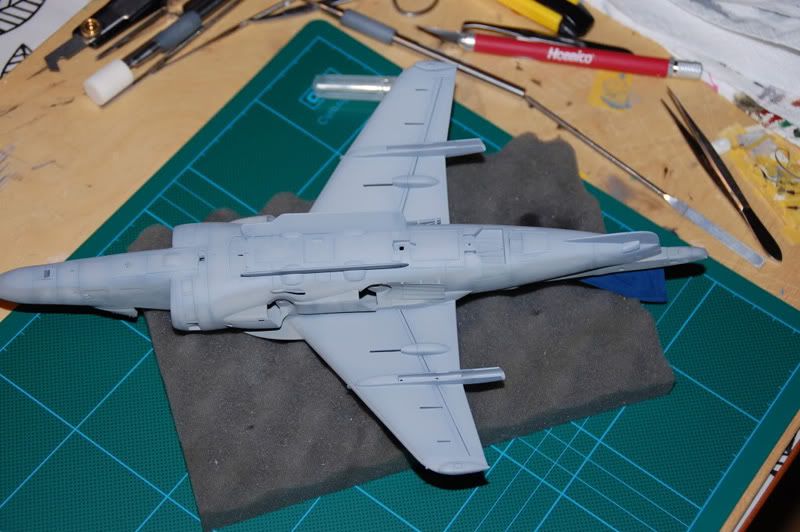
One difficult part of the build is to get a good fit of the wing section! I will try to do it like Phil did in his GR.7 build! assembled upper section of the wing first to achieve a good fit!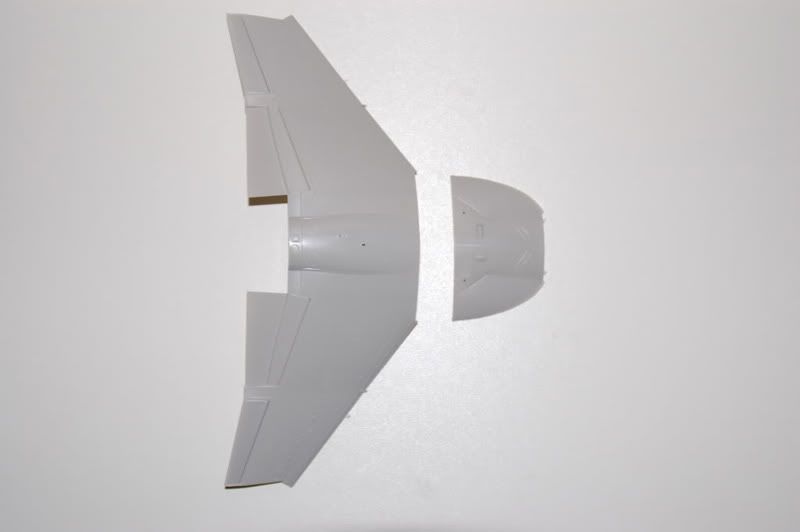
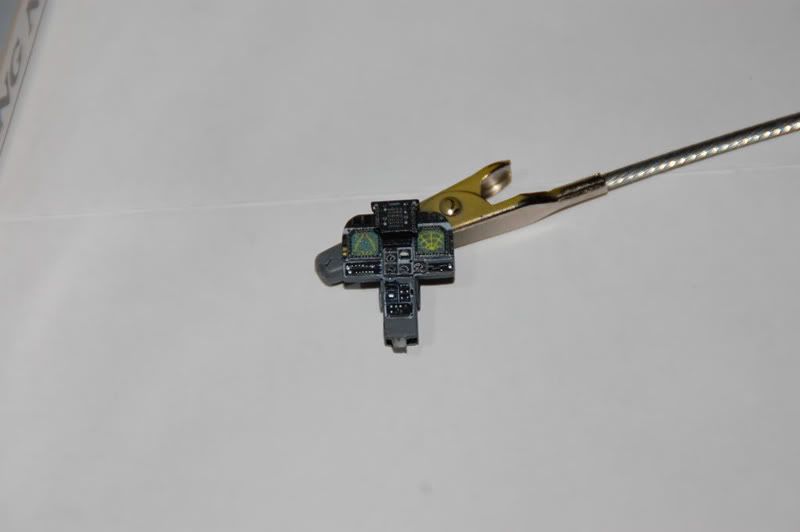
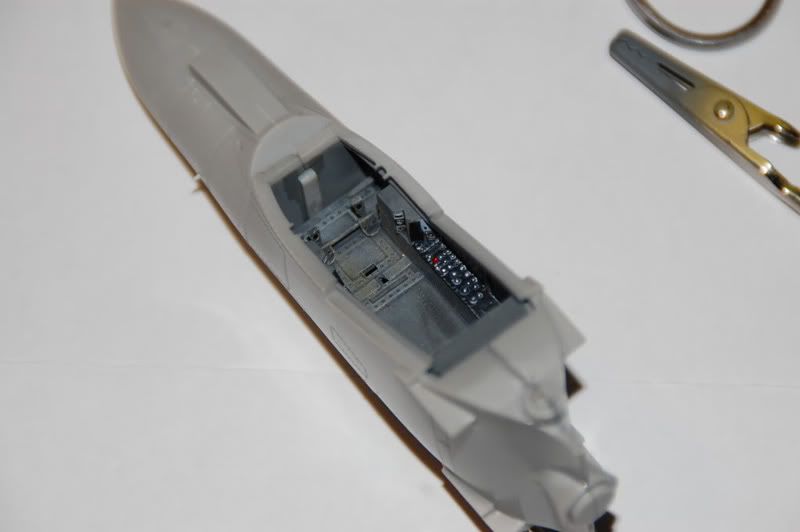
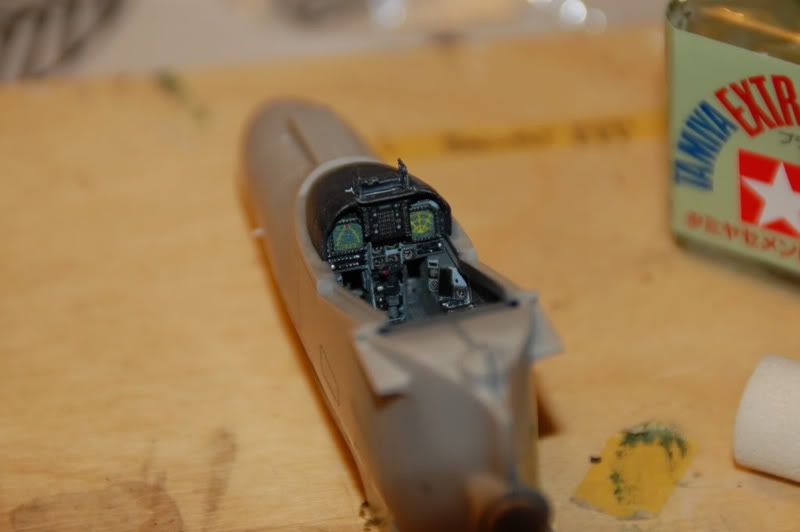
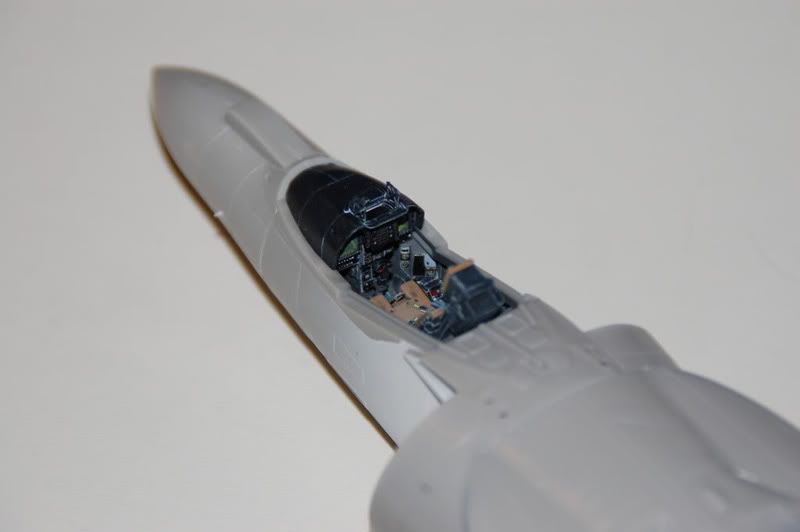
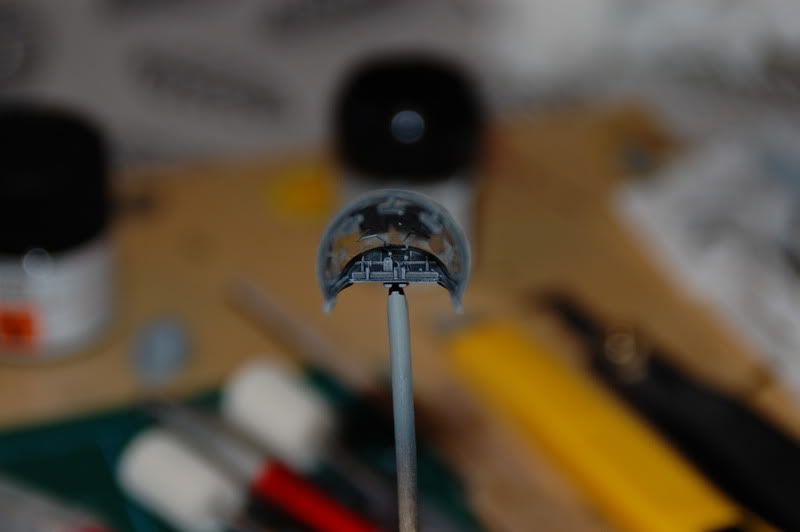
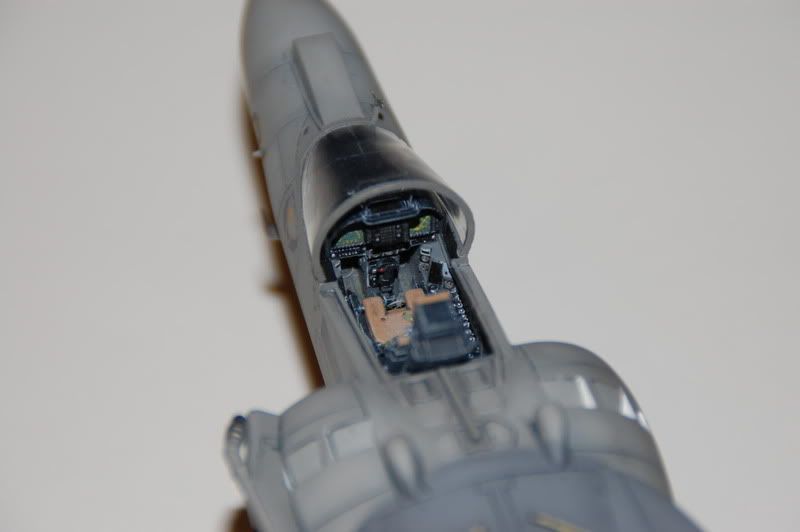
This time i have assembled the cockpit with all the PE that should be everywhere in the cockpit, it`s pretty time consuming to work with PE compared to the resin counterpart, and then it was all painted up and weathered! I think i managed the get a decent looking cockpit out of it anyway! Also i have built the entire wing section as a separate part, in other words i didn´t do it like the instructions tell you to do it! I did this to get all parts of the wing to line up with each other, after that i attached it to the fuselage, witch was a little bit tricky! I have painted the intake an the large fan of the Rolls Royce Pegasus Engine! It was a lot of masking job to do on the fan blades! The nose section has been glued in place! Now to the pictures!
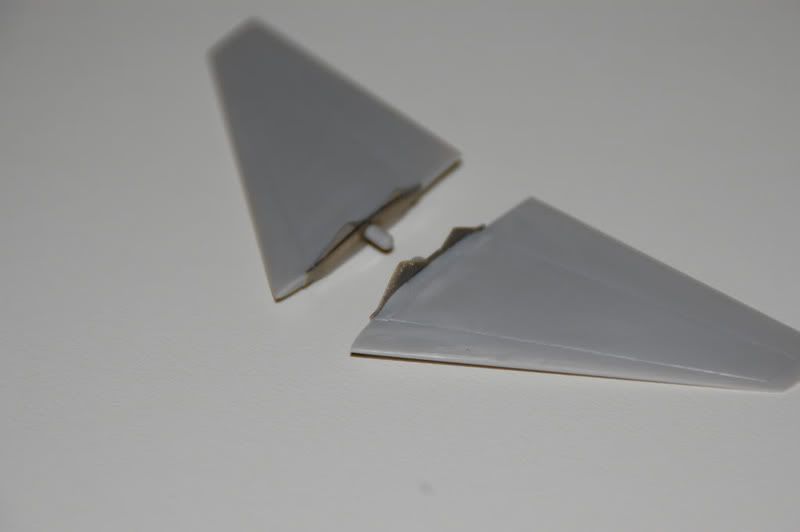
The wing halves is glued and all clamped up left to dry! Pics of the complete wing section, topside and downside! Some re-scribing to do!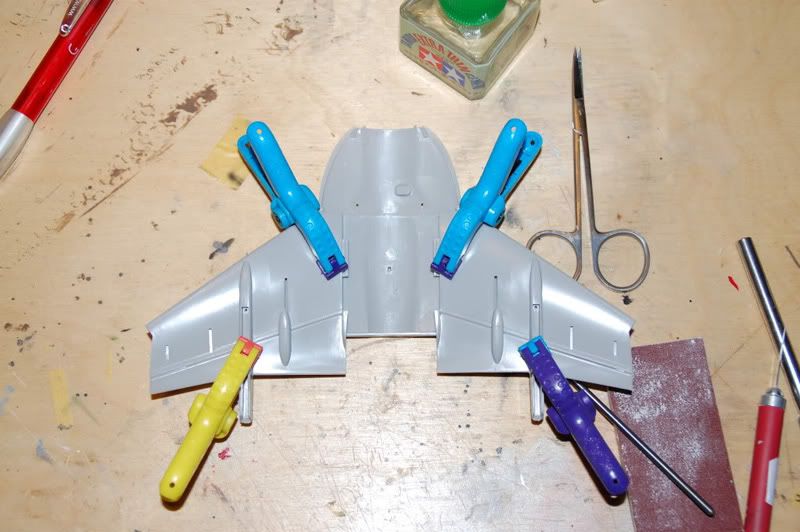

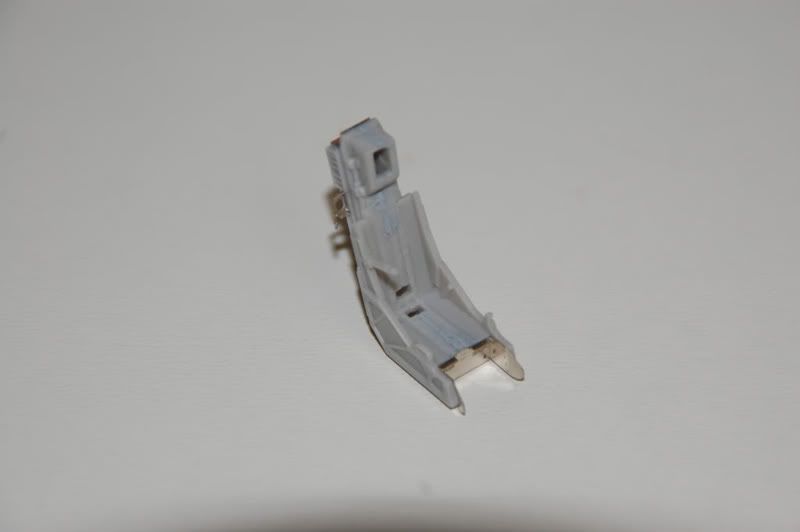
All of the cockpit parts have been painted and weathered, then it all goes together to form the separate nose part! This was very straight forward and no big fit issues!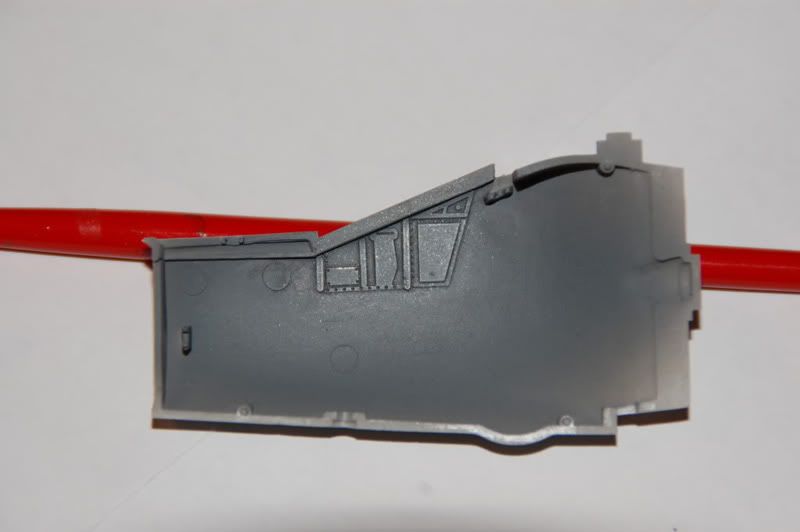
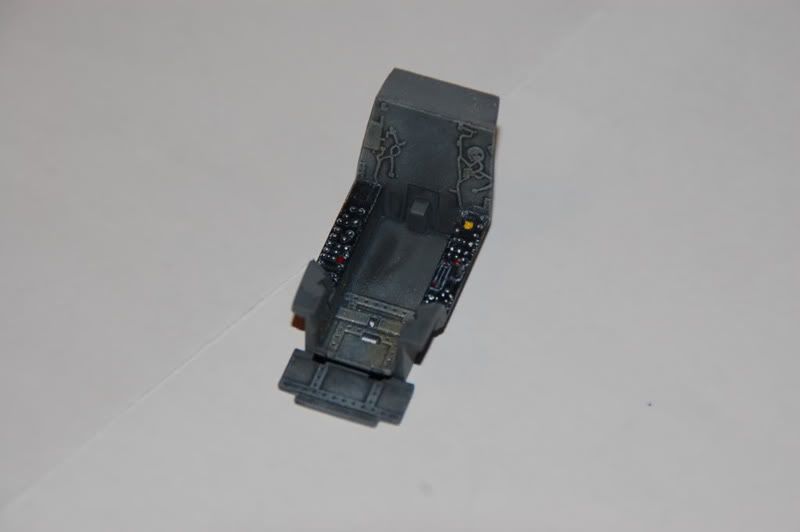


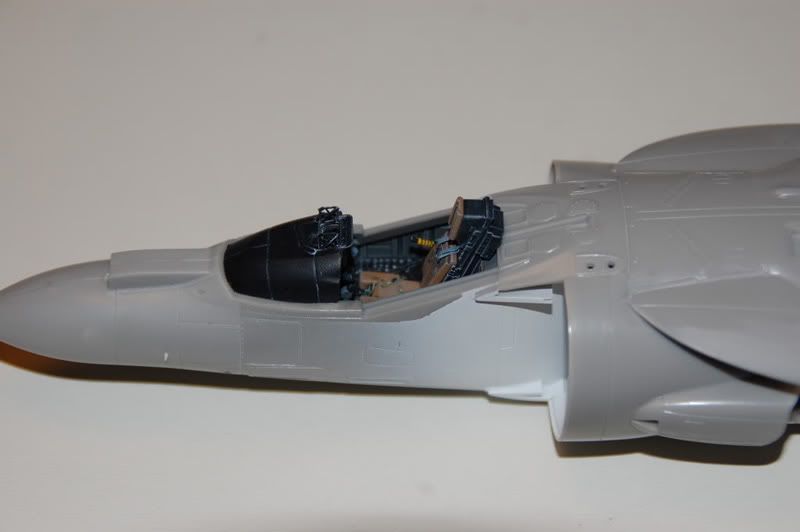
The cockpit tub in place between nose halves and then the rest of the bits and pieces has gone in to form an almost complete cockpit!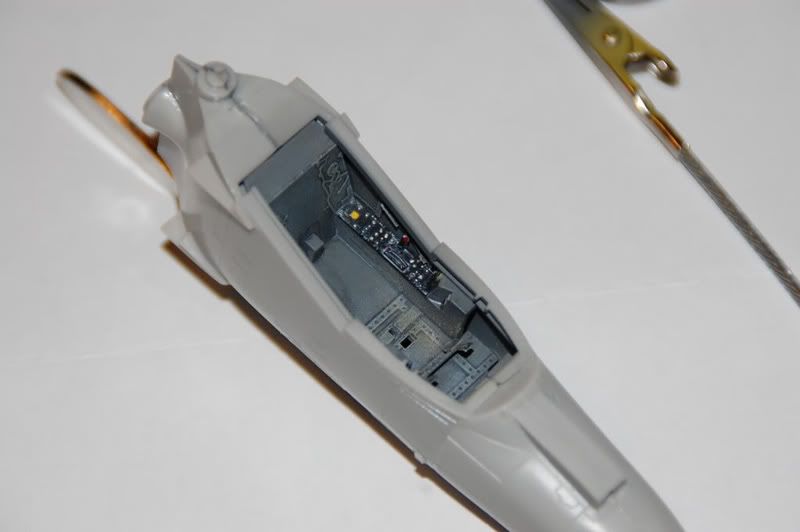

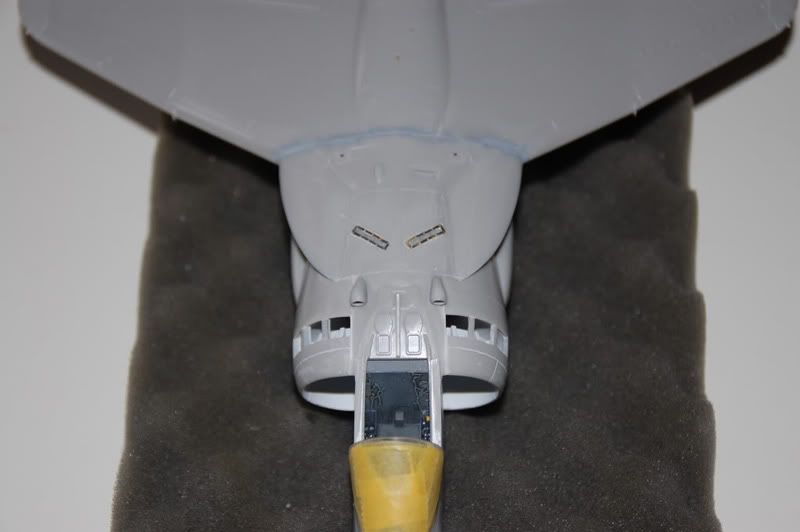
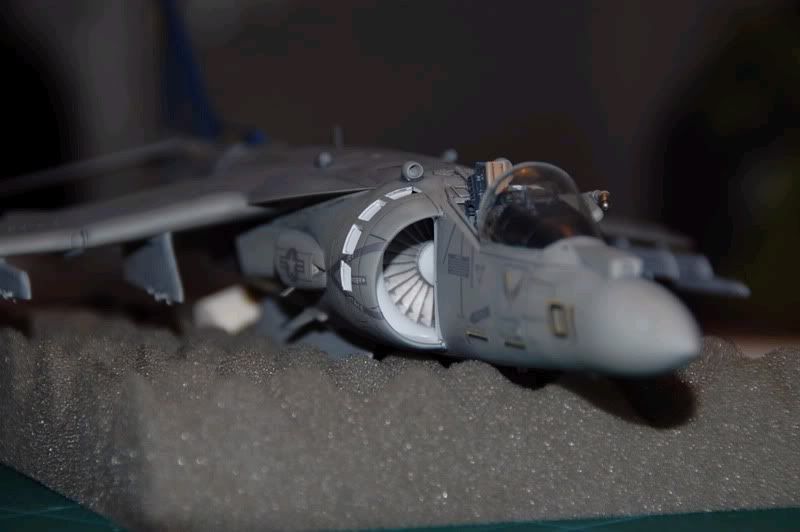
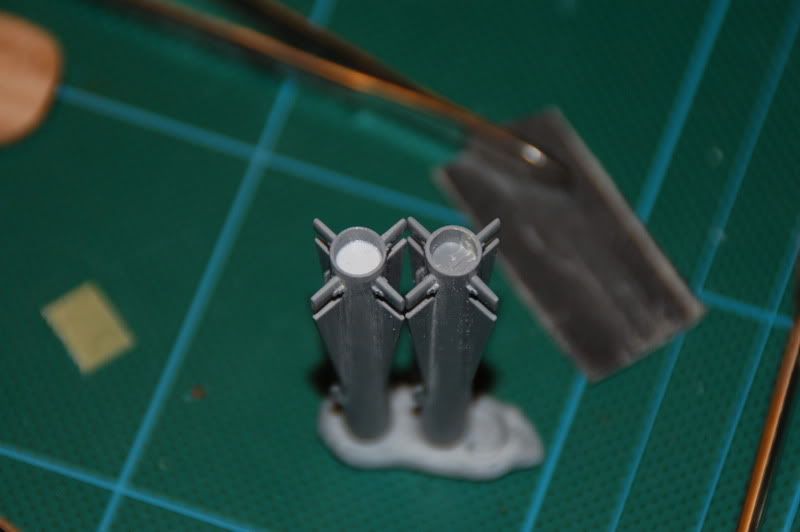
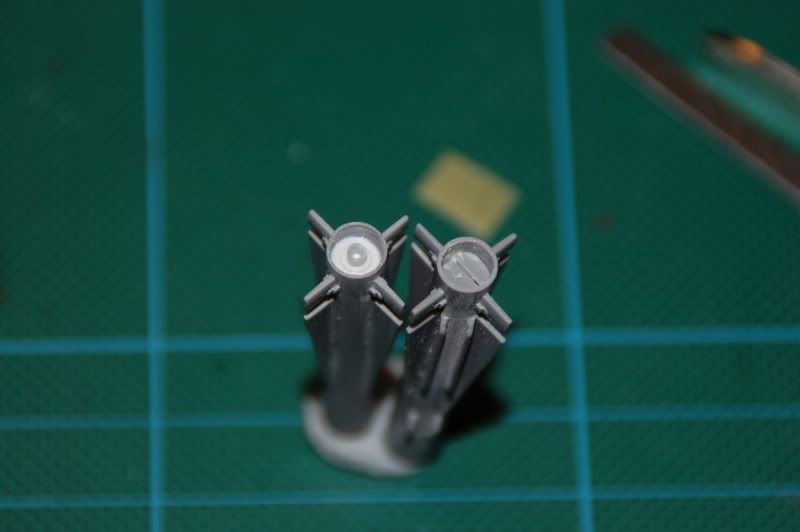
This is the really big fan of the Pegasus engine! I have painted it with Citadel bolt gun color and then given it a little shade in the deep areas with Promodellers dark wash, followed by a subtle dry brushing with Humbrol silver (11) i think it works very well for that job! The surrounding areas of the intake was painted with Citadel Skull White, superb white paint, you really get a white paint job with this one in just a few sprays with the airbrush, and that is without a primed surface, just straight on the plastic! Love this white paint!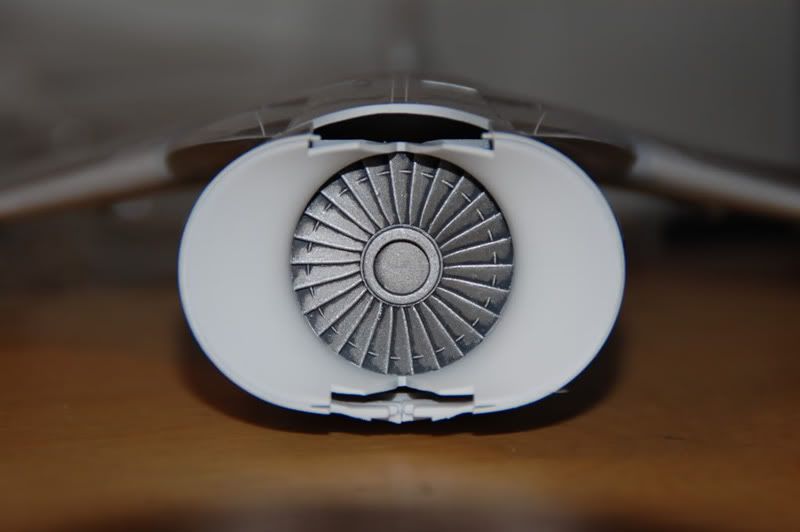
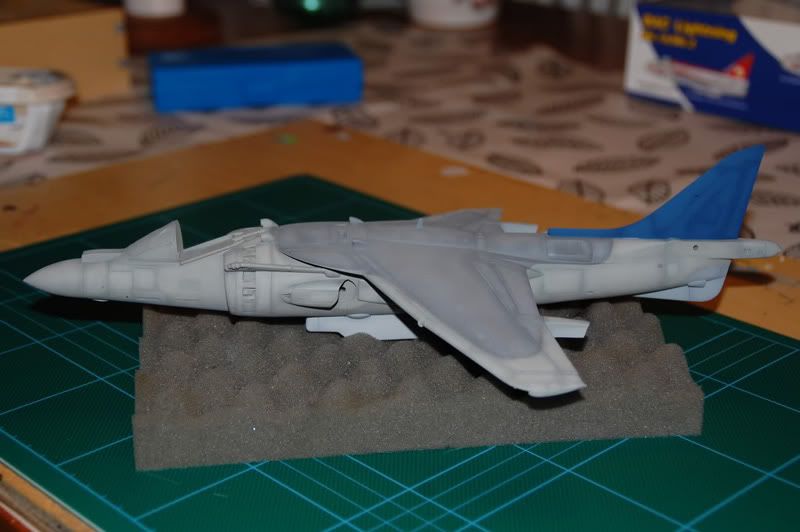
Now on this picture it starts to look like a Harrier! One thing i forgot to mention earlier, is when attaching the wing part it require alot of sanding and dry fitting especially on the front part of the wing section (close to the cockpit) to make it sit properly! Hope i make some sense out of it?!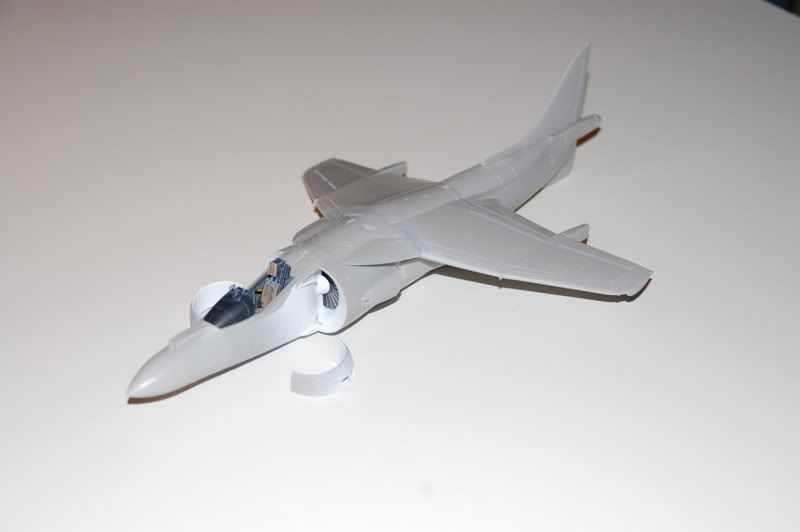
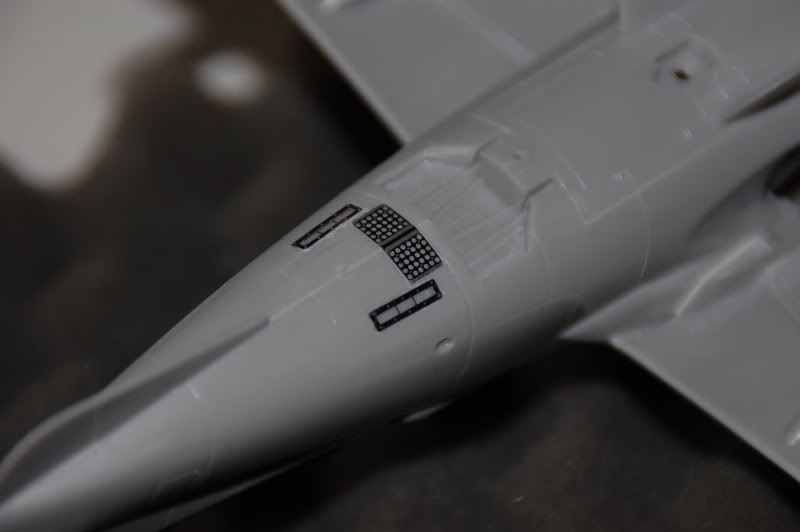
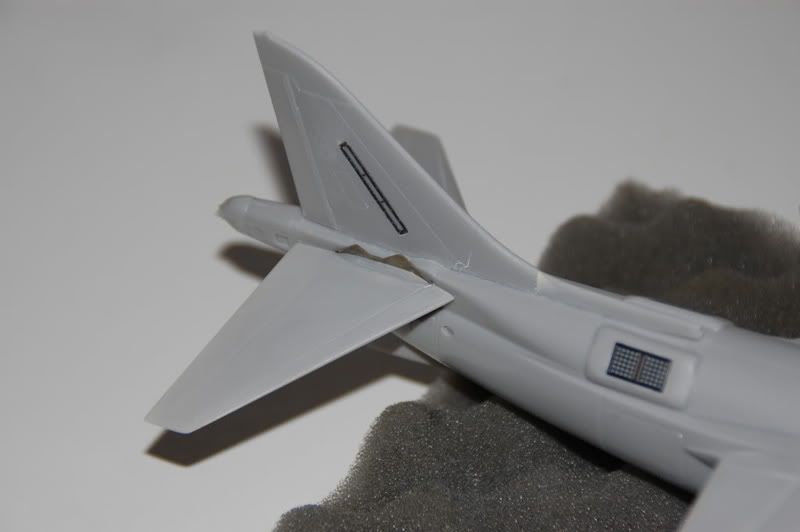
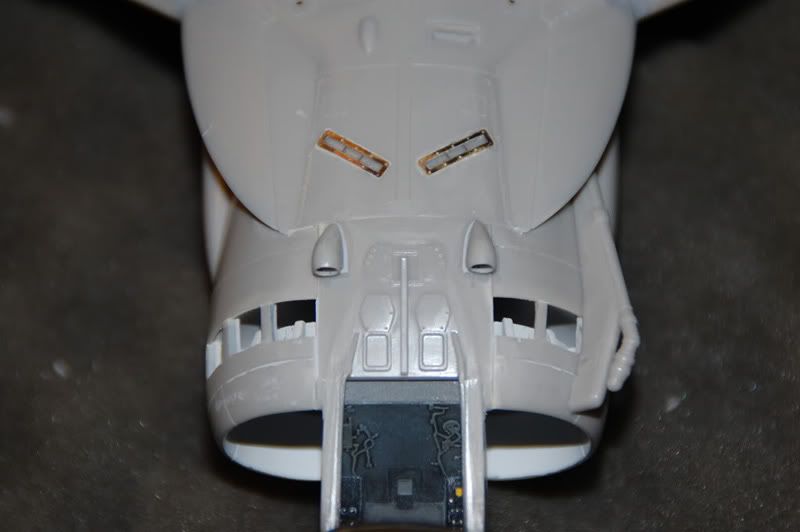
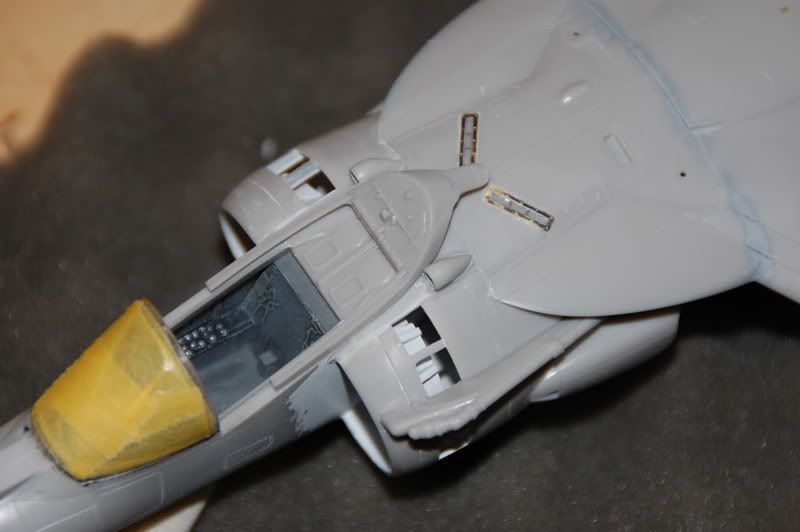
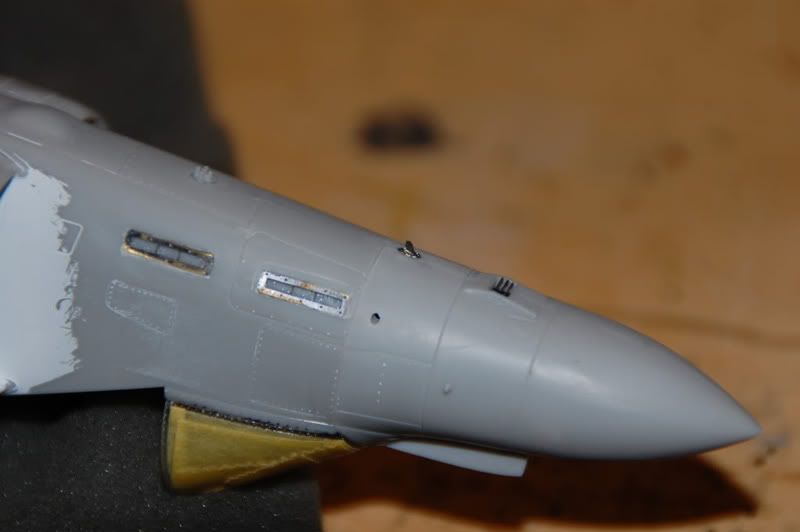
This time i have worked on the exterior PE parts, such as position lights, flare units and some other bits! Time consuming work to get the position lights PE frames reccesed in to the airframe! But it looks very nice when it´s done...i think so anyway!
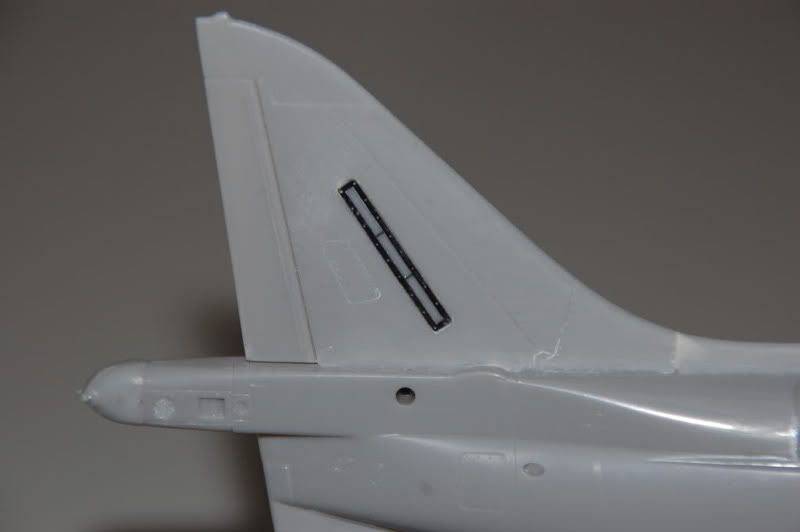
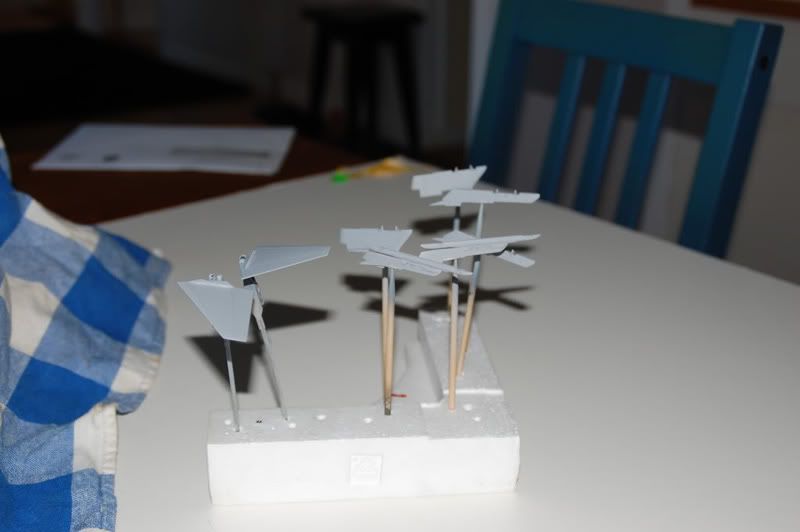
Here are some photos on the tail wings with it´s PE parts in position! I have dry fitted them for the photos, but i will leave them of during painting stage, because it´s hard to paint around the PE parts!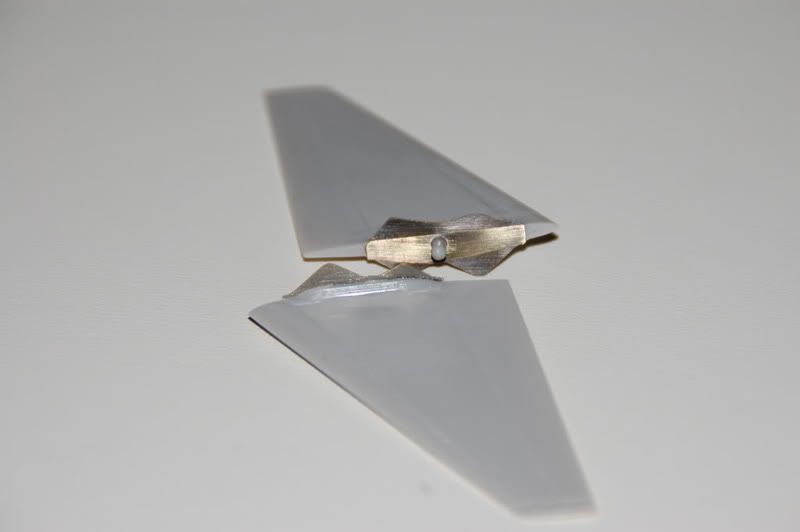

I have more PE for the exterior to put on, the PE parts for the deflection shields to the exhausts and a bunch of other small fiddly parts! Time to work... want to get to the painting stage!
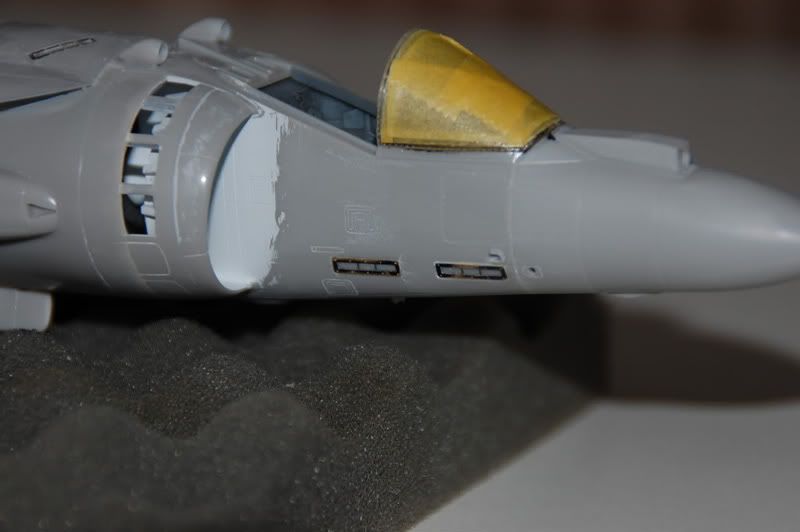
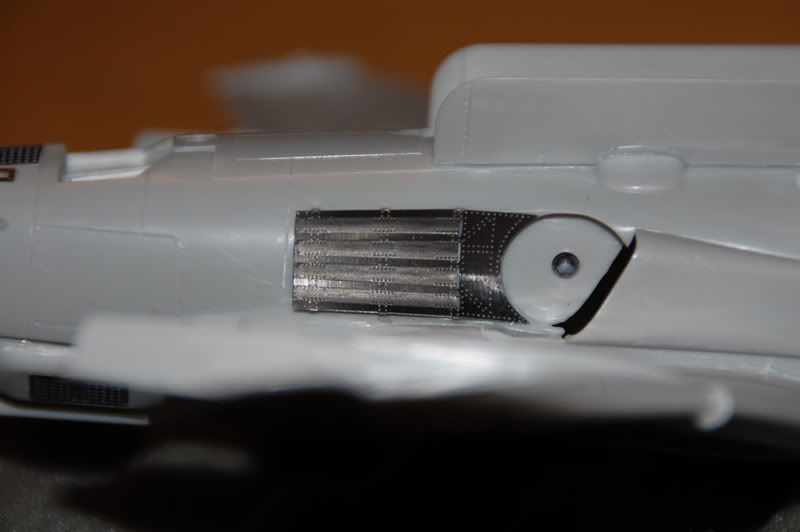
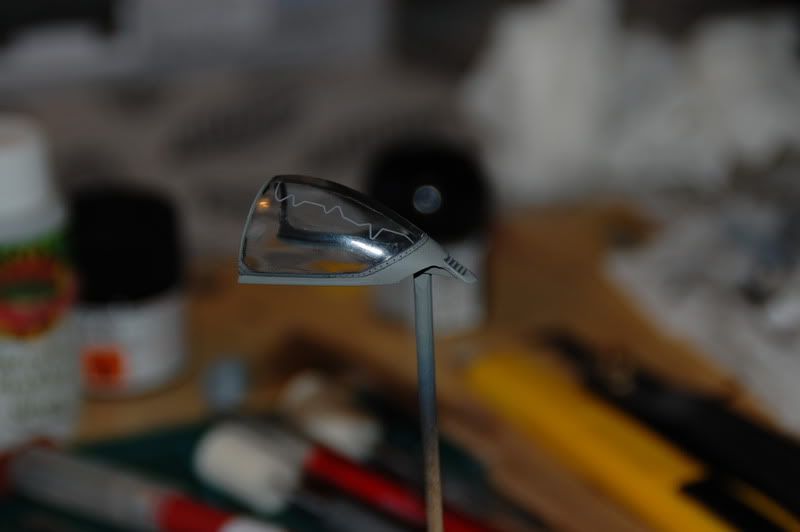
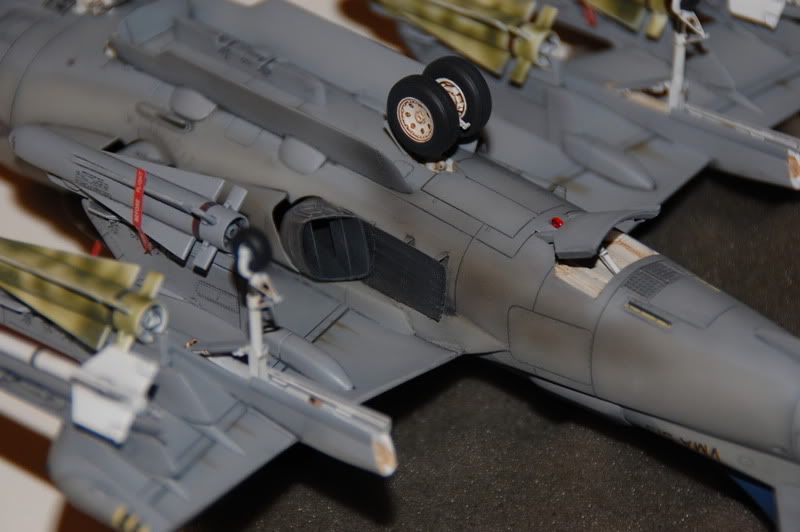
During my last build session i discovered a problem with the intake on the topside near the canopy! the space between them are to narrow so you won´t be able slide the canopy back to show it in the open position! Don´t really know what´s wrong with it, but my solution to the problem is to sand off the original plate under the intake on the fuselage and make new ones of styrene, with greater distance between the intakes! And i also sanded a little bit on the back end of the canopy frame! I have looked at many reference photos of the real thing to see if the intakes are on the wrong position in the kit Harrier, but it´s hard to see! Maybe it´s the canopy and frame that´s too wide? Hope i make any sense of what i´m talk about!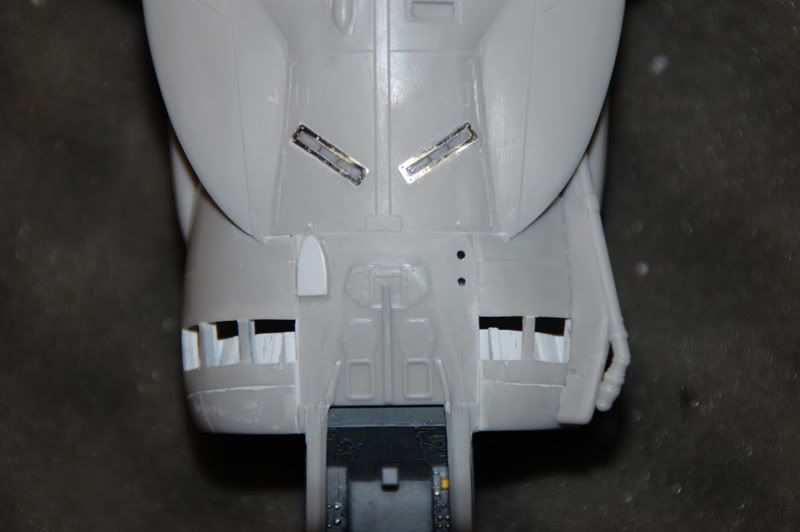

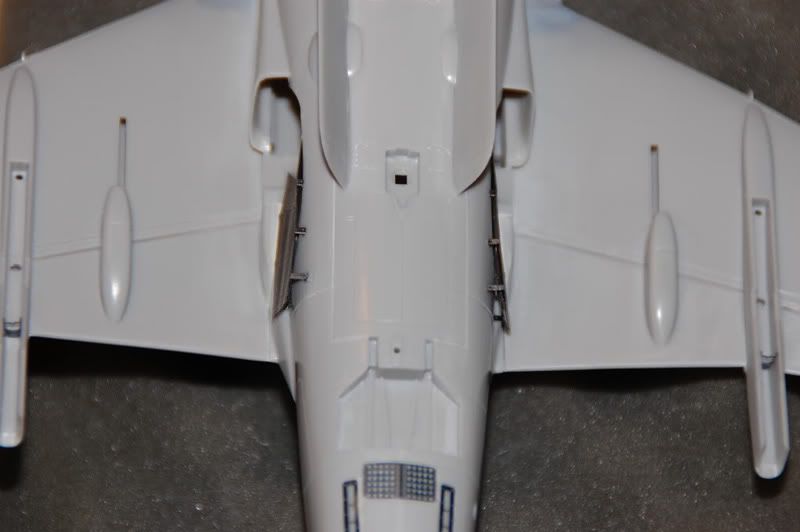
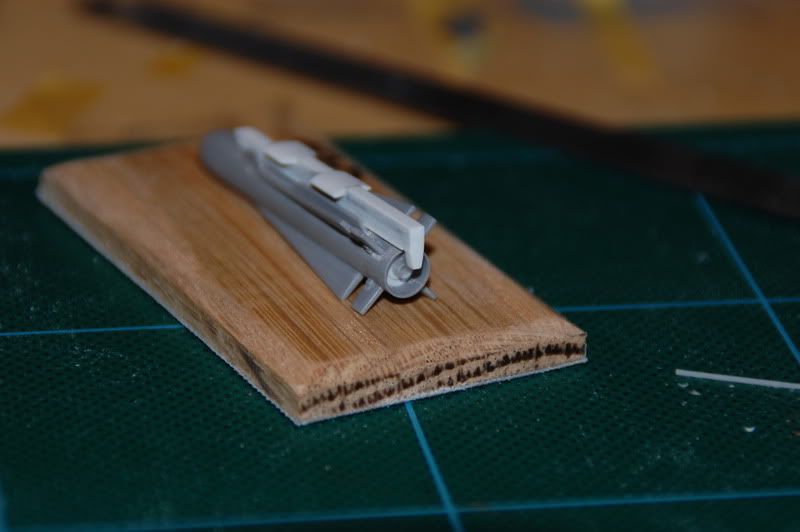
I have worked with the last PE parts on the exterior, pylons etc.
And i managed to prime the airframe and pylons! Soon the fun parts begins, PAINTING!!! I´m real tired of those PE parts right now!
The PE for heat shields/deflectors are in place! They look so much better than the kit parts! Don´t you think...?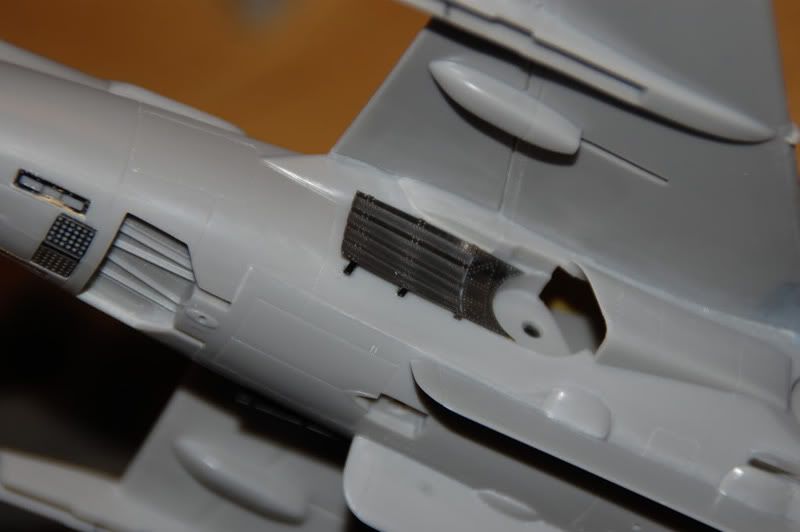

Some mixed PE parts! PE for the small nozzles and air vents in tail section! Also some PE in the nose!

Here are some photos the pylons with those darn PE pieces! They are so small and when you lose one they are lost forever! Think the carpet got some of them, the rest...must have gone in to orbit in space! Luckily, Eduard has provide plenty of spare ones though!

Airframe and pylons primed with Mr.Surfacer1000! Almost ready for painting stage! A few touch ups though!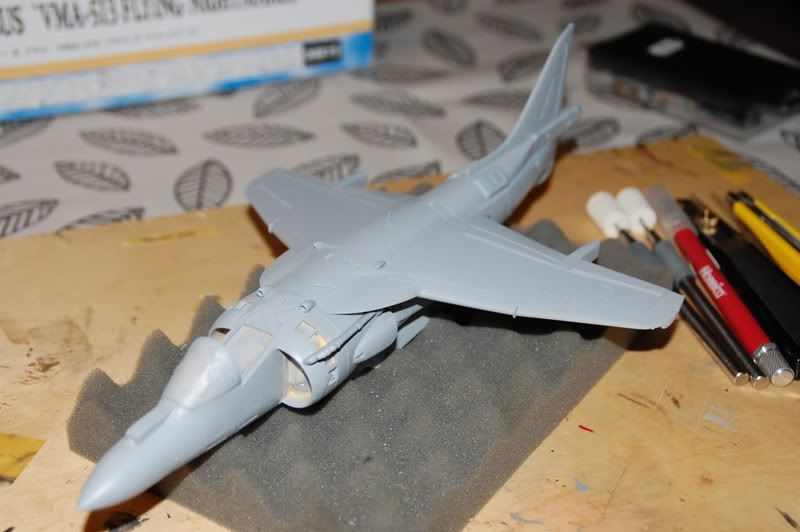


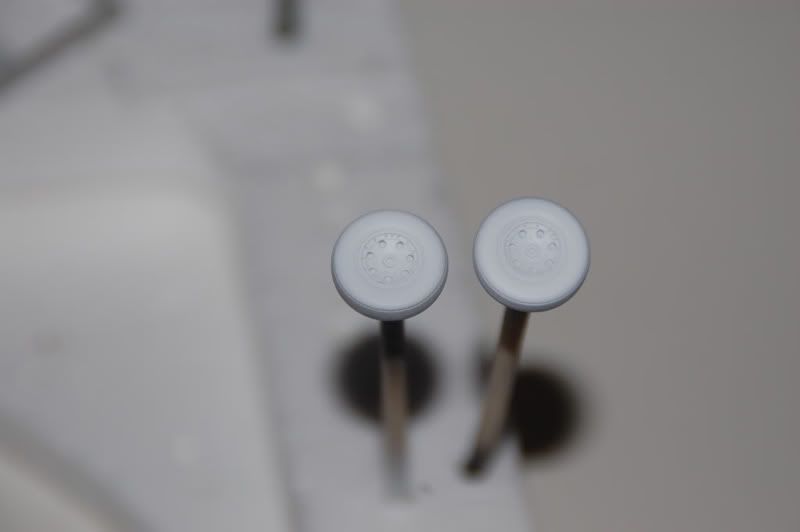
Canopy frame painted up! It should not be black on outside surface though! Also had to take a photo on the wheels to show how good coverage you get with Citadel Skull white! Unprimed wheels and just three light coats!
I have worked with more PE, this time on UC! It´s amazing how small pieces of metal can enhance the look and detail in a model! The PE never ends in this build, but once in place, it´s really worth the extra work! Think it looks great! Also i have started the painting stage! At last...nice to have a break from the metal work!
Photos of the UC below!

Paint process starts the same as it always do, with preshading....
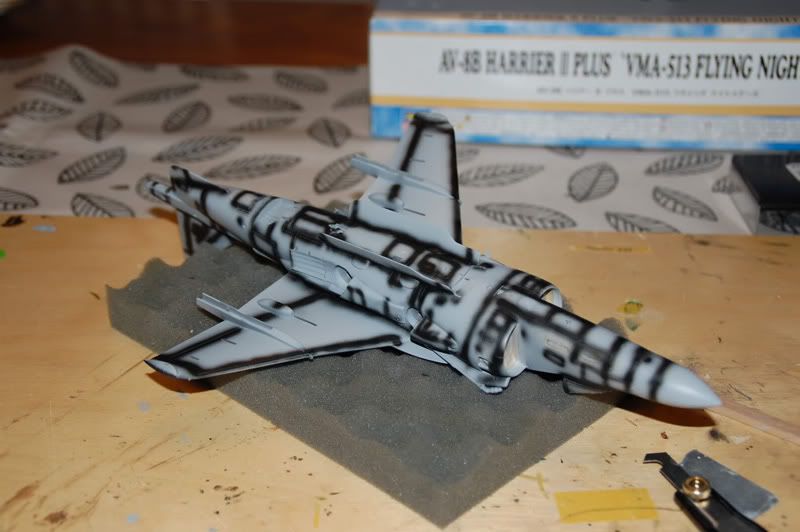
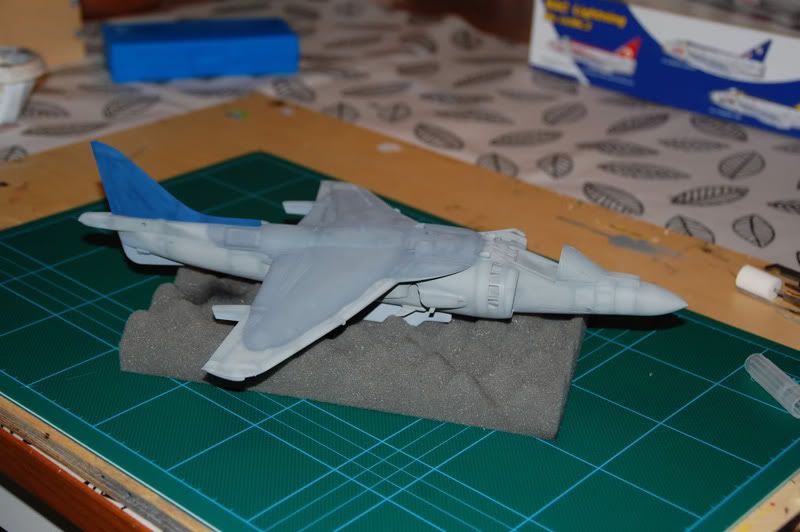
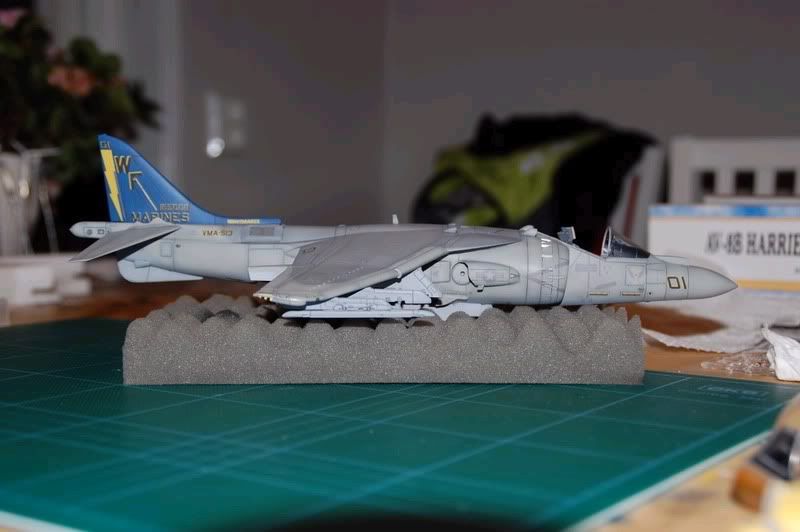
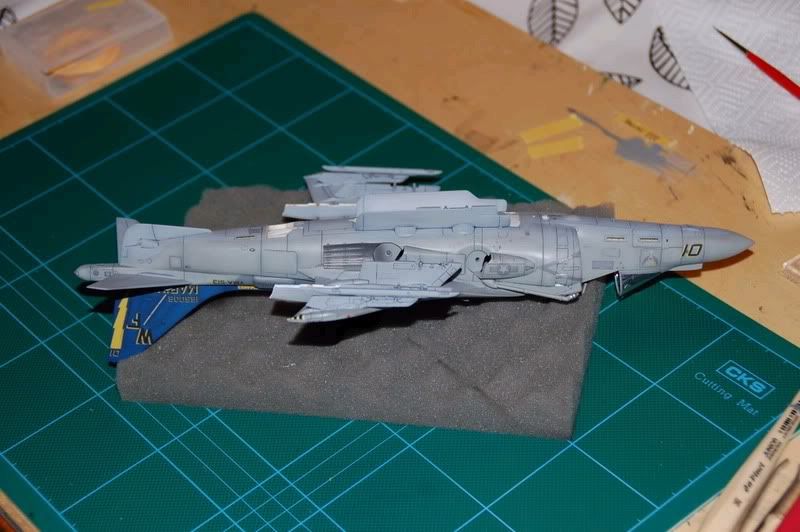
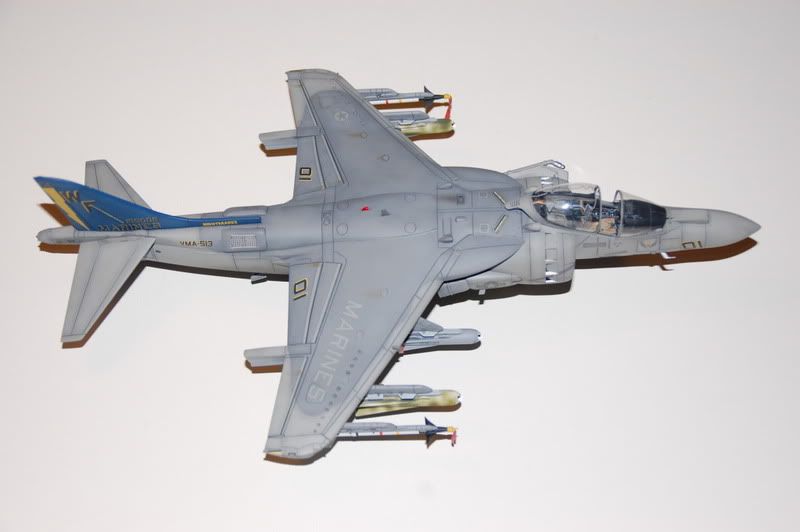
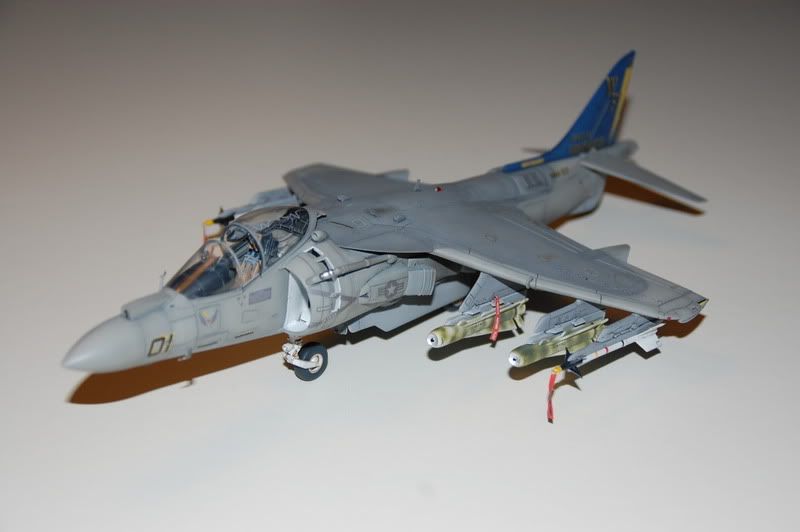
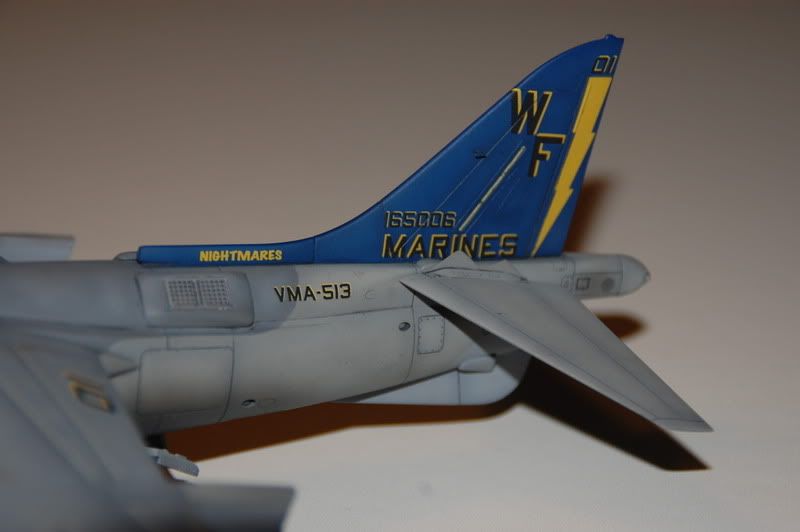
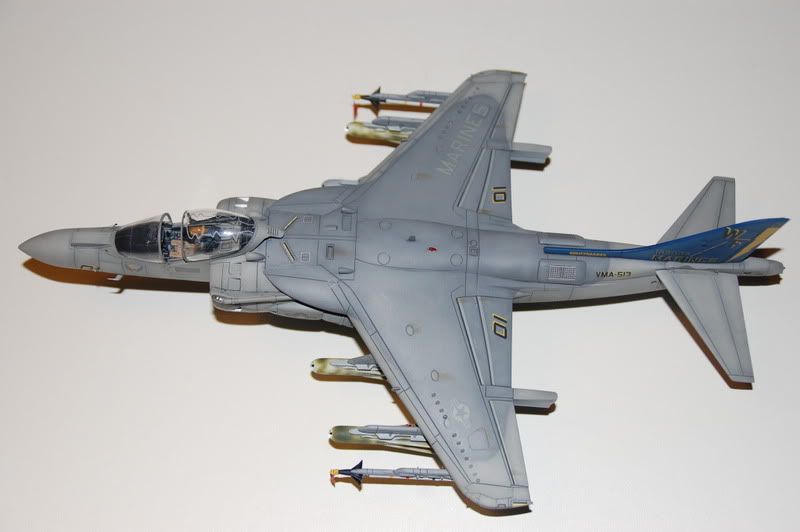
This time the AV-8B has gone thru the paint factory! It´s been painted in three shades of Grey's and the tail has received it´s blue color, witch is the sign of the Commander aircraft! It´s primed, preshaded, painted and postshaded! I have tried to not go overboard with the postshading on the underside of the fuselage, because the sun is not burning as much there! Also the tail fin received a subtle postshading, since i think the fin got it´s blue paint in a later stage of the Harriers career!
There is no Promodeller wash, pastels or oils on it yet, it´s just in it´s raw state now! The washes will bring it all together...i hope!
Paints used!
Vallejo
001 White
048 Dark Sea Grey
049 Medium Sea Grey
050 Light Grey
Tamiya
XF-1 Flat Black
XF-2 Flat White
XF-8 Flat Blue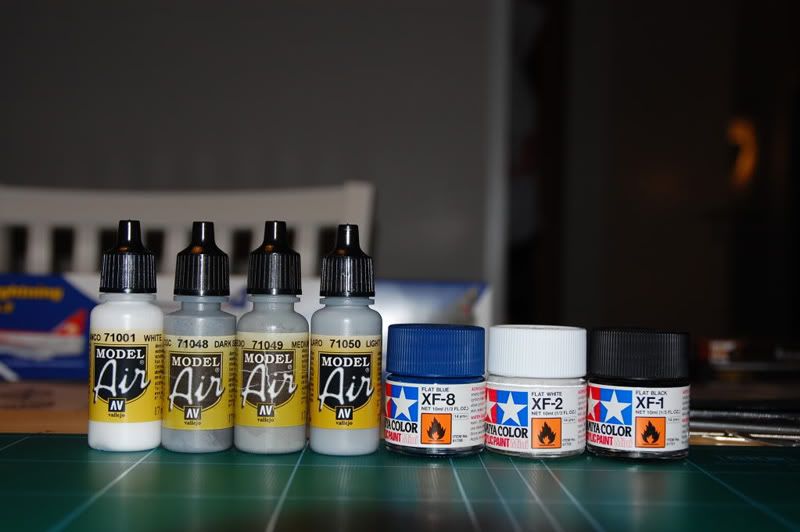

Maximus, our cat, looks that everything goes smoothly on the bench... at least he is awake, usually he sleeps on my tools, instructions! Just to make things a little harder!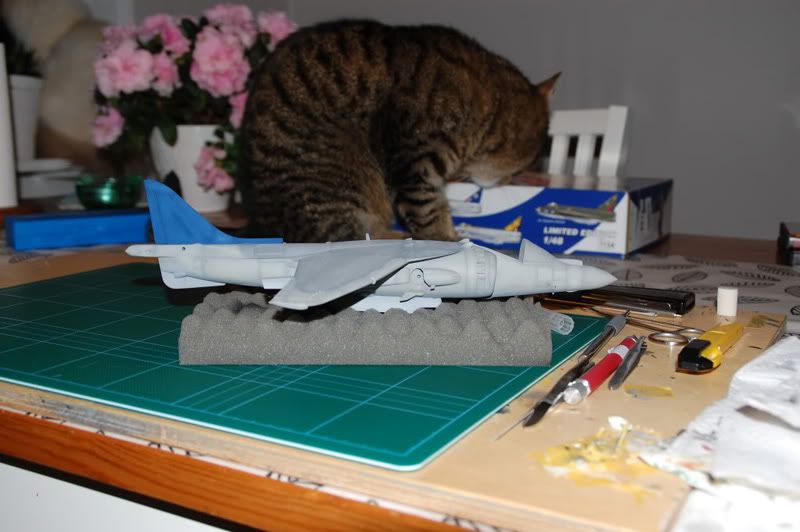


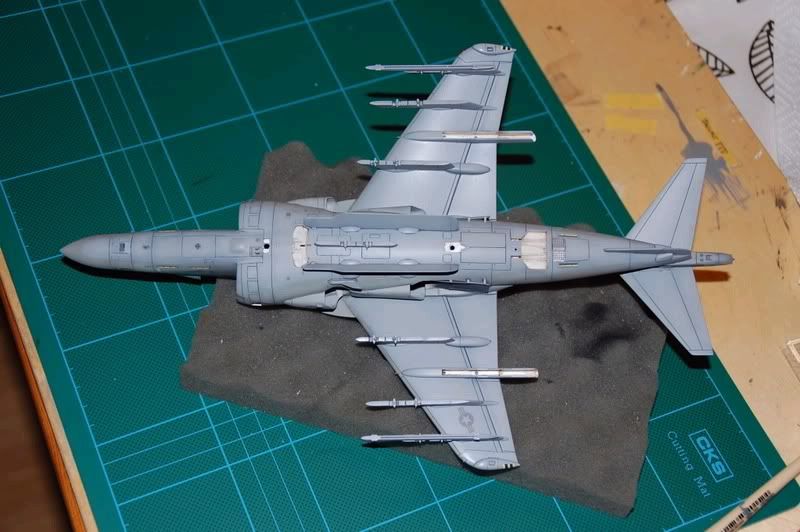
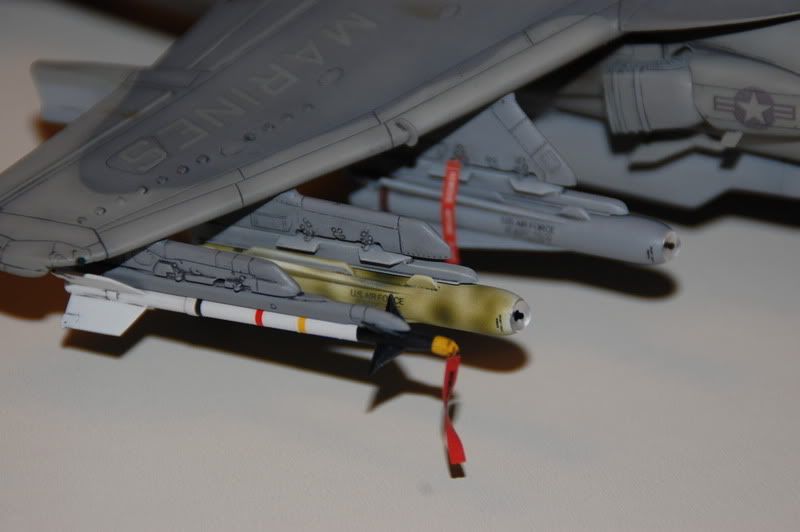
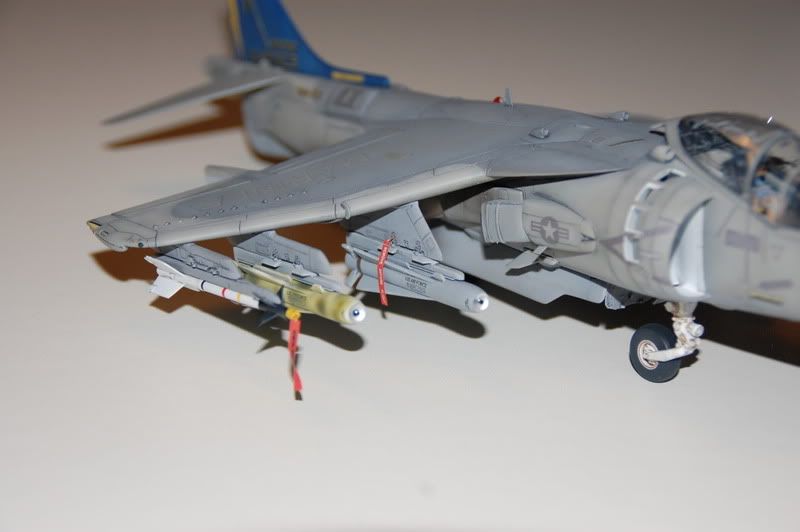
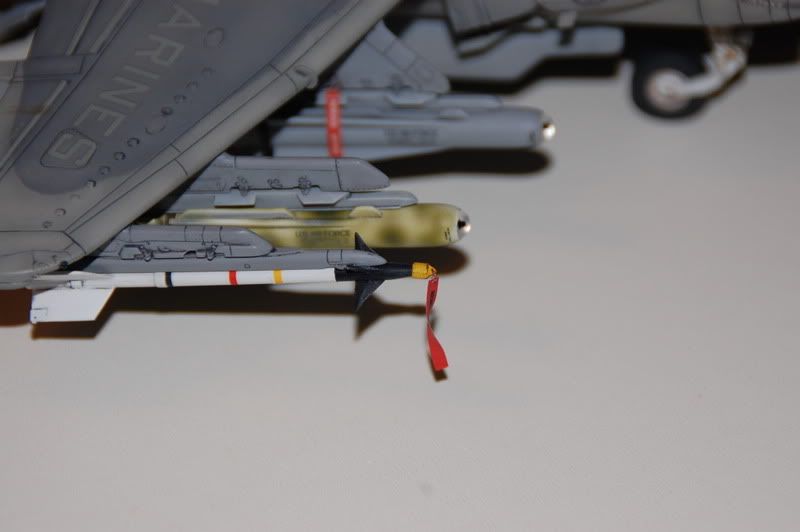
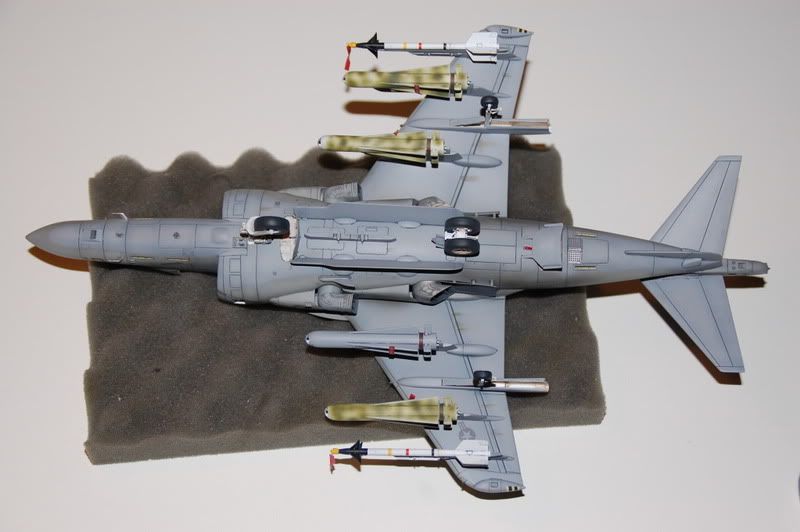
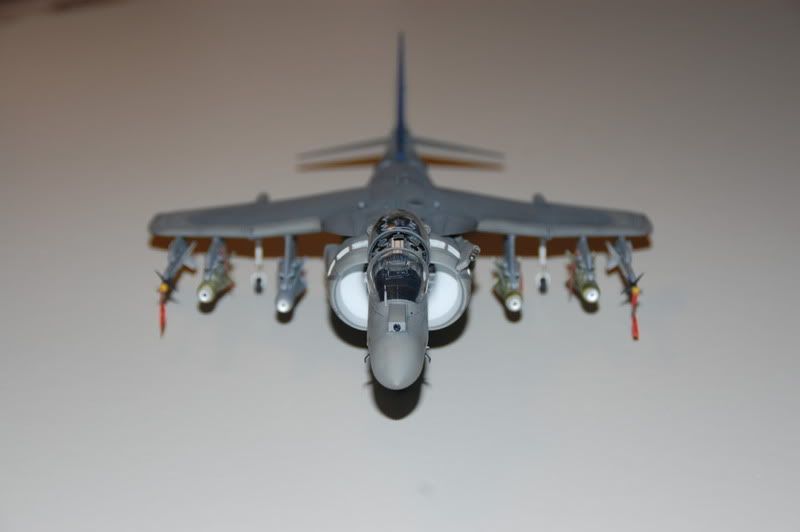
The Main paint job and decaling are finished on the Harrier now! Still to come are a few touch ups and further weathering! Also i have made my decision on the weapons load, it will be Lightning 2 pod,GBU-12 and AIM-9L Sidewinders!
What would you do without cocktail sticks for the small parts!
The massive payload! Lightning2 pod, GBU-12 and AIM-9L Sidewinder!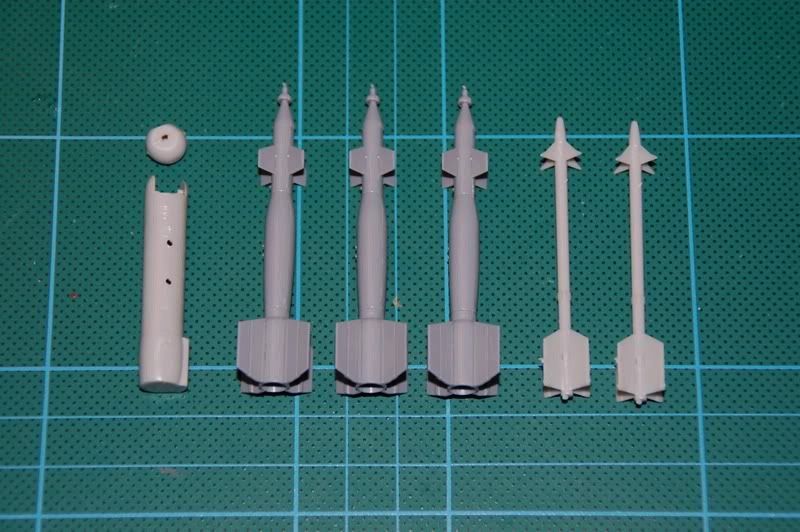
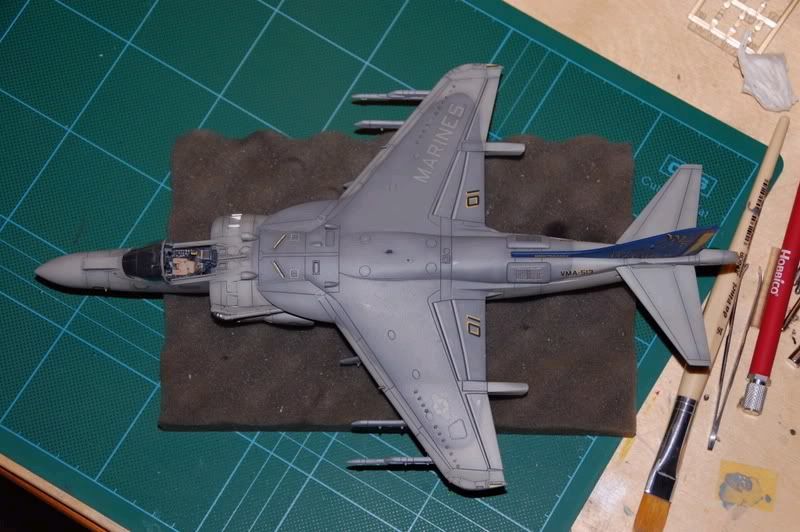
Various photos of the Harrier! There is no weathering on yet, just the paint job, preshading, postshading and Promodellers dark wash! Still to come is painchips, soot, dirt and oilstreaks etc.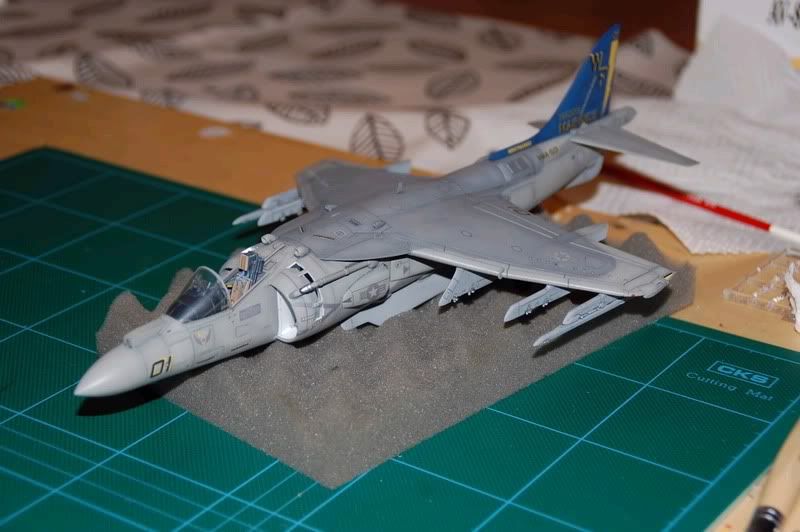


First of all the CO. called out that the US Marines on the ground were on heavy attack from enemy armored forces, therefore he changed the ordnance on the Marine Harriers to AGM-65 Maverick!
I have changed the weapons choice as i said above, when i did that i have to scratch build new launch rails, since the Maverick missile can´t be mounted on the ordinary pylons. The Maverick uses it´s own pylon with a railing system to be launched from. More later.
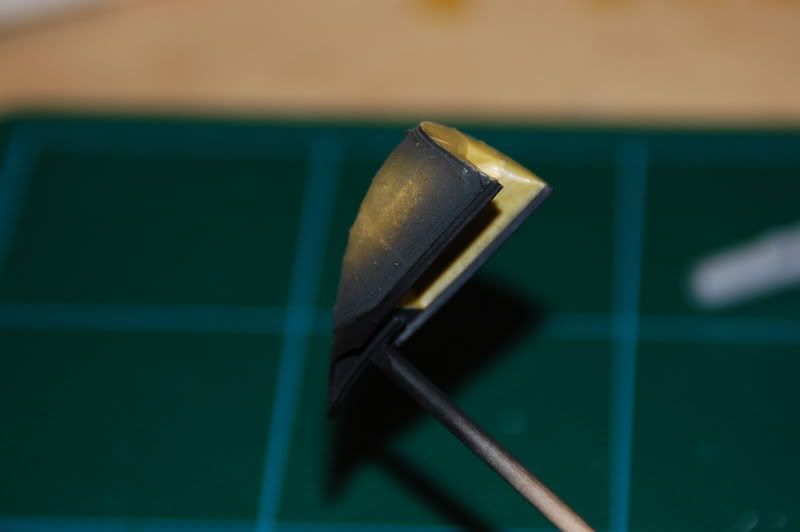
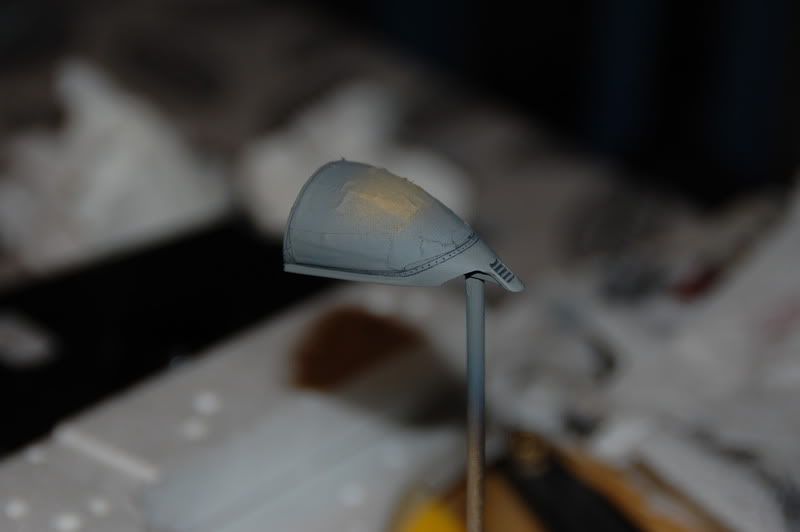
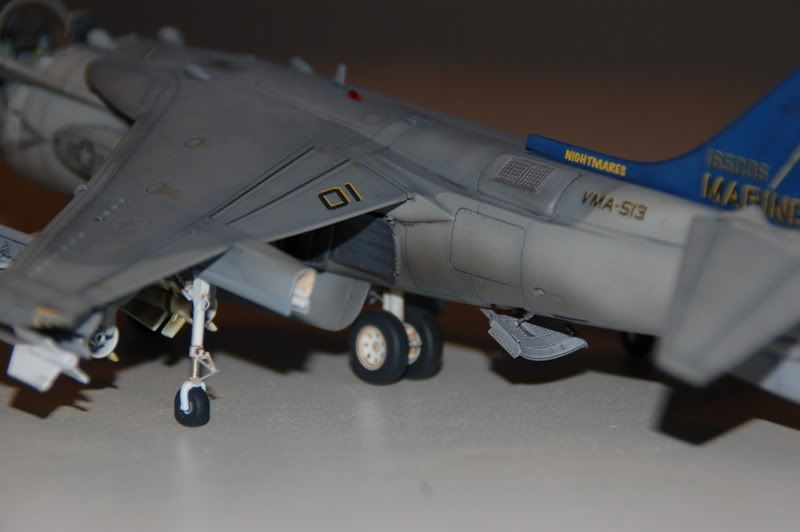
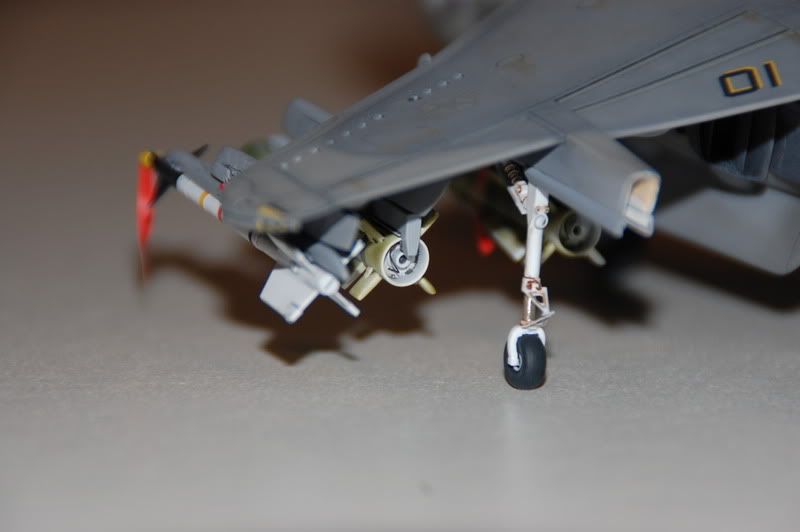
Also have done the exhausts with the PE parts, finished the canopy and worked on the Mavericks, with enhanced detail work. A lot of small parts such as air brakes, navlights and landing gear hatches has been finished as well.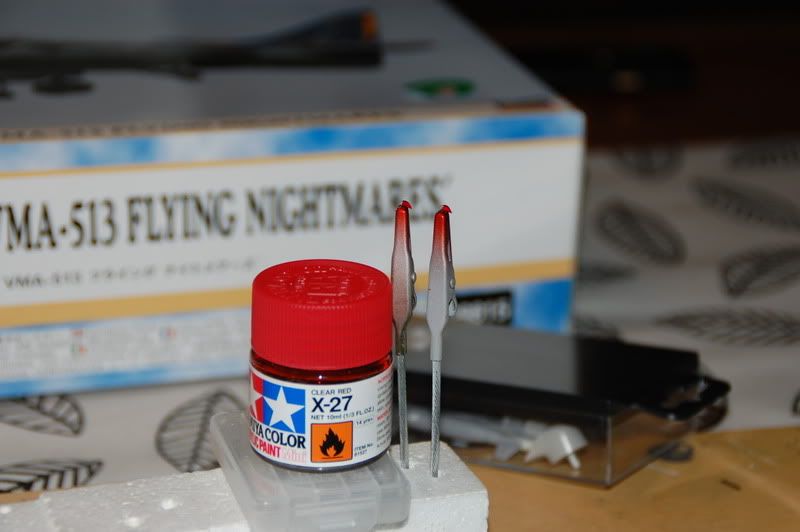
Small parts Air brakes, landing gear hatches.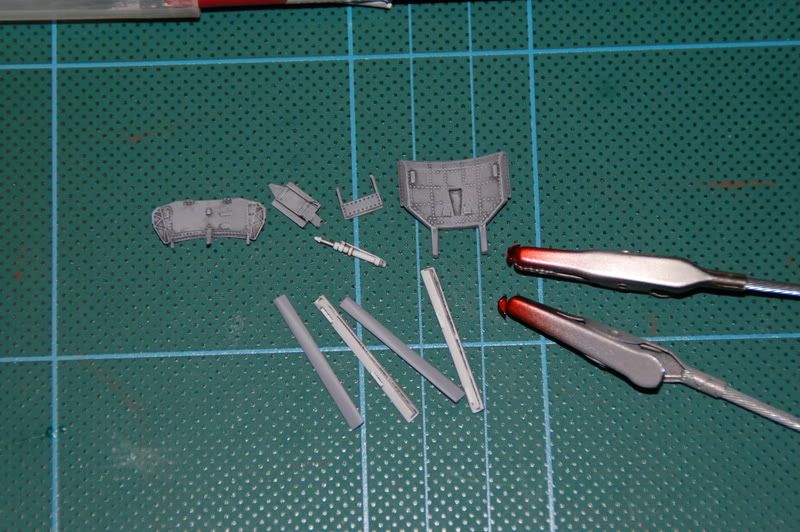
The canopy has been finished with the PE parts and some weathering and a subtle dry brushing!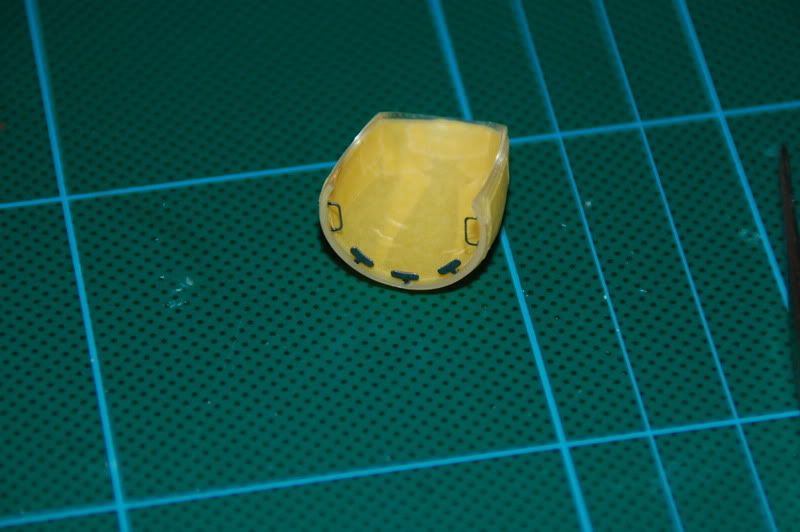
Ok, now to the scratch built launch rail pylon for the Maverick! I have used a copy of Military Aircraft Monthly Vol.8 Issue 9 September 2009 and the net as references.
Material i have used for this: Evergreen styrene strips item no 124 and 154. Contrail styrene struts, tube and rod set, also used styrene sheets.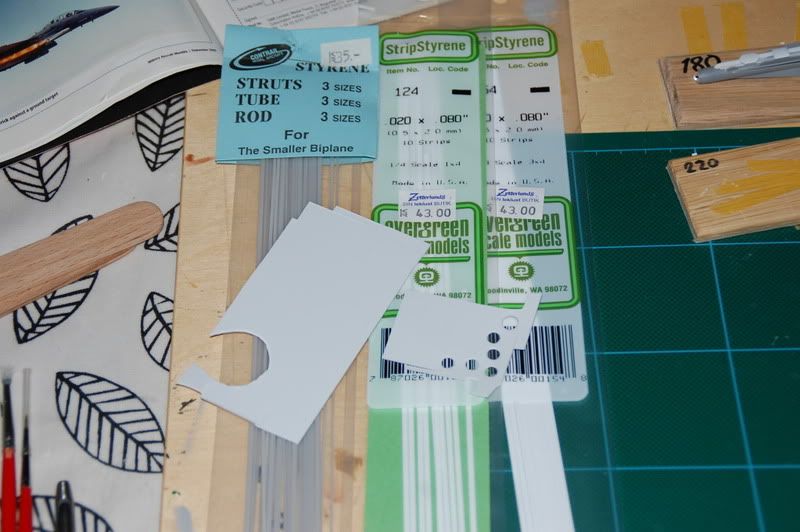
Started the rail build by gluing styrene strips in an angle. 4 pieces in my case.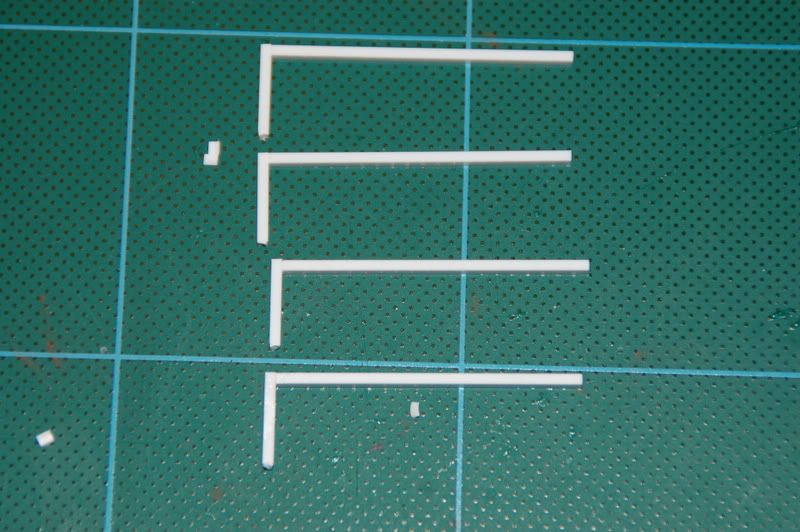
Then i glued pieces of styrene sheet on the top part for the mounting parts to the aircrafts pylons, and a small, thin styrene strip on the underside for the railing system.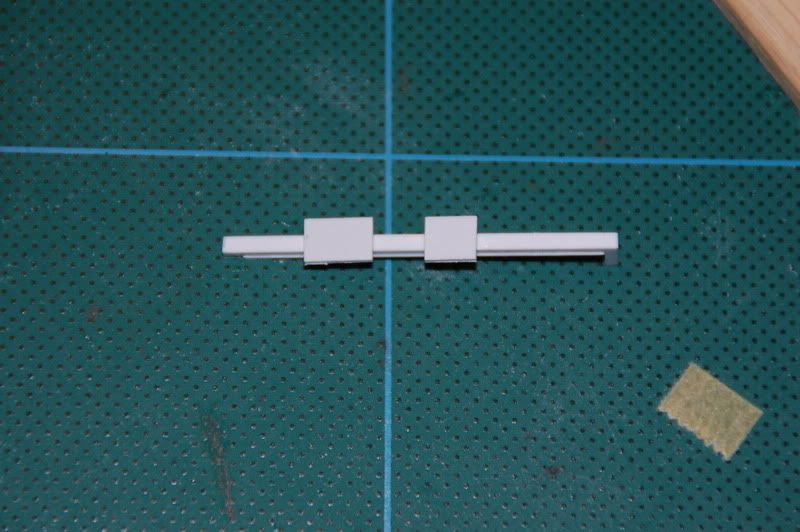
Everything was then cut and sanded to correct shape.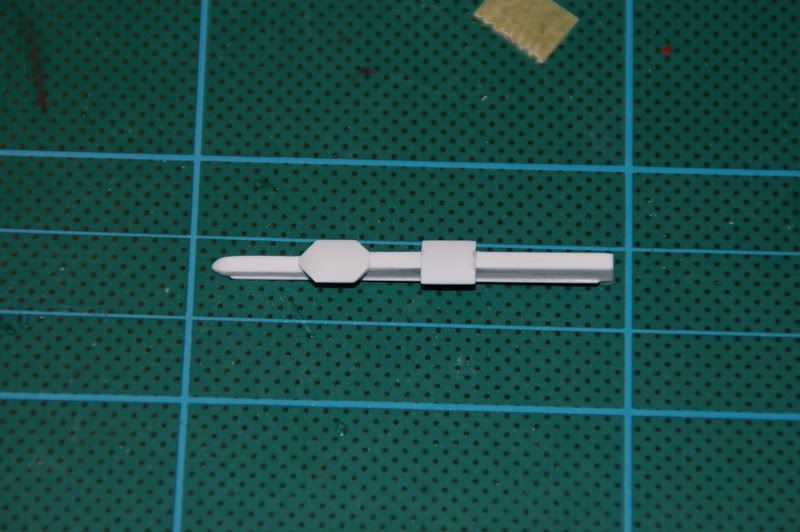

After the launch rails was built, i started to work on the Mavericks. The four Mavericks.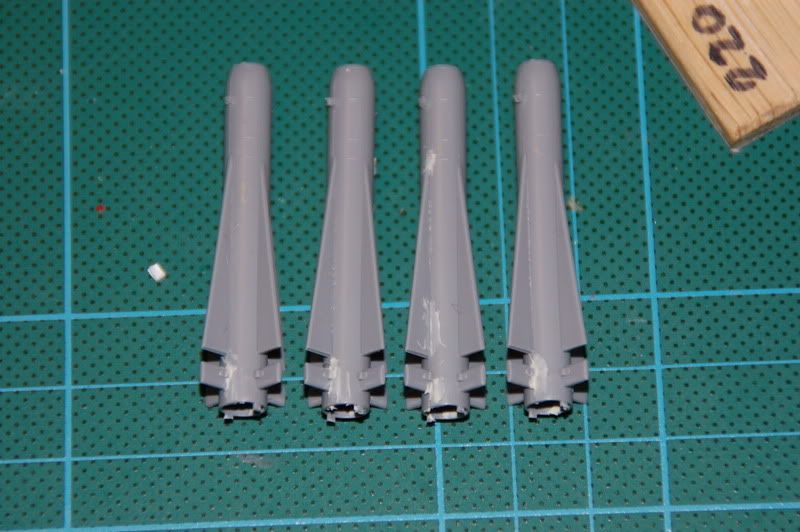
Then started to cut out the groove in the maverick rails, by using an olfa p-cutter and a small file. Hope it shows in the photo.
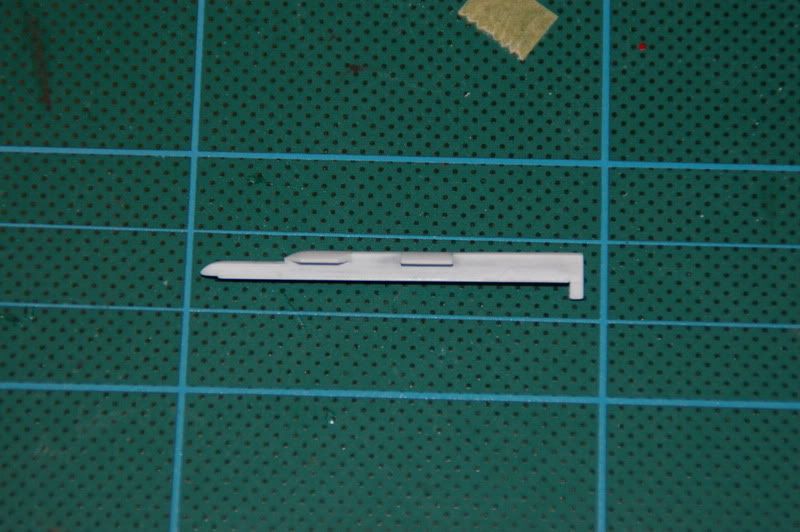
This is the small parts assembly to form the exhausts on the Mavericks. I glued them together and insert them in the back of the missile.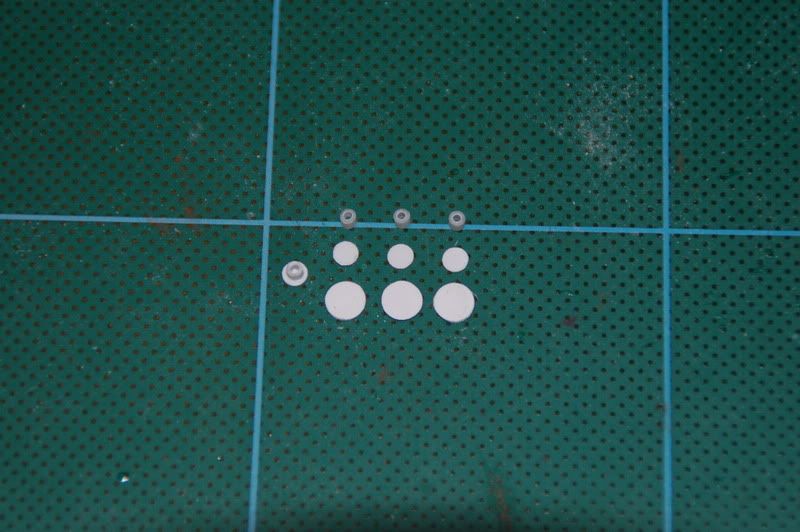
This is how it came out. I have also installed the seeker head/camera nose on the Maverick! Some touch up and finishing work still to be done. I will ad some wiring in the back end of the Maverick, to simulate the electrical wires for the ignition of the Maverick missile.


The Harriers exhaust nozzles. I have used the Eduard PE set to ad some detail to this assembly, witch was a rather tricky work to get them into right position, but it looks much better than the kit parts.
The difference between kit parts and when the PE is installed.

The PE parts all in place.
Some paint work.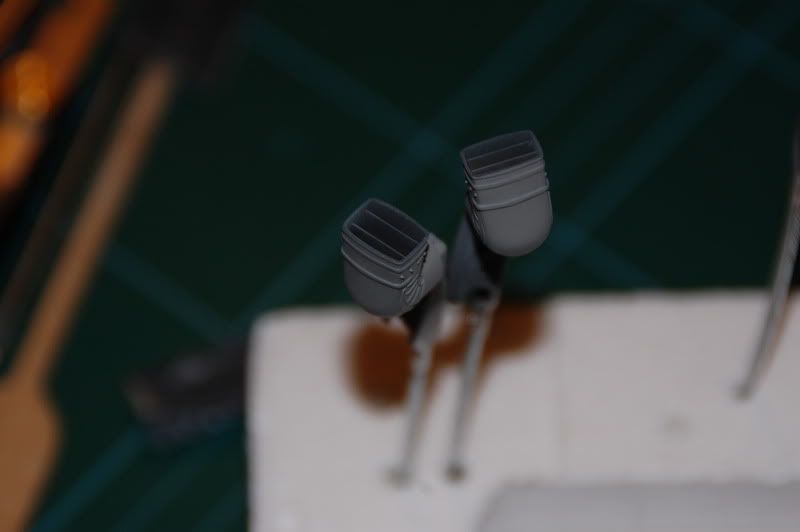

Here they are, the finished exhaust nozzles for the Harrier! Just the installment to do!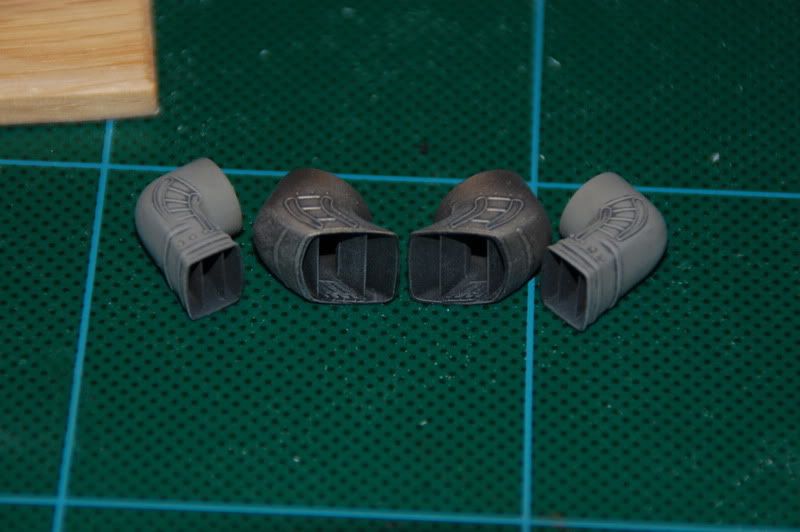
Ok, now the ordnance for my AV-8B Harrier are finished! The scratch built launch rail pylons for the Maverick missile came out as i wanted them, to my satisfaction, very happy with those!
I have painted the Mavericks with their original color first, one in a more recent tactical grey paint and three in the white color, witch later received their in field applied camo paint! I decided to go for one grey and three white Mavericks just to break it up a little, the grey one represents a Maverick of a later manufacturing date and the three white ones are of a "older" batch!
Why the camo on the white Mavericks? I saw these in field camouflaged Mavericks on an A-10 Thunderbolt and read about it that the white colored Mavericks had a non tactical paint for a close support aircraft that operates at a lower level of flight. I decided that i wanted to incorporate this in to my US Marine Harrier witch also is a close support aircraft! Thought it looks so cool and really breaks up the otherwise very grayish Harrier!
Paints used!
Tamiya:
X-18 Semi Gloss Black
XF-67 NATO Green
Citadel:
Skull White
Fortress Grey
Chainmail
Vallejo:
001 White
050 Light Grey
Promodellers:
Dark Wash
On to the photos:
Photo of the paint used!
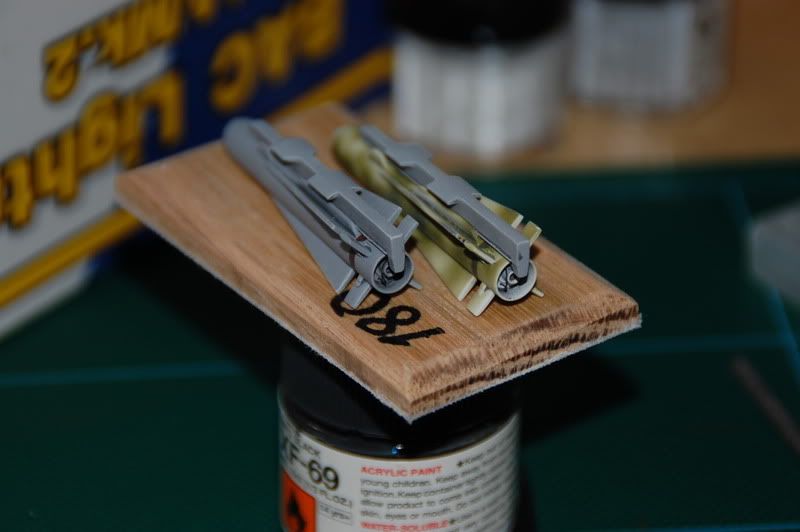
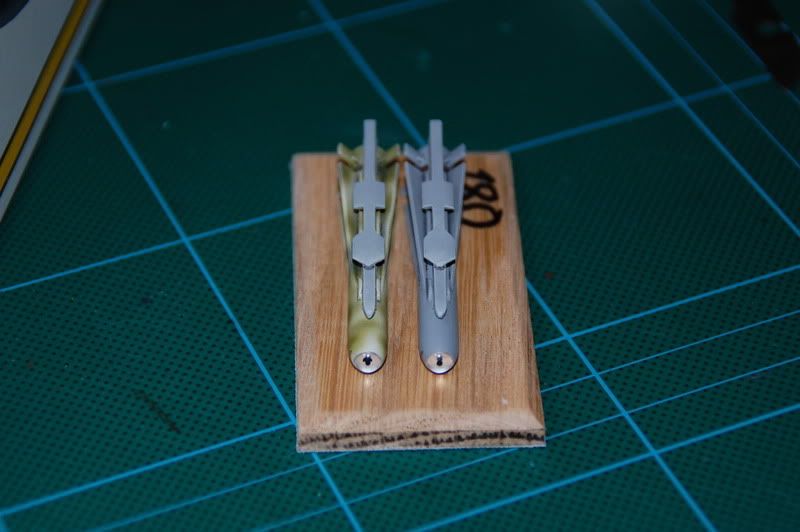
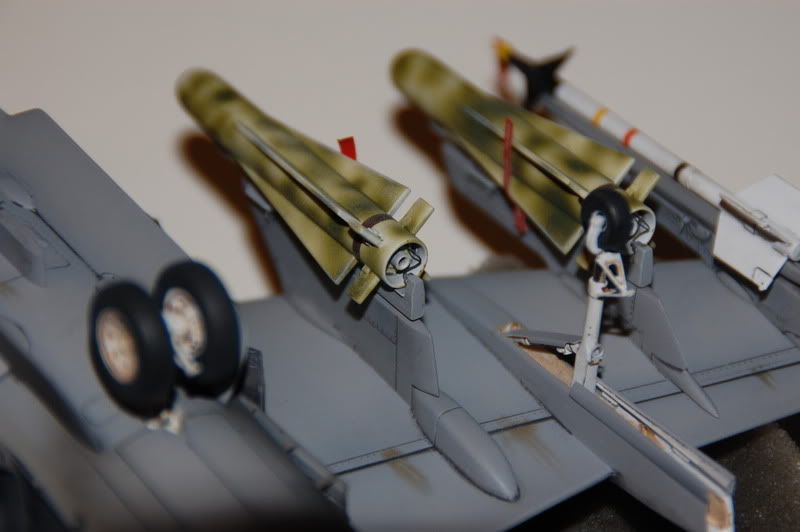
Here is a little PE work on the AIM-9L Sidewinders! Looks great and ads more detail!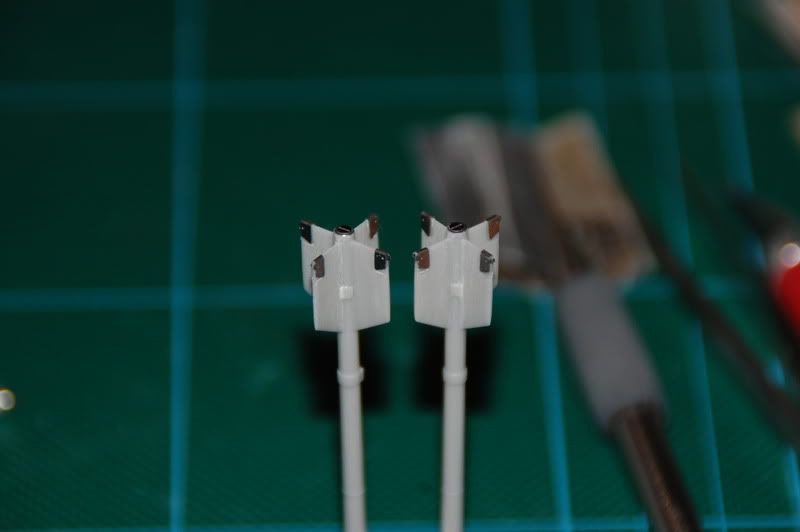
The Sidewinders painted and finished.
Here the Mavericks and launch rails have been primed with Mr.Surfacer 1000.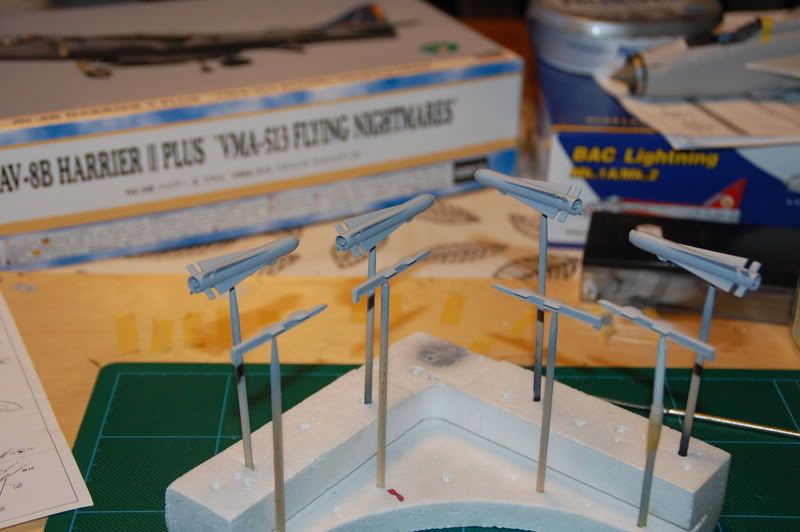
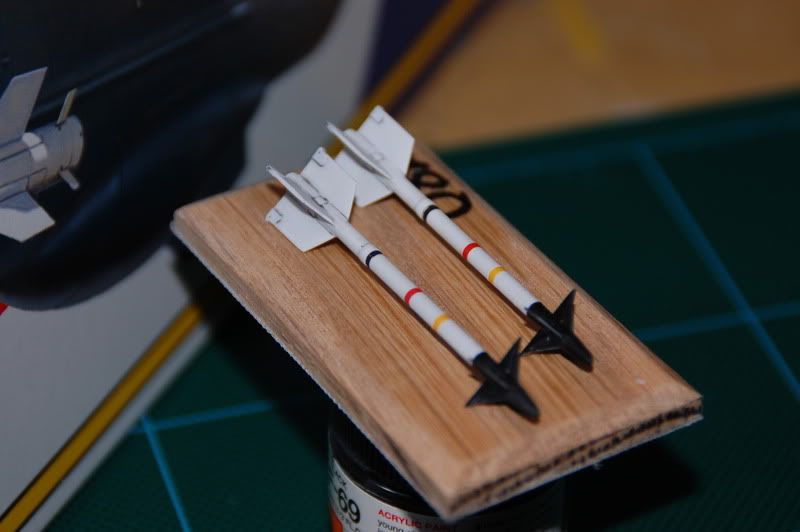
The Mavericks has their colors painted on! Vallejo 050 Light Grey for the grey Maverick and Citadel Skull White for the three other Mavericks. Also decals and some weathering is done now!
Ok, here they are the finished Mavericks! The launch rails has been painted with Vallejo 050 Light Grey with a couple of drops of Vallejo 001 White added to achieve a little tonal variation. The white Mavericks has it´s in field camo applied, for that i have used Tamiya XF-67 NATO Green! A little dry brushing with Citadel Skull White and Fortress Grey to finish it all.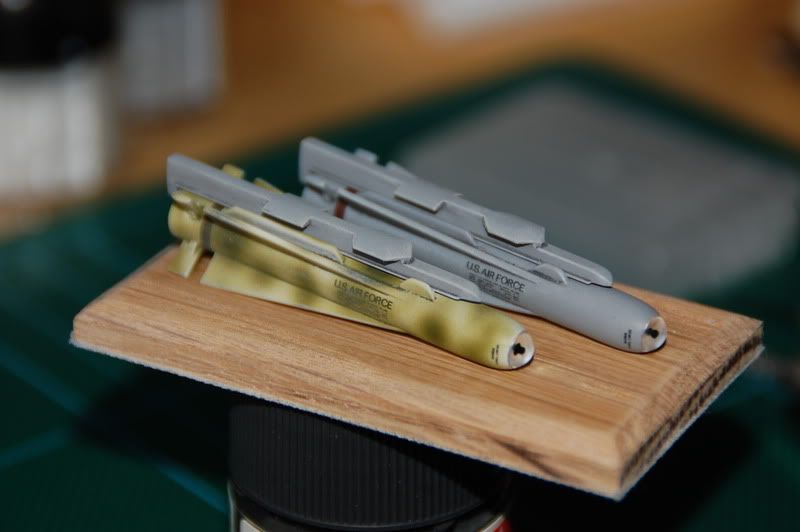

Ok, this is the massive payload for my Harrier! Don´t want to go on a date with this angry girl!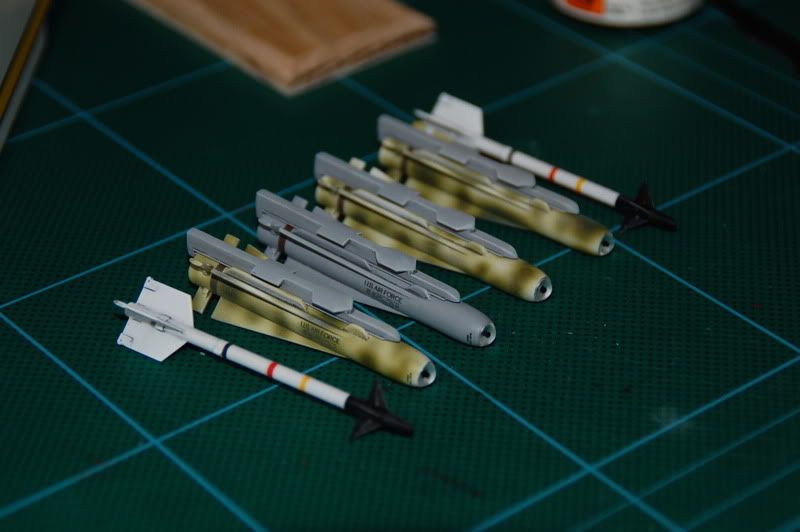
Now she is finally finished! The Harrier build has been a very fun build, and i can really recommend it to everyone who want to build a Harrier! There are no real mistakes made in Hasegawas kit for the AV-8B Harrier, the only issue i can think of is the assembly of the top half wing section. It´s very important to get the join super smooth, because it´s right up in the eye of the beholder! Other than that the kit falls together very nice. I will certainly build another Hasegawa Harrier in the future!
I have used the Eduard big PE set for my Harrier and o my... there was alot of PE to bend and twist to get it right, i had my doubts sometimes... but it´s all worth it in the end, because it ads a higher detail level and a enhanced look to the kit... and i am a detail sucker, that's why my builds take some time to complete, just love resin and PE! Don´t get me wrong though, the Harrier will build perfectly OOB, all the PE is not necessary it will be a lovely Harrier without the PE anyway!
Ok, a run through of all the contents of the build such as kit, colors and scratch building stuff etc.
Kit.
Hasegawa:
1/48 AV-8B Harrier 2 Plus "Flying Nightmares" Kitno:09815
1/48 Aircraft Weapons set C. X48-3
Aftermarket.
Eduard:
1/48 Eduard PE-Set for Hasegawa AV-8B Harrier 2 Plus Setno:49271
Colors.
Tamiya:
XF-1 Flat Black
XF-2 Flat White
XF-3 Flat Yellow
XF-8 Flat Blue
X-18 Semi Gloss Black
X-19 Smoke
X-27 Clear Red
XF-67 NATO Green
XF-69 NATO Black
Vallejo Model Air:
001 White
047 US Grey (Topside)
049 Medium Sea Grey (Topside)
050 Light Grey (Underside)
Citadel:
Boltgun
Chainmail
Skull White
Fortress Grey
Codex Grey
Priming color.
Mr.Surfacer 1000 and 1200.
Scratch building parts.
Evergreen Styrene Strips item no:124,154.
Contrail Styrene struts,tubes and rod set.
Various wires of different Gage.
Weathering.
Promodeller Light and Dark Wash.
Artist Oil colors.
So that´s it, now on to the photos of the final reveal!


Jonas