


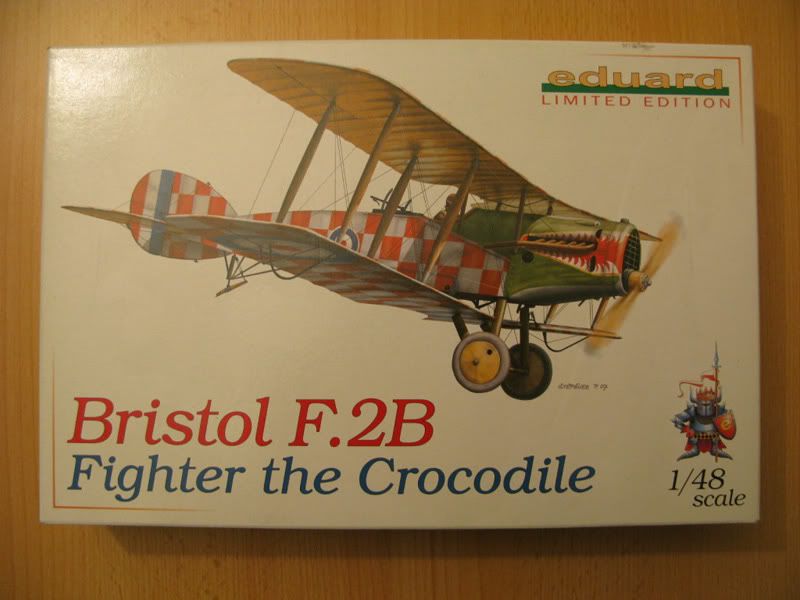
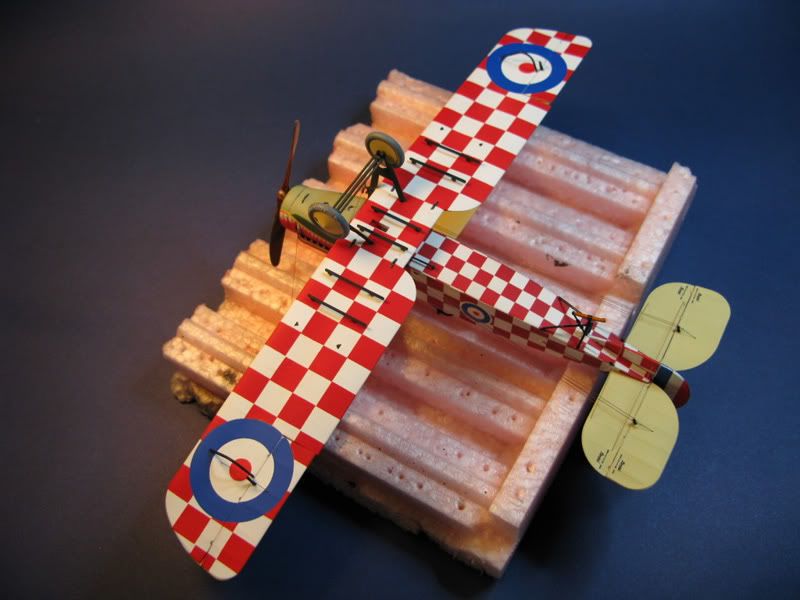
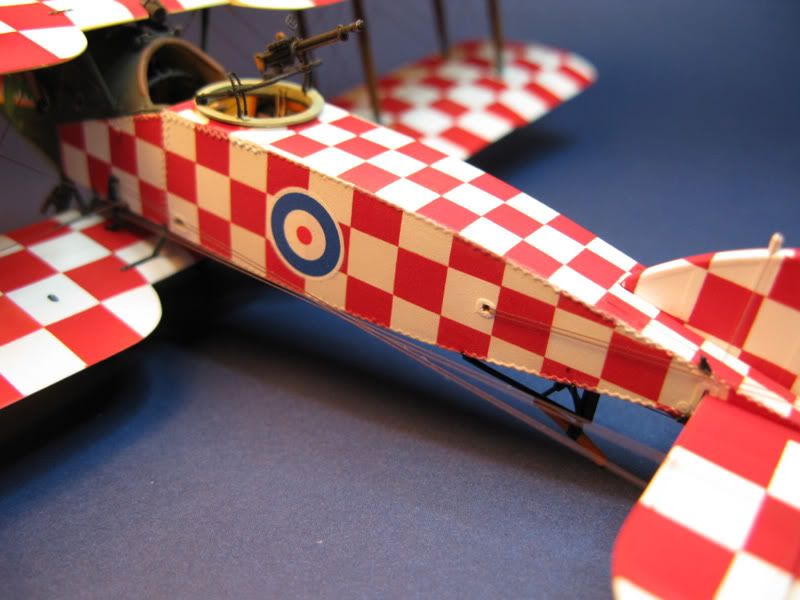
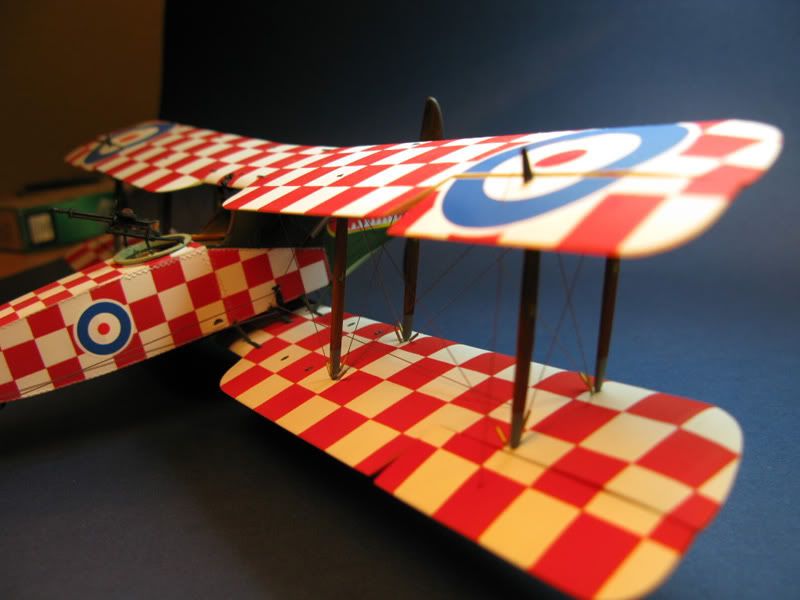
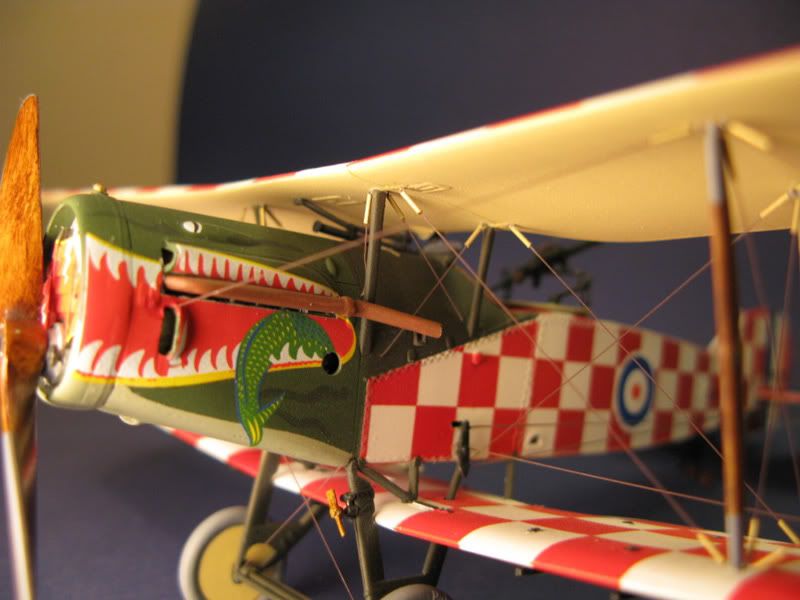
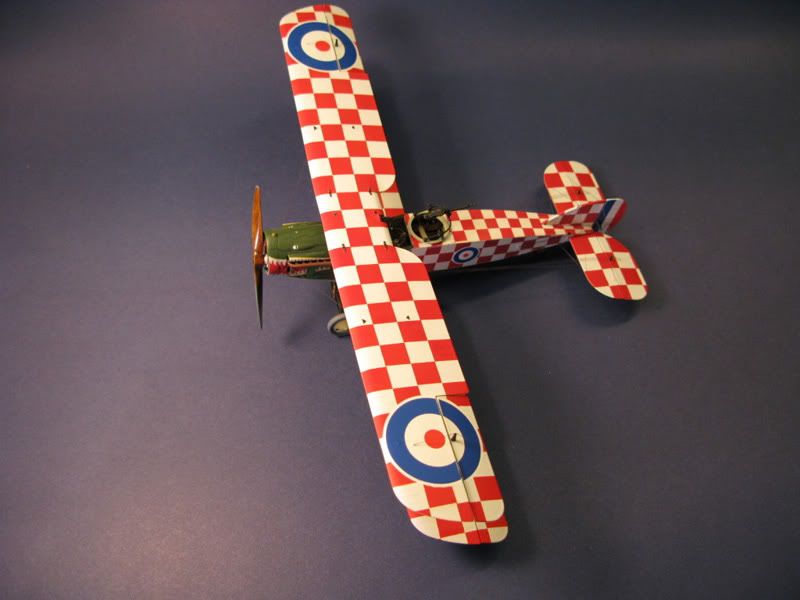
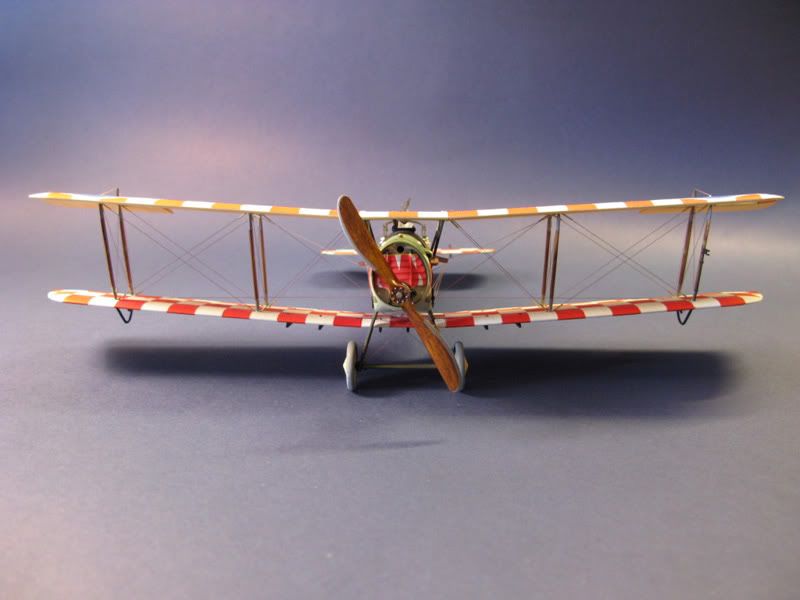
Eduard 1/48 Bristol F2B Fighter (also known as the Bristol F2B Fighter, C4879 ‘The Crocodile’) with a checkerboard pattern.
After the first attempt at building this model failed in late 2009 I decided I had to give it another go. So after much planning, thought and the lessons learned from the first time here it is: -
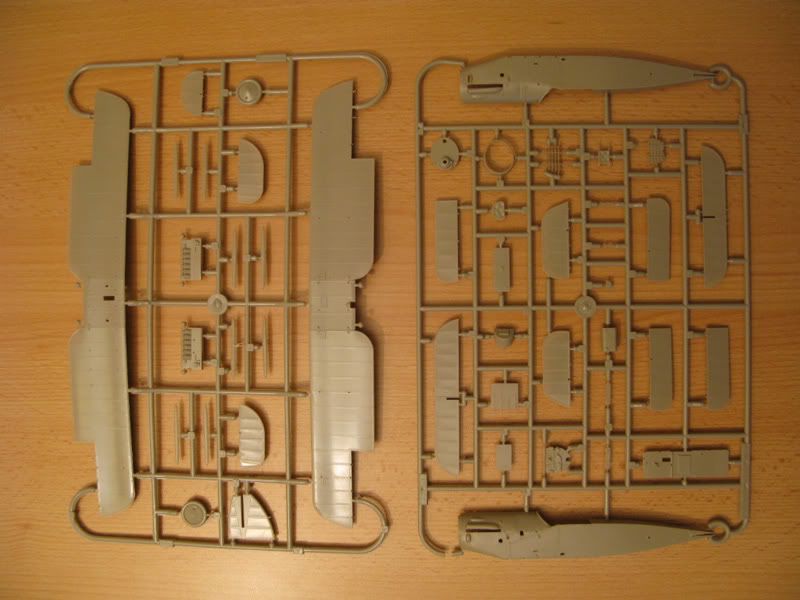
Kit Overview
Kit manufacture: Eduard
Scale: 1/48
Type: Bristol F2B Fighter
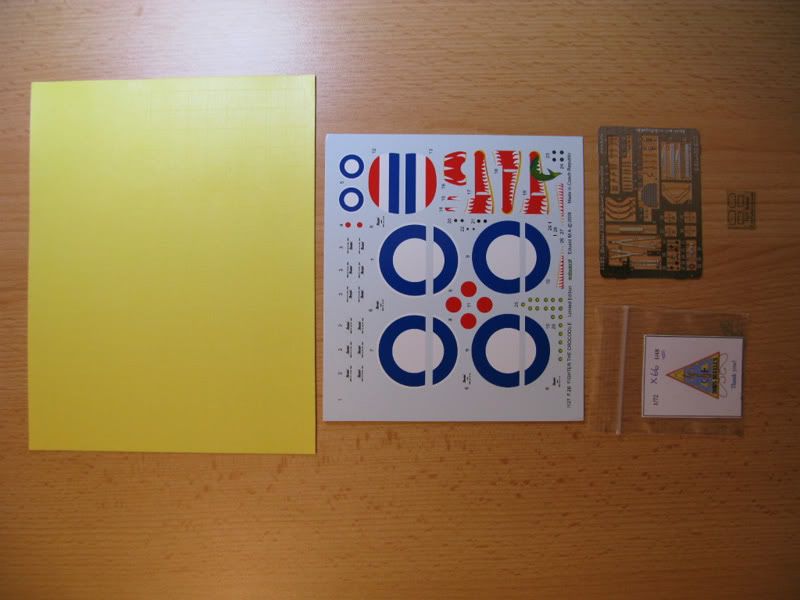
Kit comes with Mask, photo etched parts and film for the wind screen.
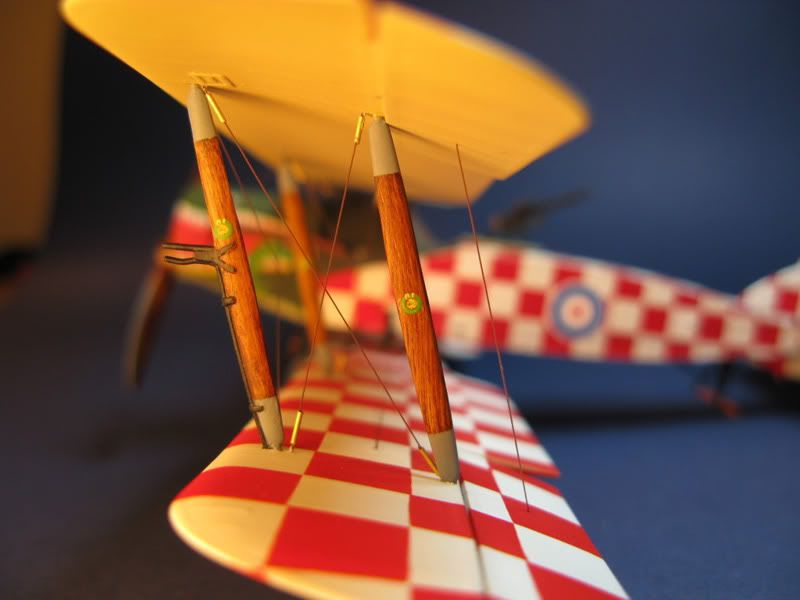
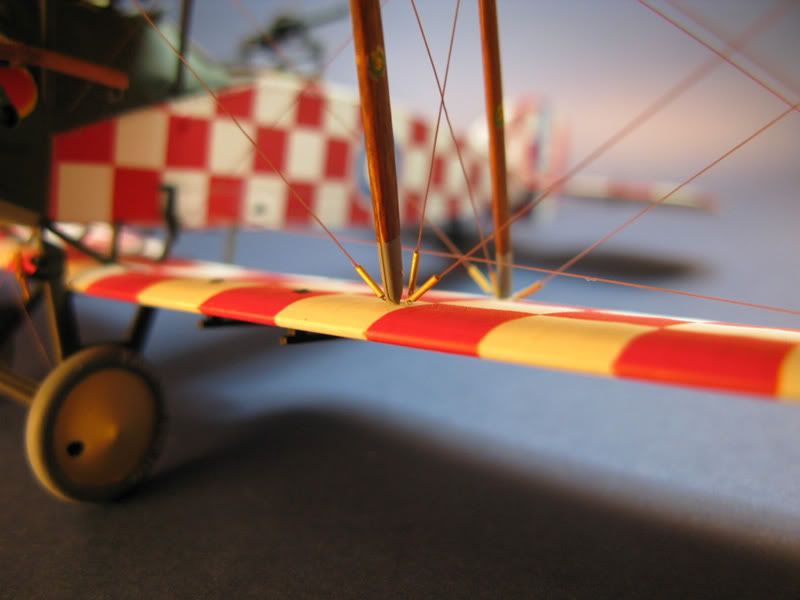
Extras used: Bobs turn buckles, 1.1lb fishing line and 0.3mm brass tubing cut to 3mm lengths for the rigging.


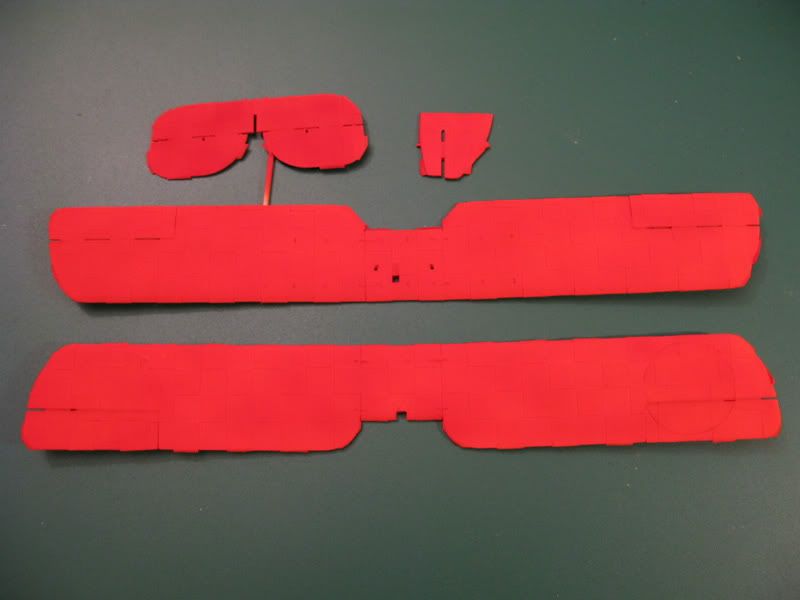
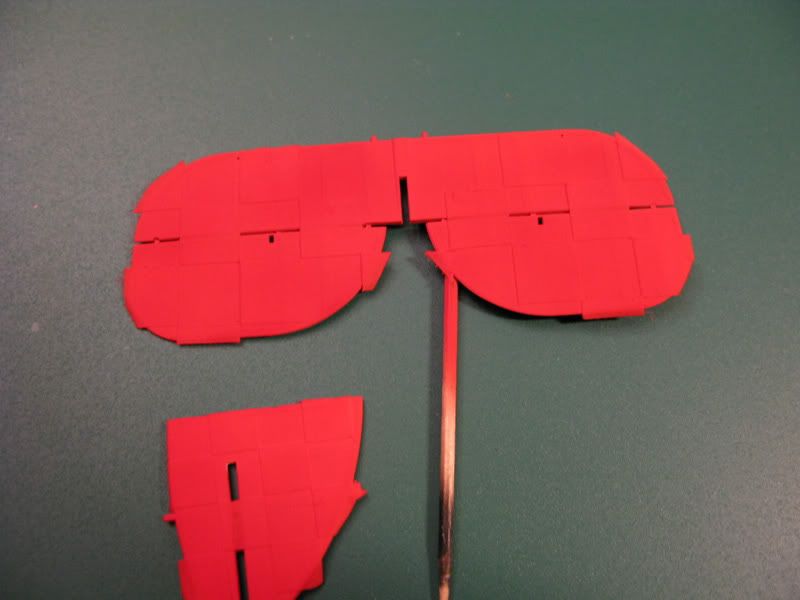
Planning the rigging and prepare the holes
The first job was to plan how and where the rigging would be fitted and drill all the necessary holes using a 0.3mm drill bit. The holes were drilled in the fuselage, main wings, rudder, rear tail and all flaps. Bobs turn buckles will only be used on the main wings.
Cockpit
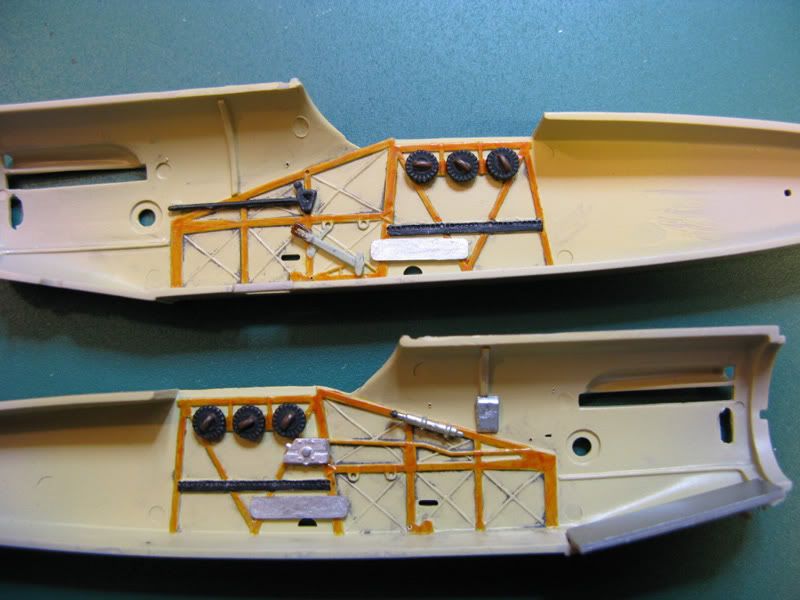
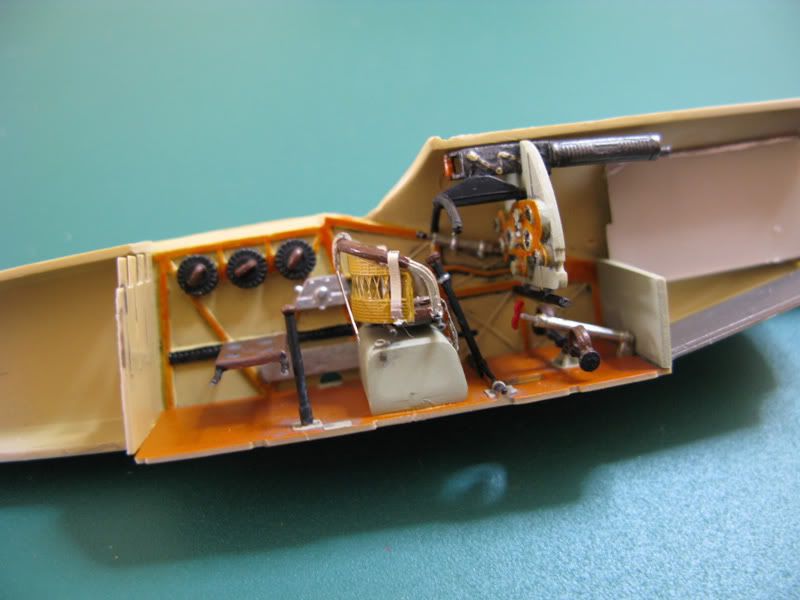
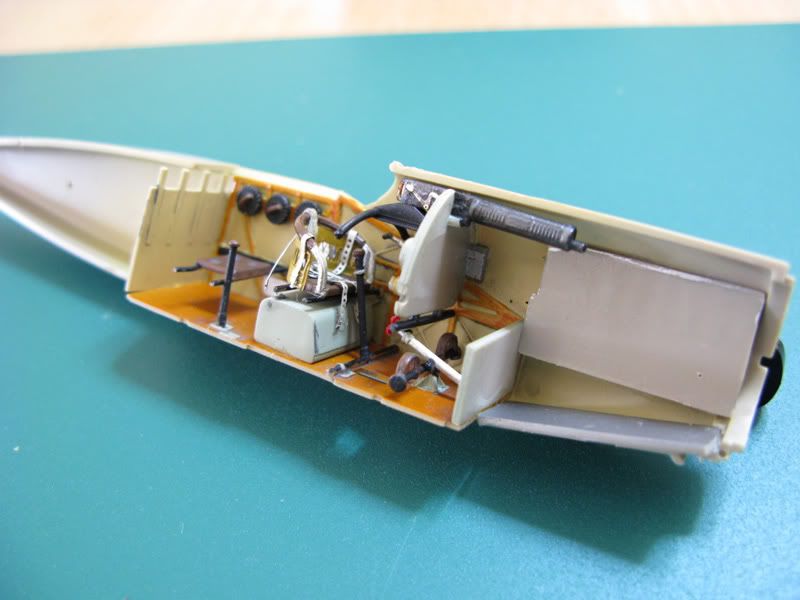
Sprayed the inside of the fuselage with Vallejo Model Colour 847. The wood frame was painted with Vallejo Model Air 033. When dried it was given a coat of Tamiya clear orange to replicate a varnish finish. Other colours used for the items on the fuselage sides were XF64, XF1, XF55, XF14 and Mr Metal Colour MC218 Aluminium. Weathered with Pro-modellers dark wash.
Fuselage floor sprayed with XF57. Tried to simulate wood grain lines using flat black but I didn’t get the right effect. Once dried a coat of clear orange to get the varnished wood finish. Other colours used were XF14, XF7, XF1 and Vallejo Model Air 067 Bright Brass. The correct brass is Mr Metal Colour MC219 but I was unable to get hold of any in time.
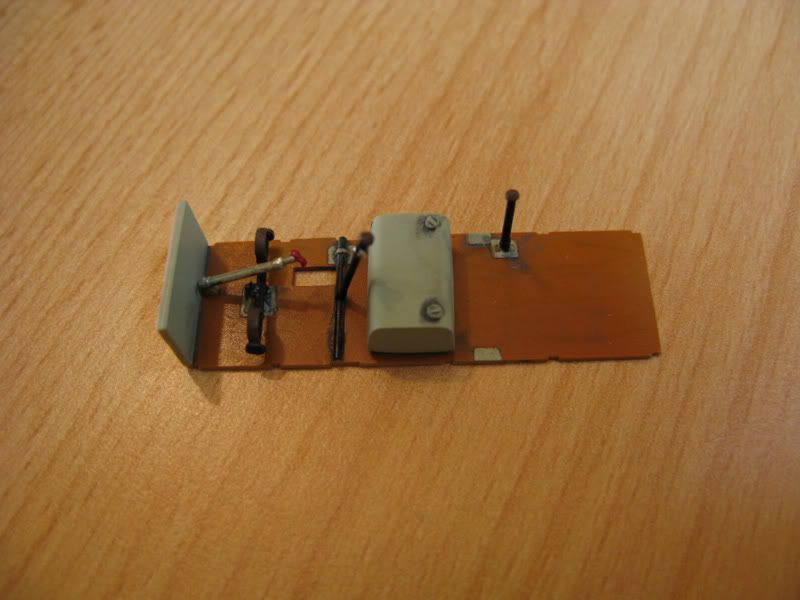
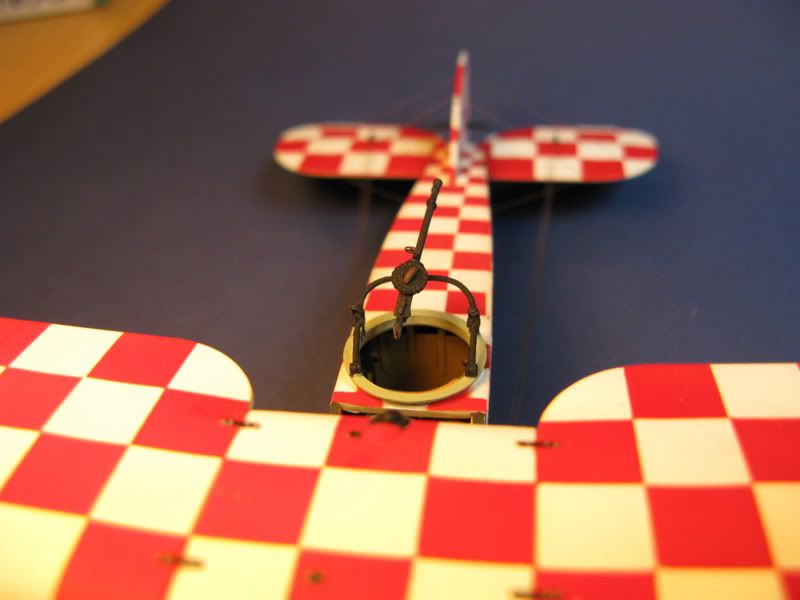
The gunner’s instrument panel sprayed with XF14 and the wooden panel area with XF55 and coated with clear orange. Gun painted with Mr Colour Metal MC214 Dark Iron. XF1 also used for black areas. Photo etch dials fitted and drops of Klear put on top of them.
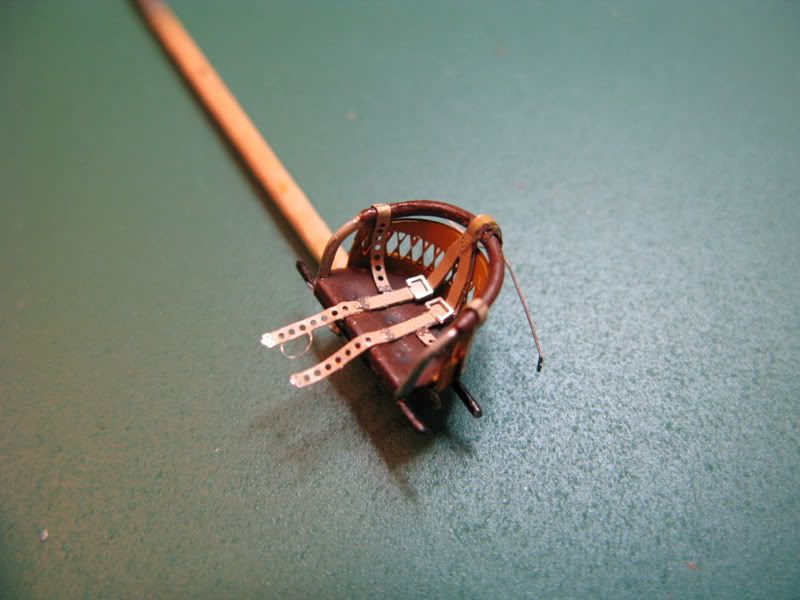
The seats were painted with XF64 and XF1 and weathered with Pro-modellers dark wash. The photo etch seat belts fitted and the wicker seat back fitted and painted.

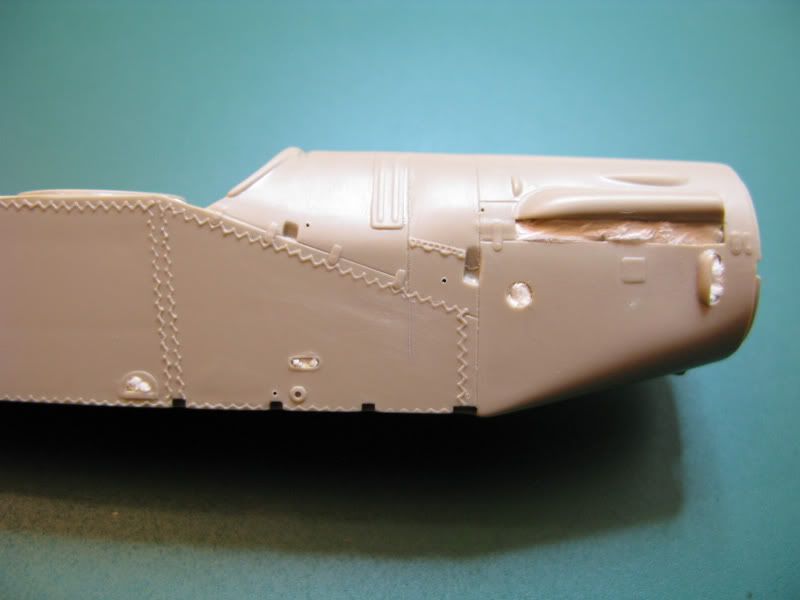
Fuselage assembled
The cockpit base fitted and the two half’s brought together. A small amount of filling and sanding was required.


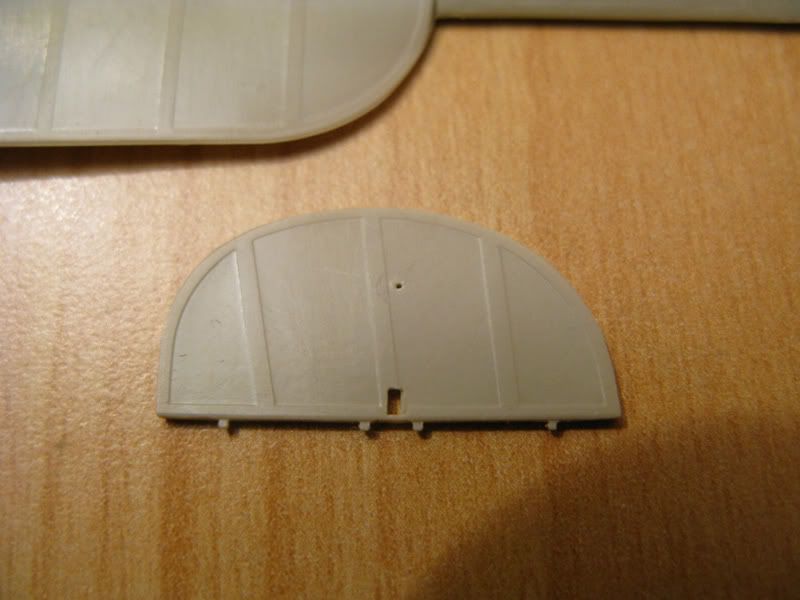
A little bit of re-scribing.
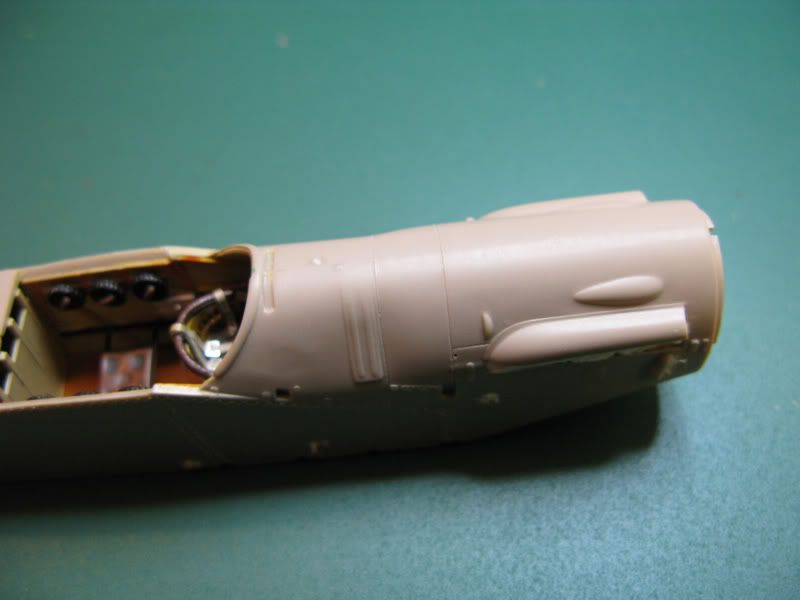
Holes plugged and ready for spraying.
Painting
Pre-shading
Everything undercoated with Tamiya light grey. I then pre-shaded the wing frames with medium grey however I was not sure if this would work because of the two colours needed for the checkerboard, but it was worth trying. If I loose the pre-shading under the main colours it would not be a problem. Black was not used as this would have been to dark under the white.

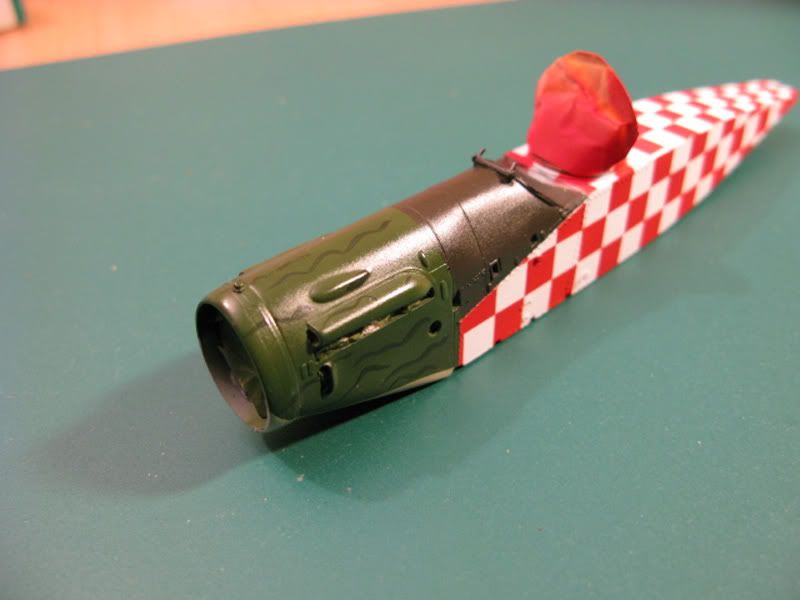
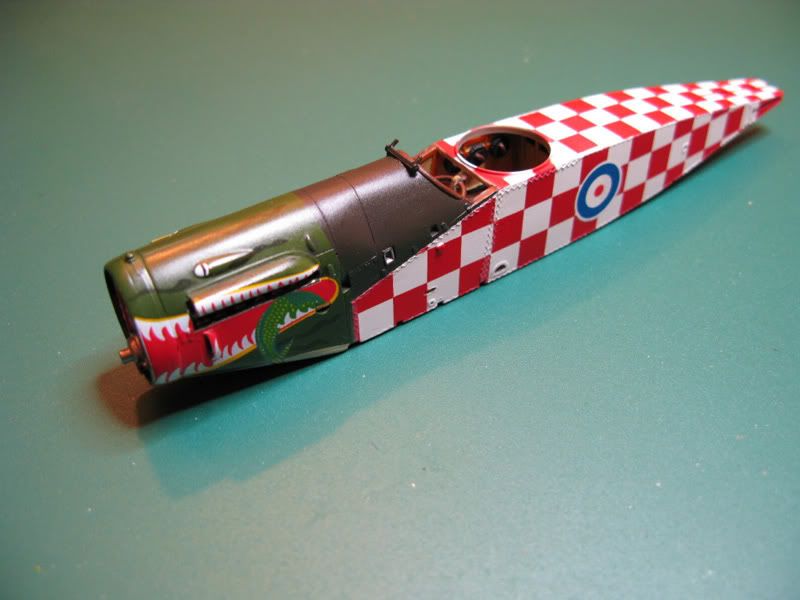
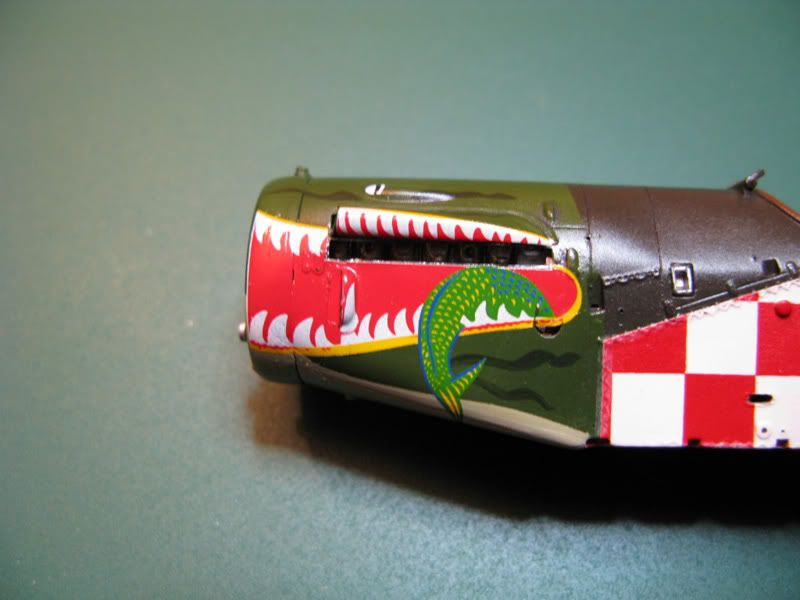
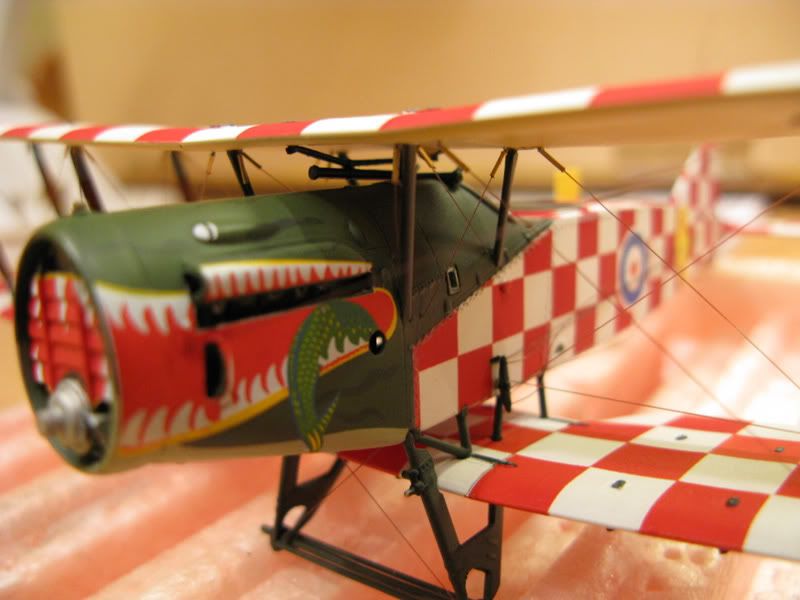
· Fuselage Front
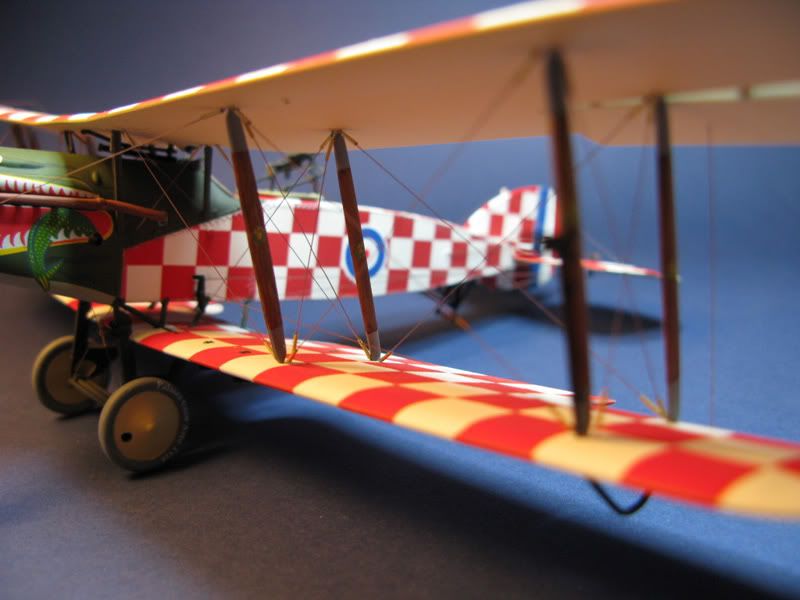
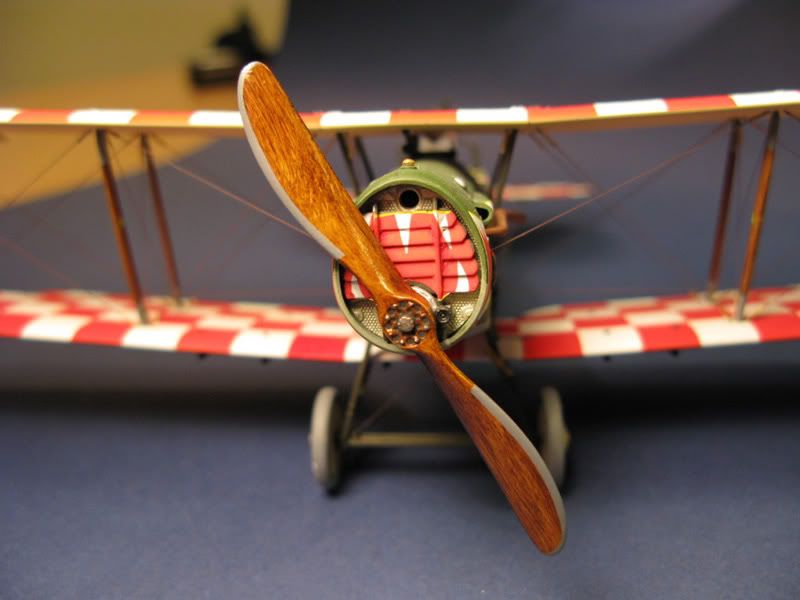
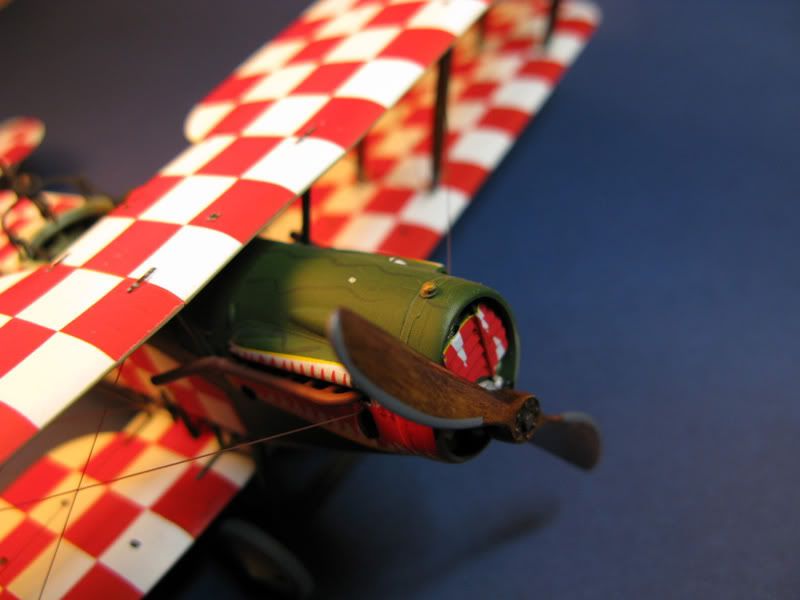
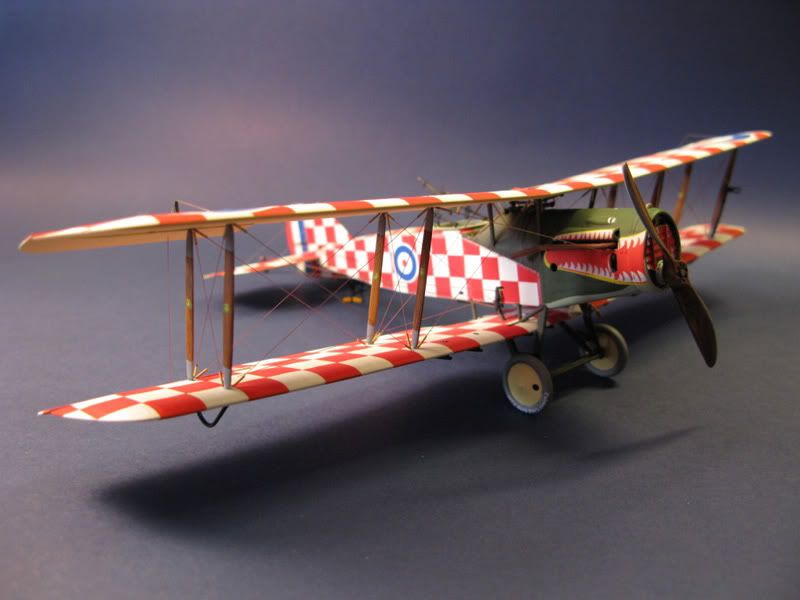
The front of the fuselage was painted with XF61, XF5 and XF14. To try and get the crocodile skin affect the light green area was painted with some small darker green lines as on the box art.
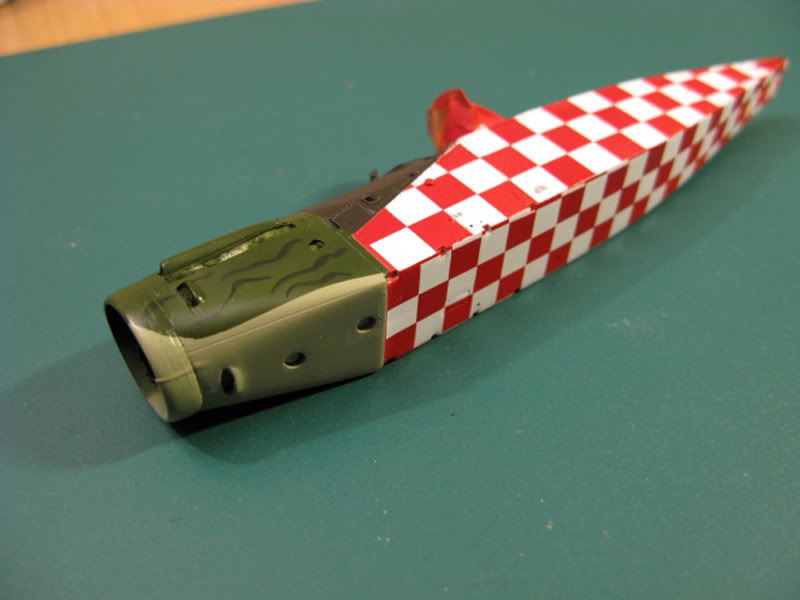
· First main colour sprayed on
After masking the front of the fuselage, all parts were sprayed with XF2 white where needed. Once dried the white areas had a couple of thin coats of Flat to protect the paint work from the long task ahead, masking.
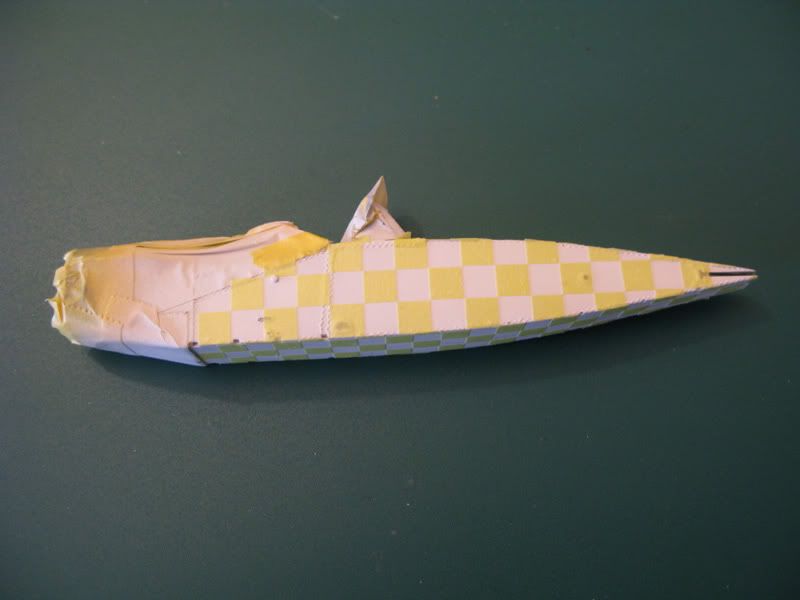
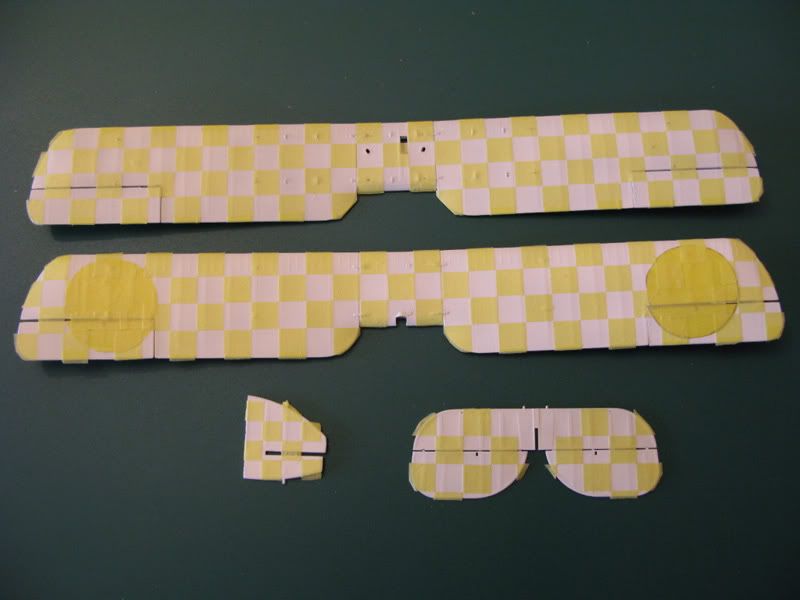
· Masking
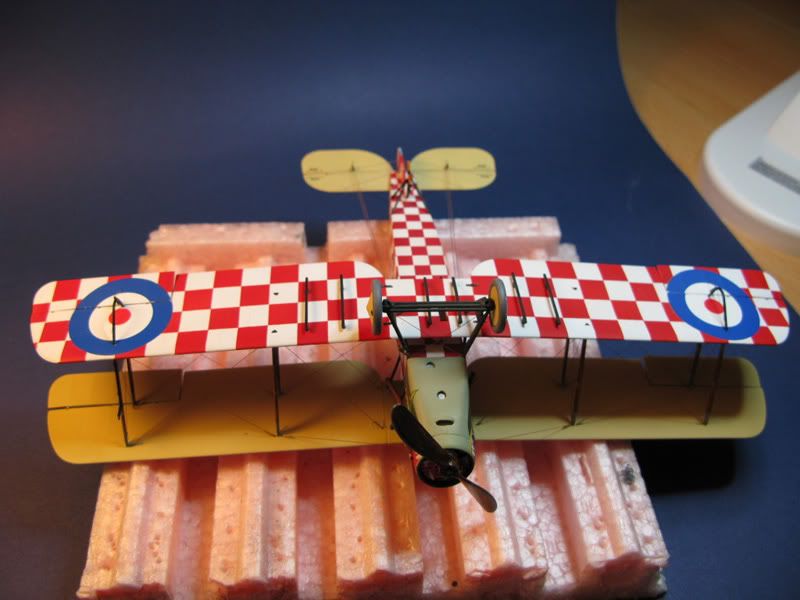
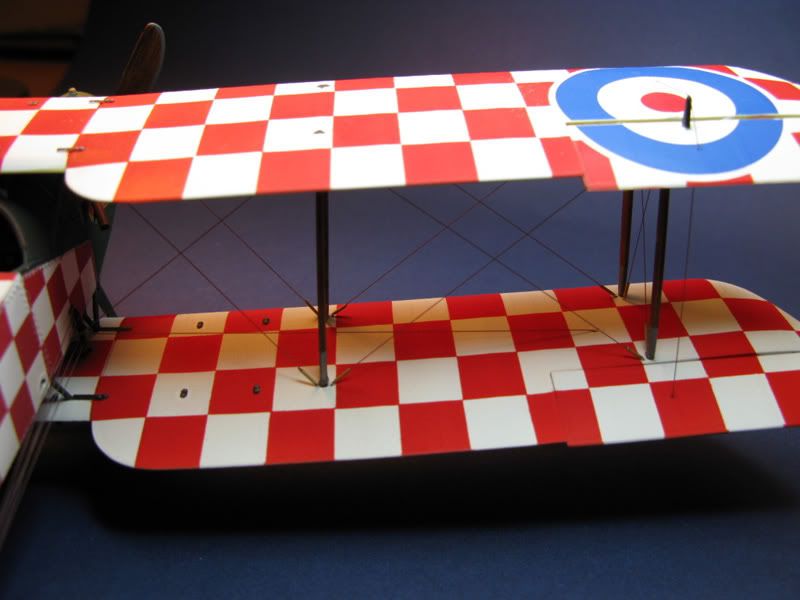
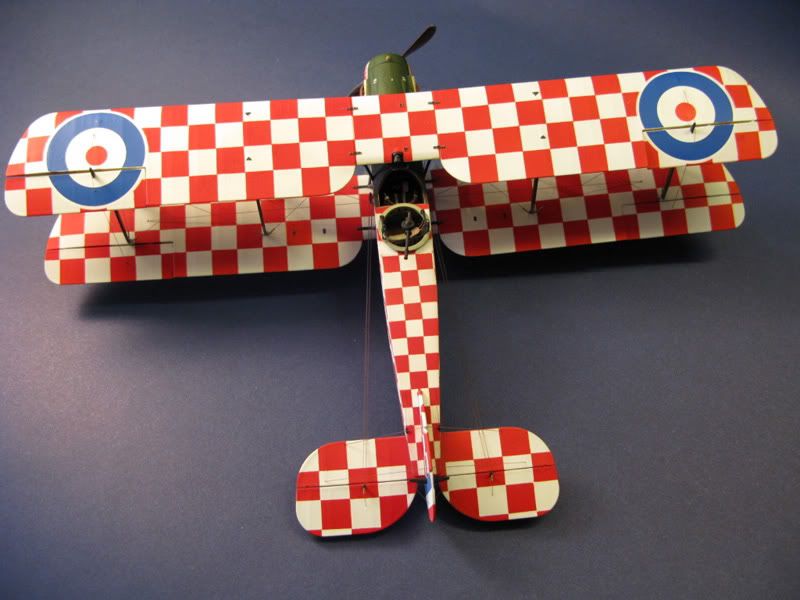
Next the long job of masking everything. The areas where the wing roundels would be were also masked so as to keep these areas white. This would stop the effect of red squares showing through the roundels. However I did forget to mask the roundel area on the fuselage sides.

· Second main colour sprayed on
A good couple of coats of red sprayed over all the masked areas using XF7.
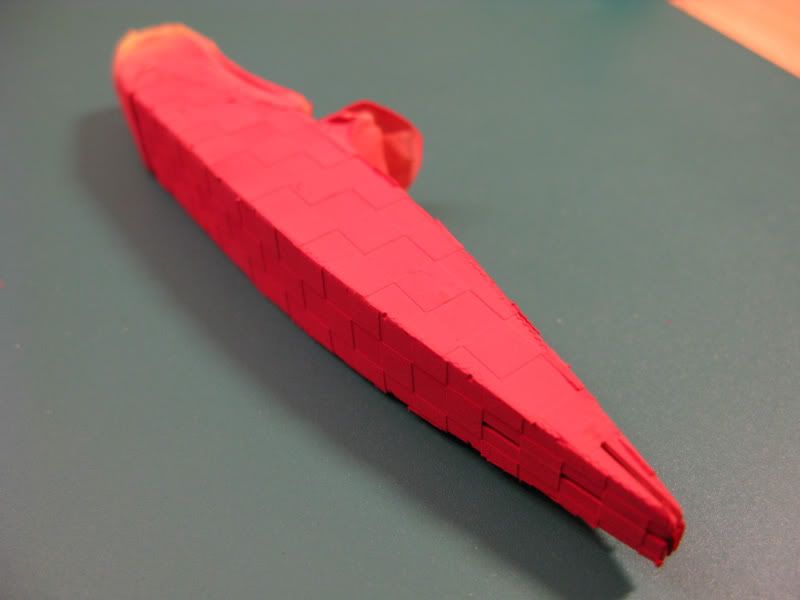
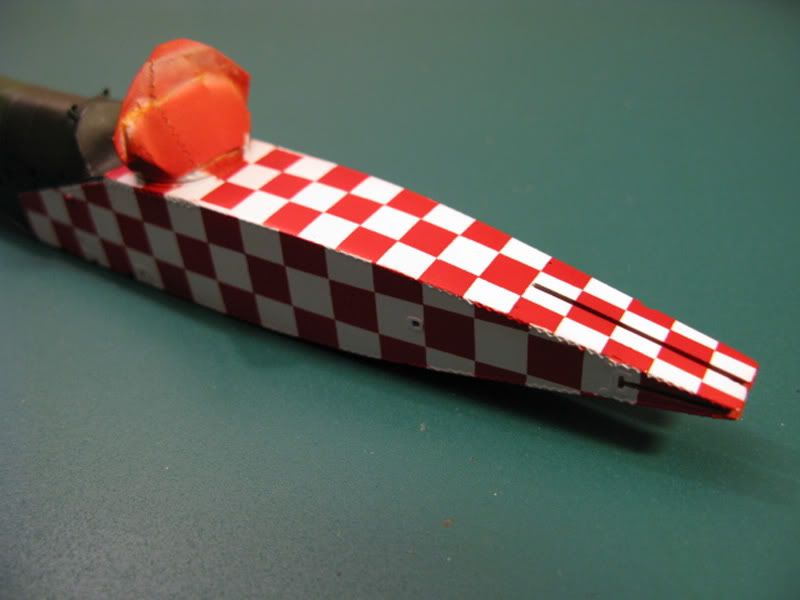
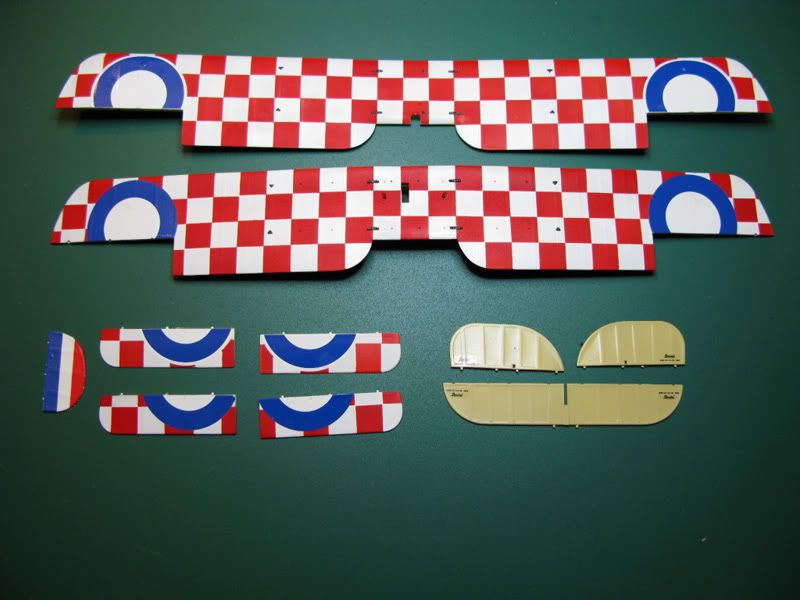
· Unmasking
Once unmasked, I was very happy with the results. Every square was perfect, they were no bleeding of red anywhere and all square were nice and sharp. Next I gave all painted areas a couple of coats of Klear to seal it all in.

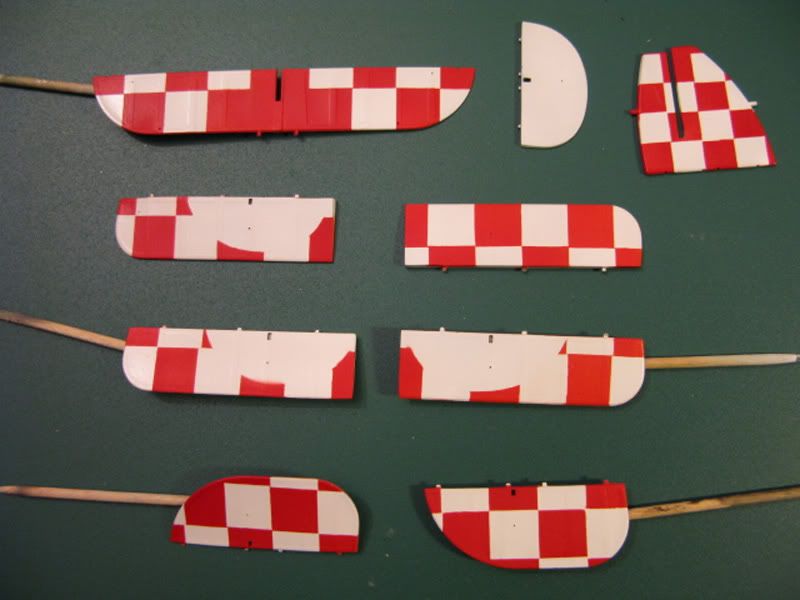
· Third main colour sprayed on
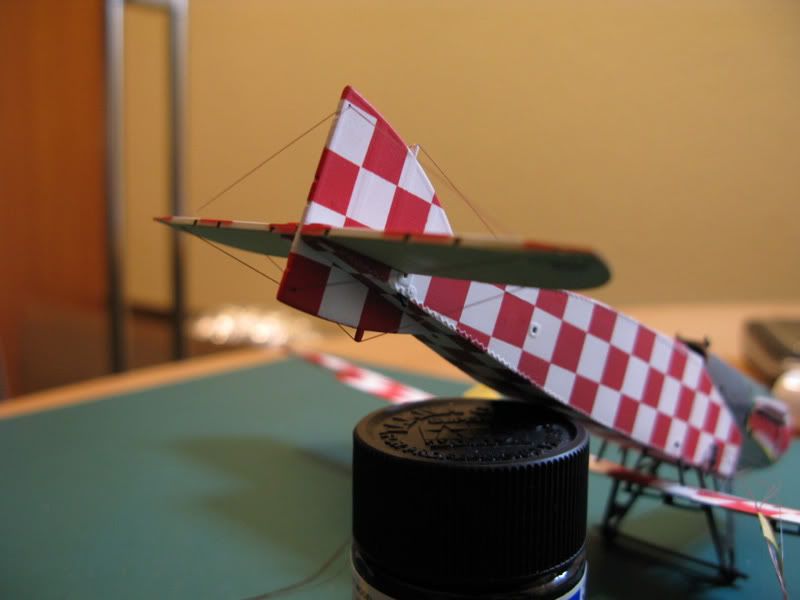
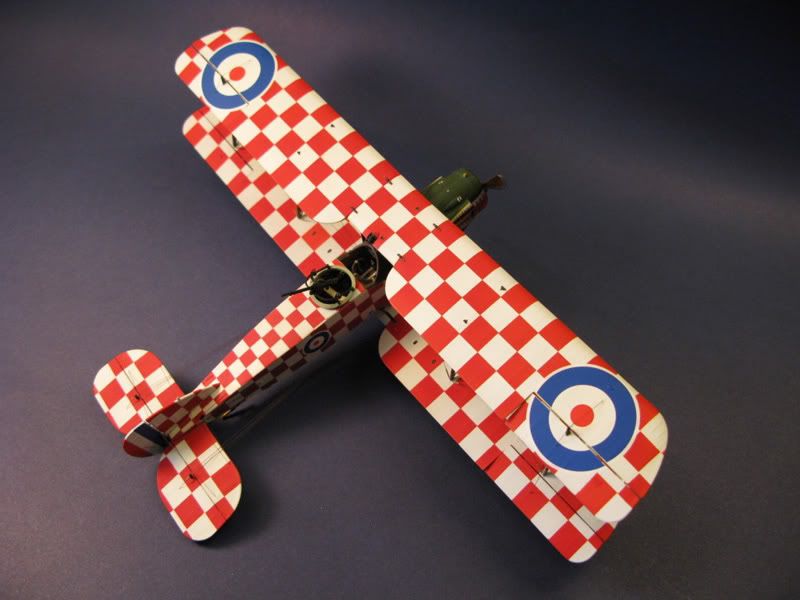
The third colour was applied to the underside of the top wing, tail and flaps using Vallejo 847. Once dried, all was sealed with a couple of coats of Klear.

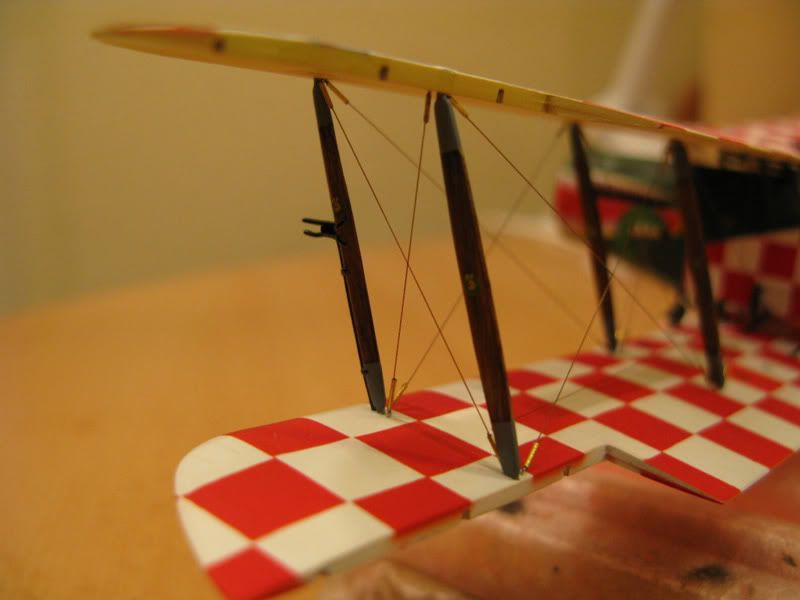
· Rope Detail
To show the rope detail better I dried brushed it with Grey White. You can’t really see the difference very well in the photo but by eye you can see it pops the detail a little.
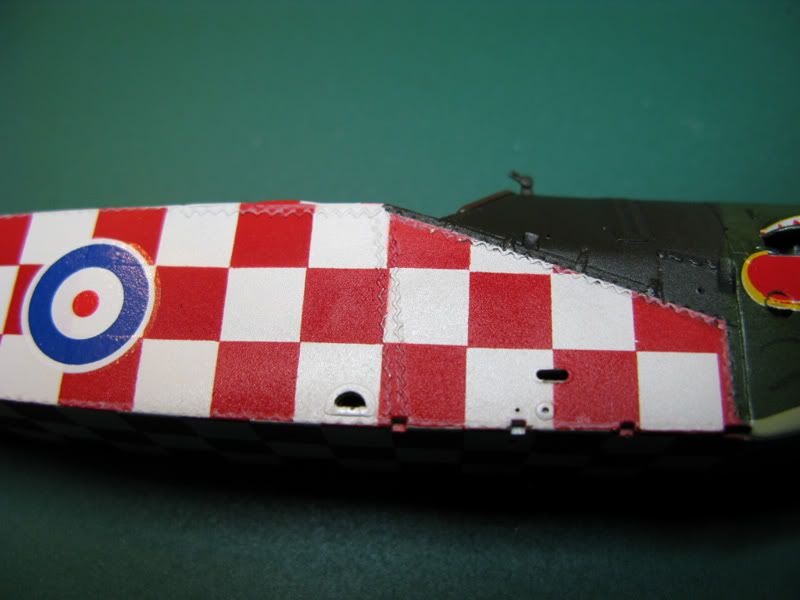
Decaling
All decals were applied and another coat of klear over the top. A little bit of tiding up is needed on the front of the fuselage were the decals cover up holes. This will be done later.


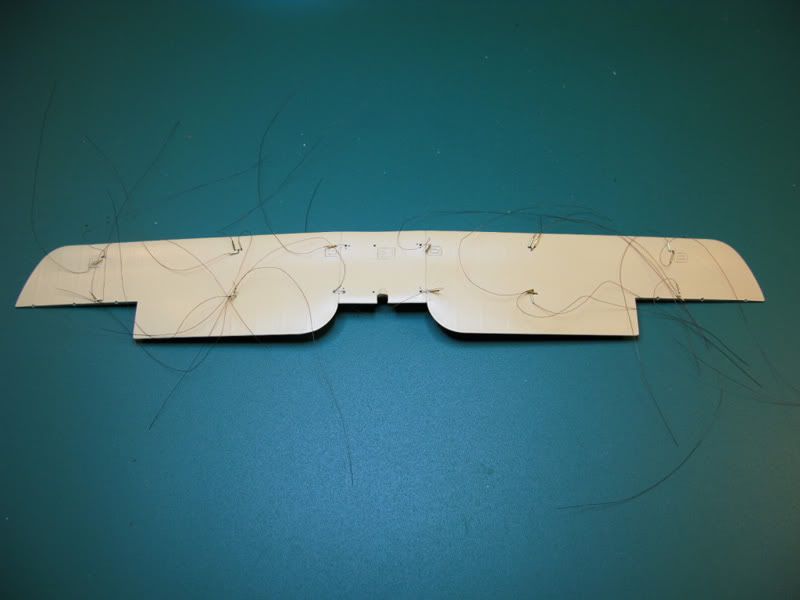
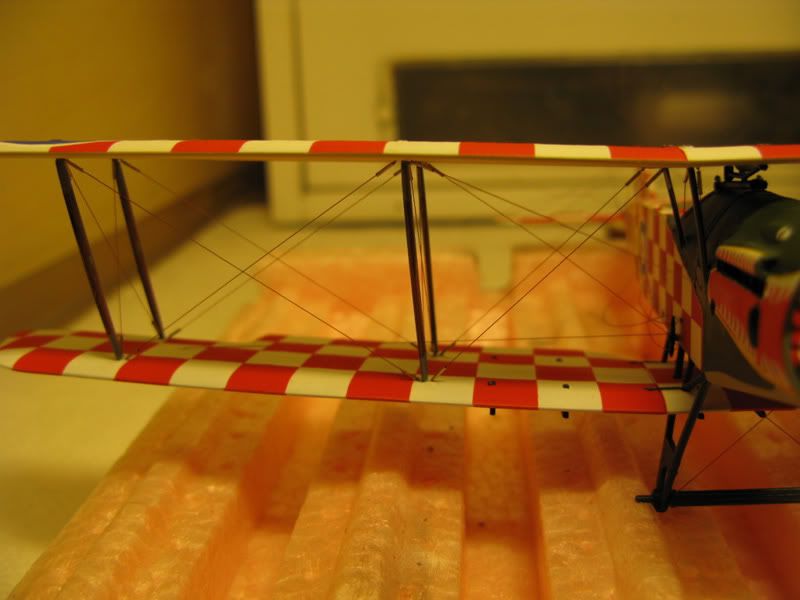
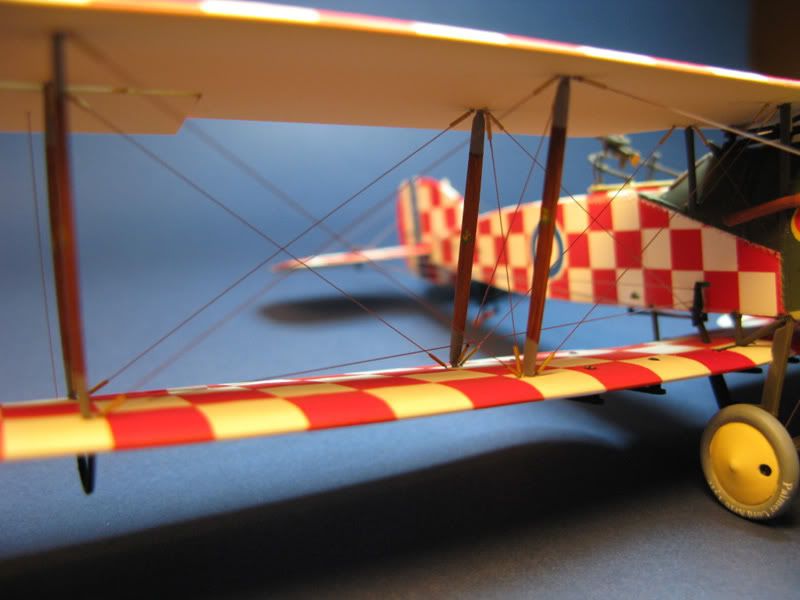
First stage of the rigging
The eyelets (bobs buckles) were fitted to both main wings. Then the rigging lines fitted to the top wing.


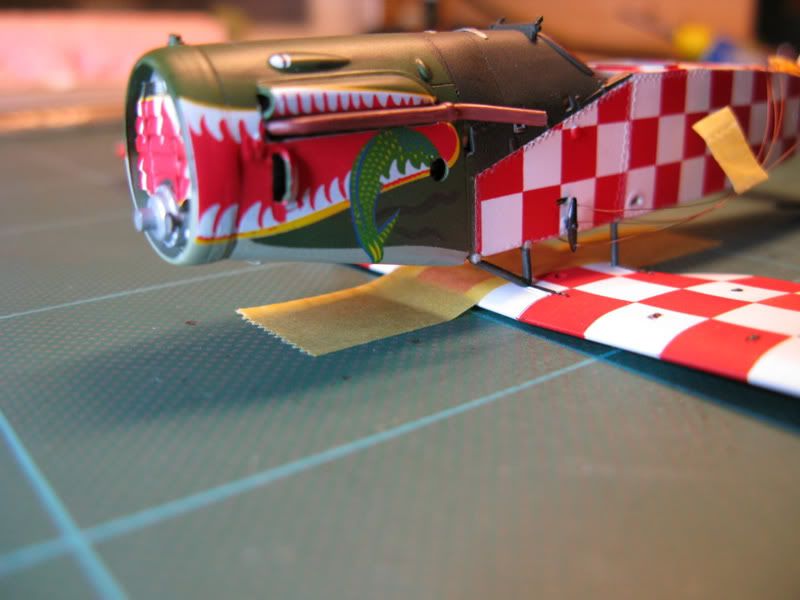
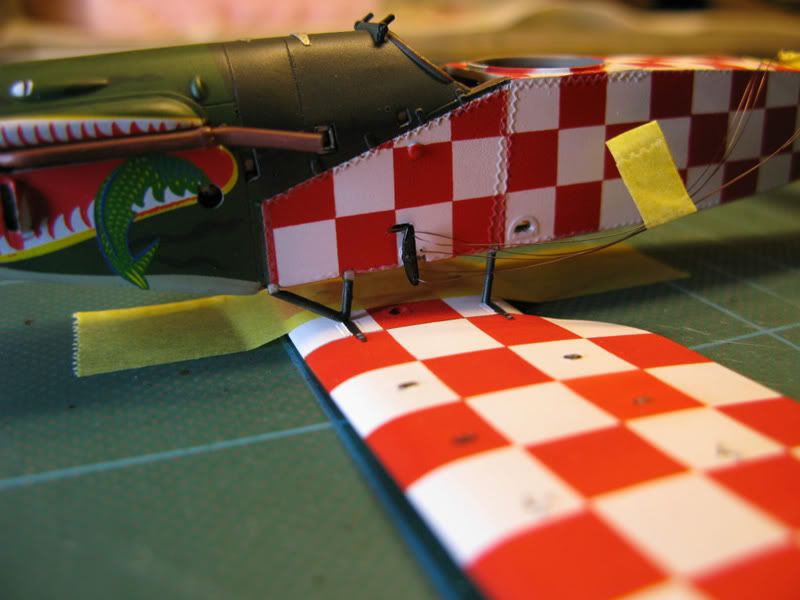
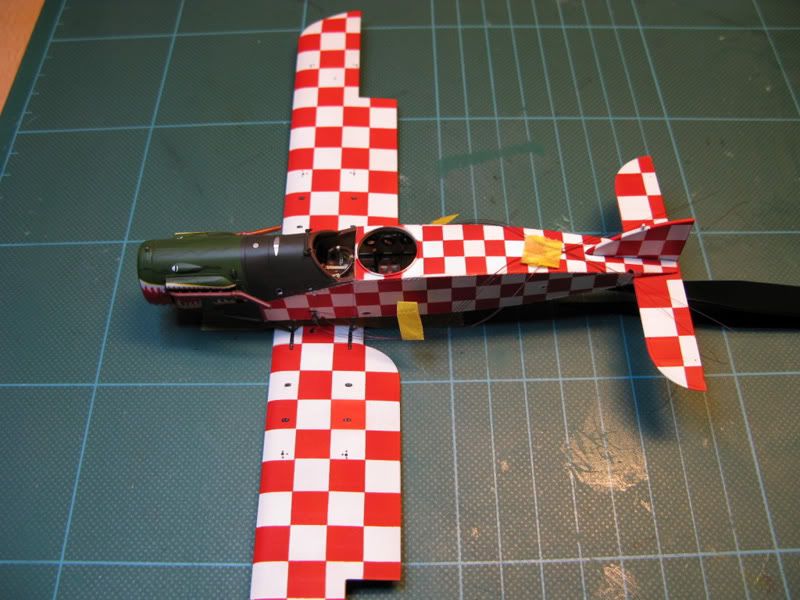
Assembly
The bottom wing fitted to the fuselage. This was achieved by taping the wing to the cutting mat square to one of the printed lines and attaching the fuselage to the wing ensuring that it was square with the wing.
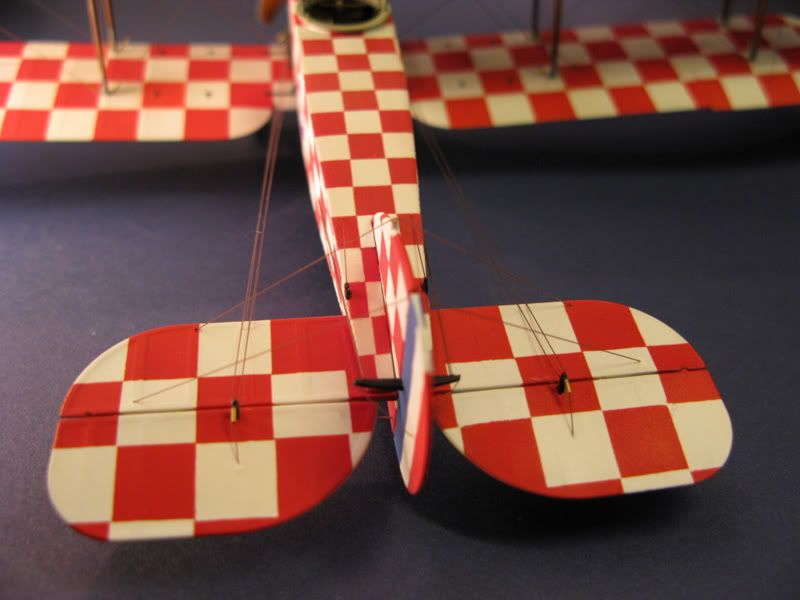
The tail assembly fitted along with the tail rigging and other control lines. Also the tail flap control levers and control line were fitted.
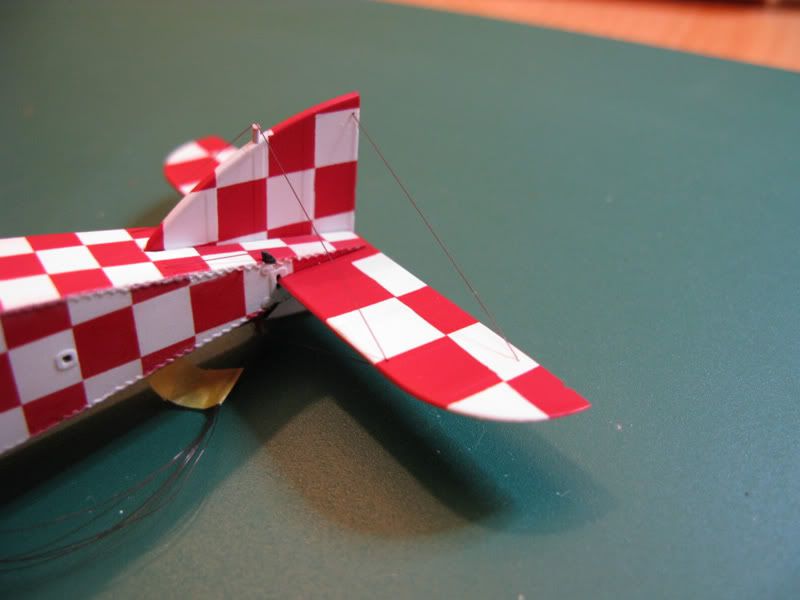
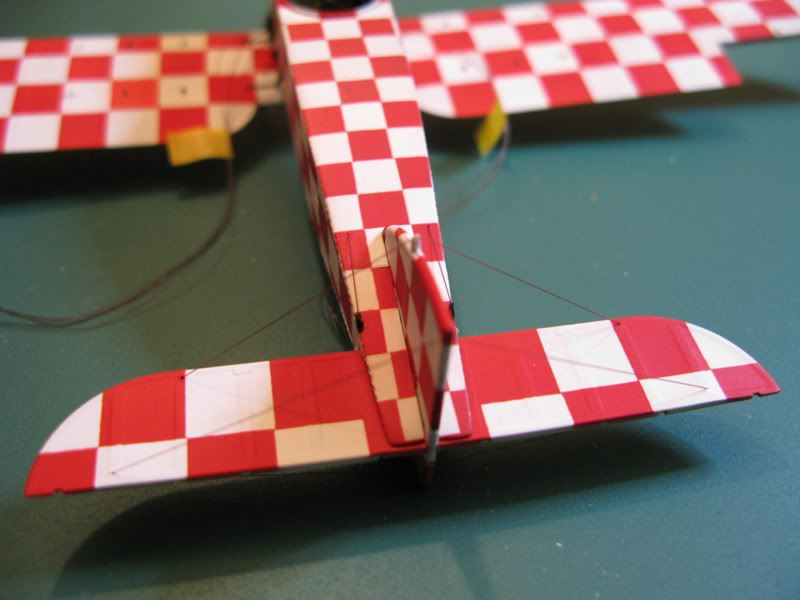
Some other small parts and control lines fitted.

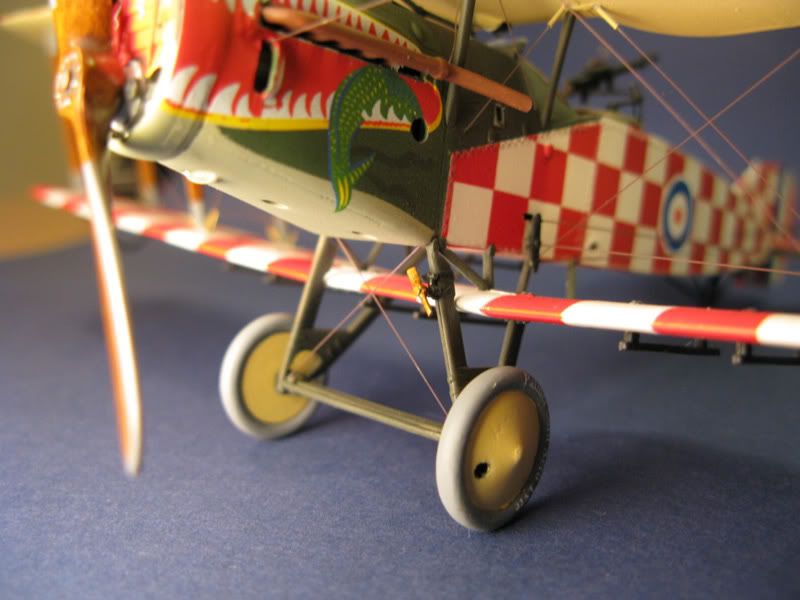
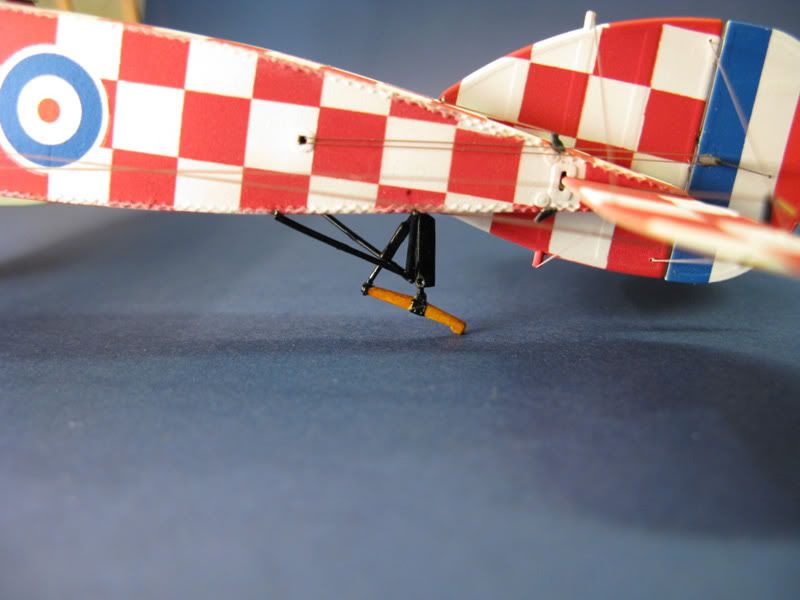
Under carriage fitted along with rigging.
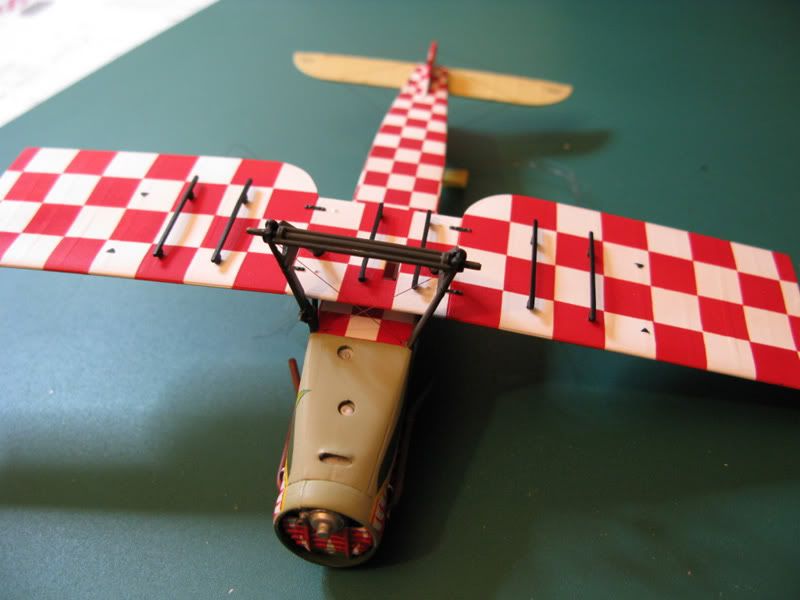
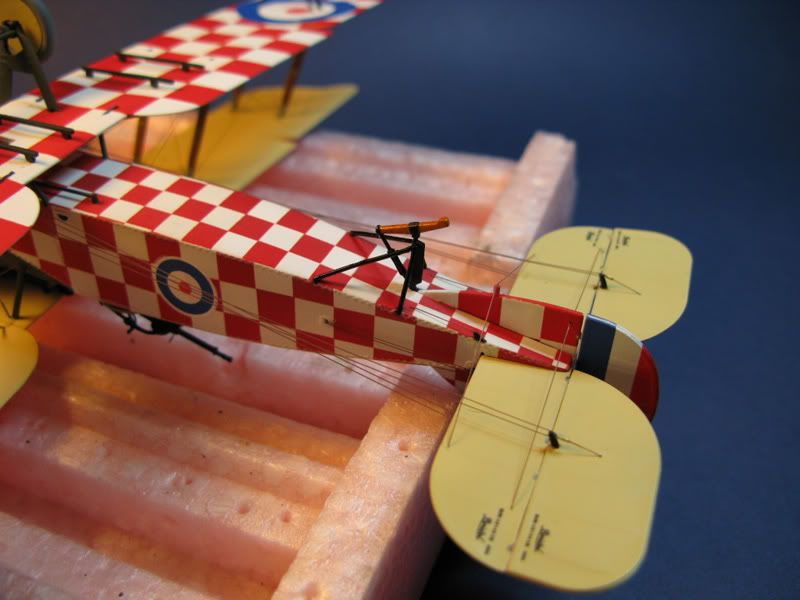
Next came the fitting of the top wing. The photos here do not show the correct order in which this part of the assembly was done but does show how it was done. First the four fuselage struts were fitted.

The model was then set up on the jig. This gave the struts time to dry a little but not to much that they would not move. The top wing was then fitted to the struts, fixed in place to the jig and allowed to dry over night.


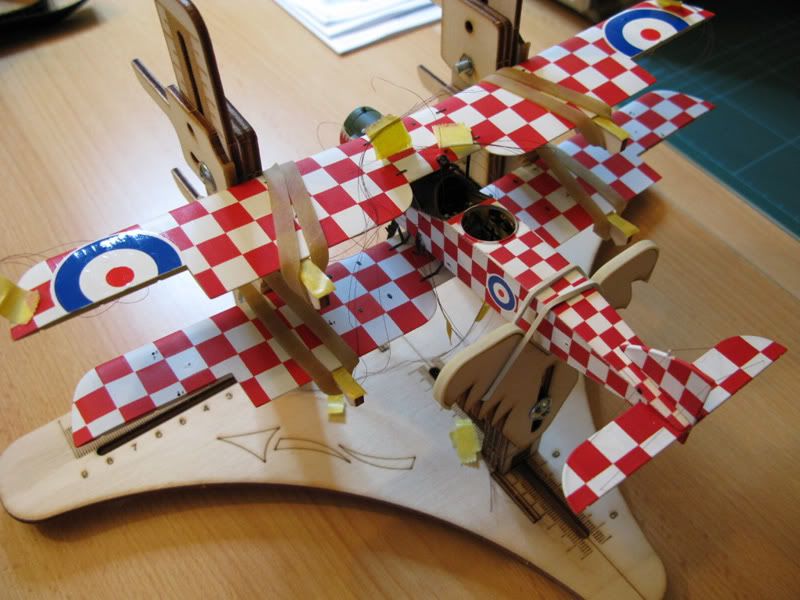
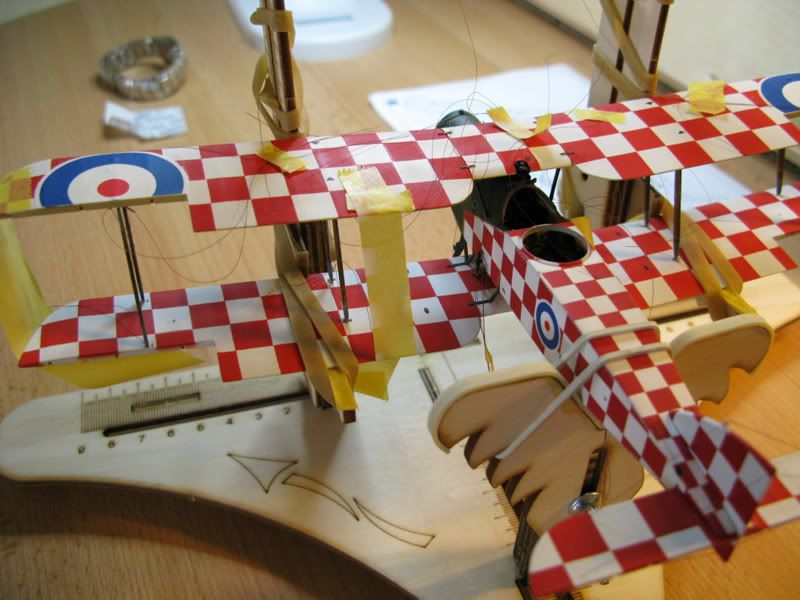
Now for the fun part, rigging the main wings. Start in the middle and work out.
Fit all the flaps and let dry over night. Fit the rudder. Fit the rigging for the flaps and rudder. Fit all the remaining parts, prop, wind shield, gun, wheels etc and all finished.

Well she's finished, hope you enjoyed the build!!


Thanks
Chris 