


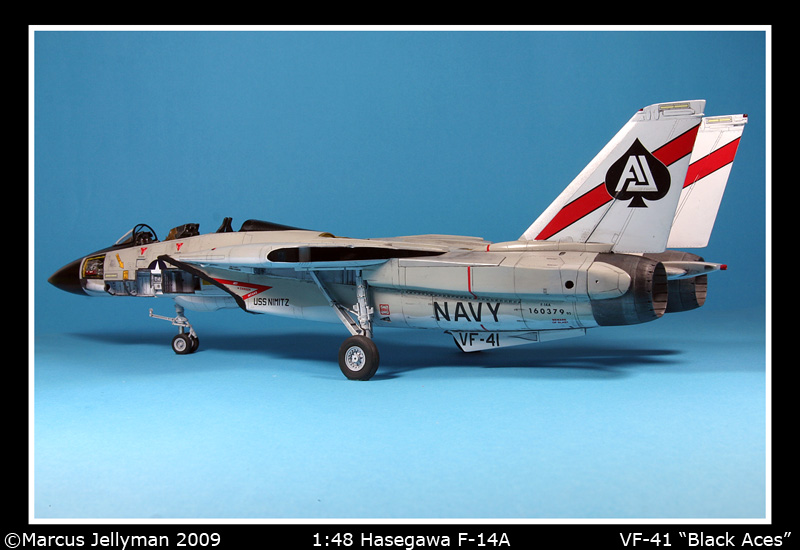
Grumman F-14A Tomcat
BuNu 160379 Modex AJ-100
VF-41 Black Aces USS Nimitz CVN-68 1978
As some of my previous builds have shown I have a real interest in US Navy aircraft, and especially those from the colourful 1970’s era. When Jeff ask us to join him in building the Tomcat there was only one I wanted to do, one of VF-41’s colourful birds.
I was fortunate enough to view aircraft from the Black Aces whilst on their final cruise before transitioning over to the Super Hornet. The USS Enterprise CVN-65 dropped anchor in Stokes Bay, Portsmouth for a short visit before heading home to Norfolk VA.
VF-41 Black Aces History
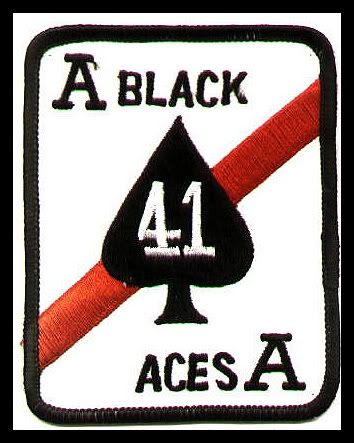
The Black Aces (Callsign – Fast Eagle) long distinguished history began in September 1950 at Naval Air Station Oceana, Virgina. The squadron began it’s career flying the Chance-Vought F4U Corsair but quickly moved to the jet age in 1953 with the F-2H Banshee. The Banshee’s lasted until 1959, when they were replaced with the Navy’s first all weather jet fighter, the F3H-2 Demon. VF-41’s association with the Demon was short lived as by 1962 deliveries of the McDonnell Douglas F-4B Phantom II were taking place, and in that same year saw VF-41 deployed to the Western Pacific carrying out various missions as part operations in the Vietnam Conflict. F-4N Phantom’s were also used for a short period from 1975-76.
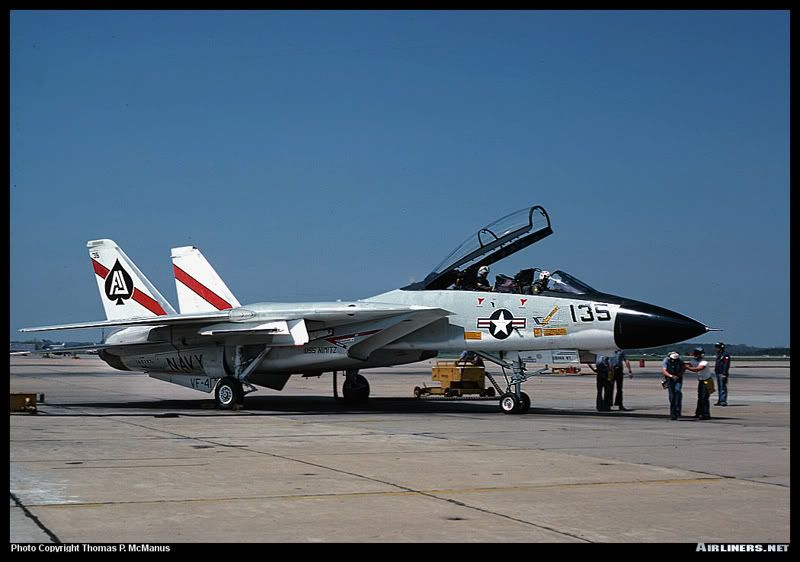
The mighty Grumman F-14A Tomcat arrived in 1976 and joined Carrier Air Wing Eight (CVW-8) and began several cruises aboard the USS Nimitz CVN-68. On 19 August 1981 whilst in the Mediterranean VF-41’s Tomcats shot down a pair of Libyan SU-22 Fitters in an unprovoked attack, this was the first ever confrontation for the F-14A.
December 1990 saw VF-41 on operations in the Arabian Gulf aboard the USS Theodore Roosevelt CVN-71 in support of coalition forces during Operation Desert Shield. The Squadron flew more than 1500 combat flights hours, the most intensive flight operations in the Squadrons history. In 1999 VF-41 were back in the Gulf supporting Operation Southern Watch re-writing the history books by becoming the first Squadron to expend ordnance in two theatres in one sortie.
In 2001 after successful operations in Operation Southern Watch and Enduring Freedom VF-41 arrived back in the United States aboard the USS Enterprise CVN-65 and in November of that year transitioned over to the new F/A-18 Super Hornet and became VFA-41.. The Squadron also moved from its long time base of NAS Oceana VA to NAS Leemore CA.
The Black Aces also have the honour of being the only F-14 Squadron to ever be awarded the RADM Clarence Wade McClusky Award. The prestigious award had been reserved for the finest attack squadron in the Navy, previously only going to A-6 or F/A-18 units. In 1999 VF-41 were selected as the Navy’s premier attack squadron.
The Aircraft in Question
A Few Notes About my Build
For this build I will be using Hasegawa’s F-14A # 09797 VF-2 “Bounty Hunters” boxing, with Aero Master’s Colourful Tomcats decals #48-588.
Aftermarket parts from Aires will include their excellent Cockpit Detail Set # 4124, Open Exhaust Nozzles # 4122, and Wheel Well Replacements # 4132.
Verlinden Super Detail Set # VL0427 will be used to open up various panels along the forward fuselage, I am also hoping to have the nose in the raised position exposing the radar. Also from Verlinden is the Cockpit Detail Set # VL0428 which includes framework for the pit and canopies.
Weapons for the build will be AIM-54 Pheonix missiles from the Hasegawa Weapons Set B and AIM-9L Sidewinders from Flightpath.
Others accessories include Pitot Tubes from Fine Molds, Steel Beech Intake Plugs # SB143, and some superbly cast resin Wheels and External Fuel Tanks from Royal Resin. A big thanks goes to Doug Smith for allowing us to use these pre-production examples, and also Hans for sorting them out.
I may also have the radome in the raised position exposing the Radar and it’s associated wiring, this will be scratch built using Plasticard and Lead wire.
Paints for this one will be a mixture of Gunze, Tamiya and Model Master Acrylics, Weathering will be carried out using Promodellers Wash along side Chalk Pastels and Tamiya Weathering powders.
The wing leading edges and landing gear Oleo’s will be treated to a covering of Bare Metal Foil, and a red marker pen will be used to edge the landing gear doors.
After Market Parts & Reference Material
Aires F-14A Cockpit Update # 4122
Aires F-14A Open Exhaust Nozzles # 4122
Verlinden Super Detail Set # VL0427
Verlinden Cockpit Detail Set # VL0428
Aero Master Colourful Tomcats # 48-588
Steel Beach Engine Intake Plugs # SB143
Royal Resin F-14A Wheels
Royal Resin External Fuel Tanks
Fine Molds Metal Pitot Tubes
Hasegawa Weapons Set B
Flight Path AIM-9L Side Winders
SAM Publications – Grumman F-14 Tomcat
In Detail & Scale Vol 9 - F-14 A & B Tomcat
AirForces Monthly - Tomcat v Hornet
World Air Power Journal - Volume 7 Autumn/Winter 1991
The Prime Portal website - Tomcat Pics
F-14A Detail Build - Build
F-14 Pics - Here
Here's the boxing i will be
using.
All
the goodies itching to be opened!!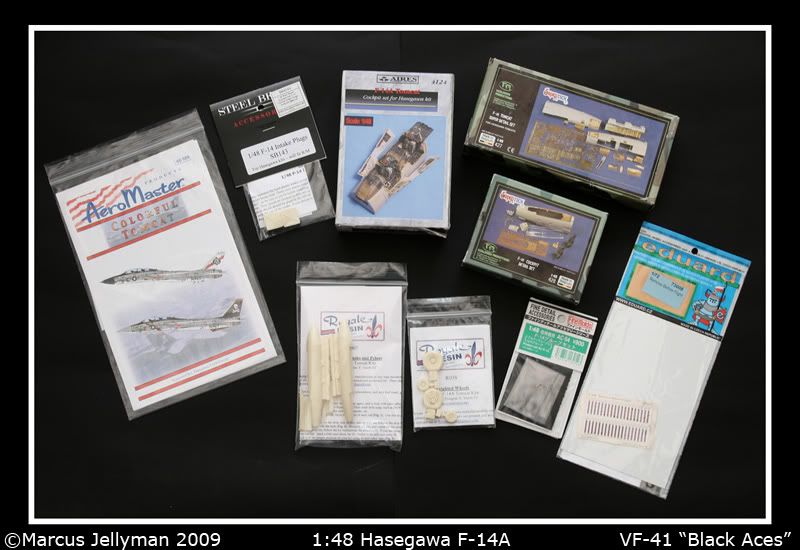
And
my favourite part, reference.
I will be using the Verlinden update
set, and will be adding the gun bay as well as the avionic area's.
With the Aires resin cockpit also in there it will need a fair bit of shoe
horning to get everything in.
I have also decided to rescribe the entire
model as the panel lines are a bit shallow in places.
Here is the
excellent Verlinden set.
Area's
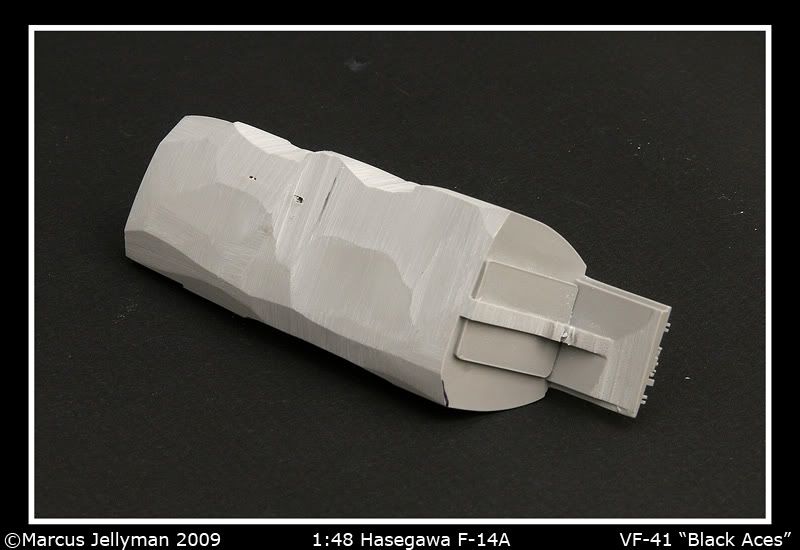
of the nose to be removed, there won't be a lot left!! 
I
have also decided to show a couple of panels along the spine opened up. These
house lots of pipework that runs down the spine of the aircraft and will be
scratch built using Evergreens finest.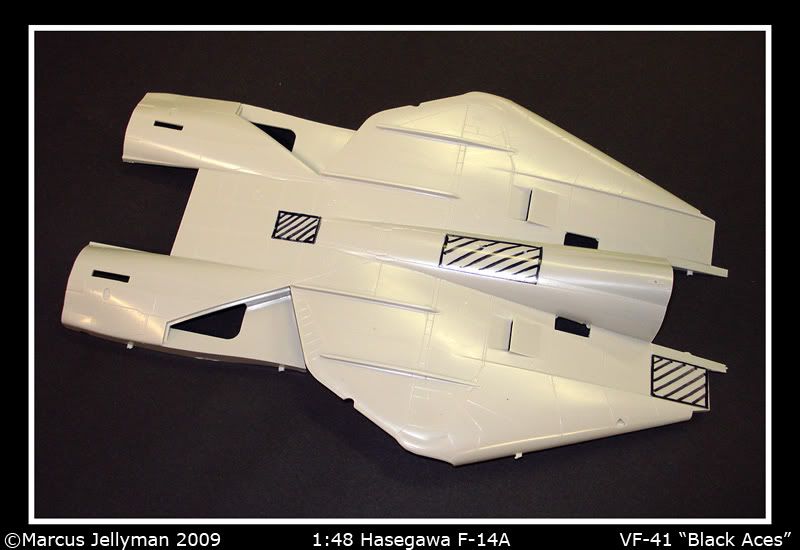
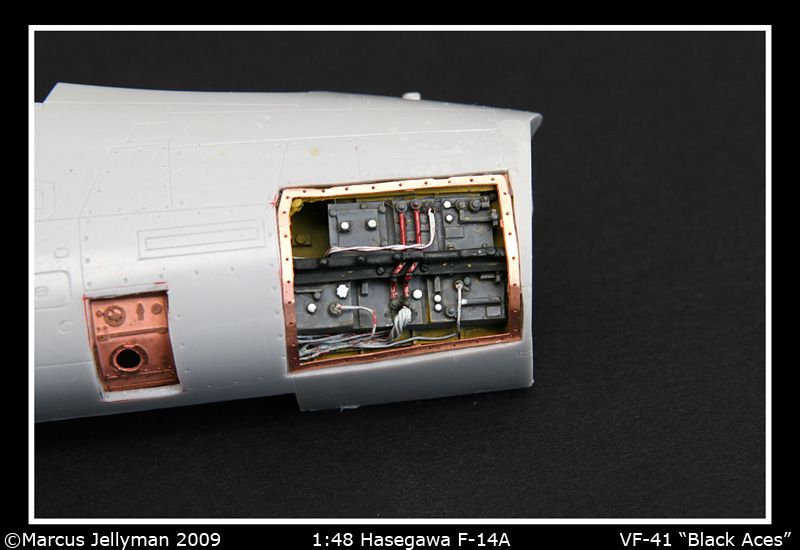
To open up the panels i used my Olfa-p
cutter and scribed a couple of millimetres in from the panels lines, once
through the rest was sanded back until the frames fitted. The resin avionics
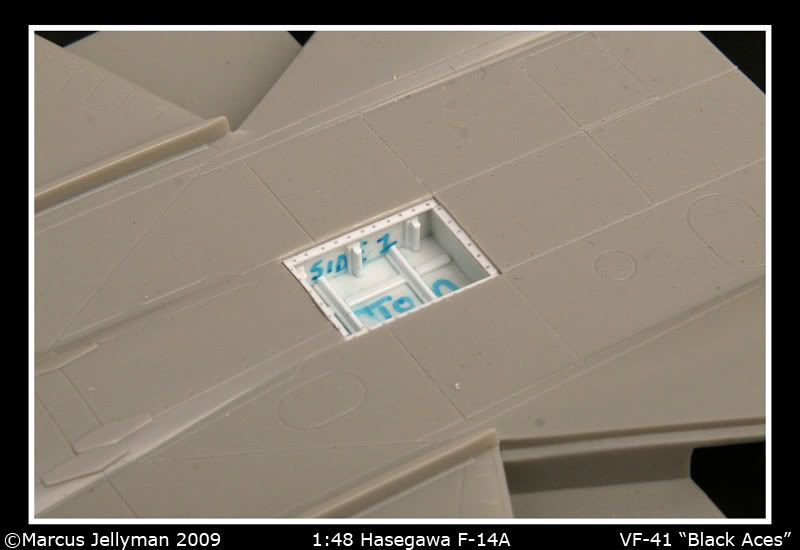
area's will have wiring and paint added on the bench before
gluing them in.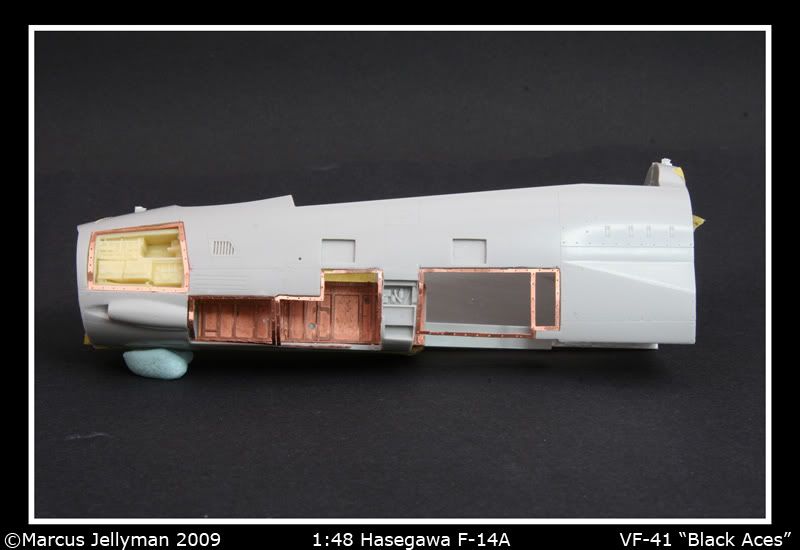

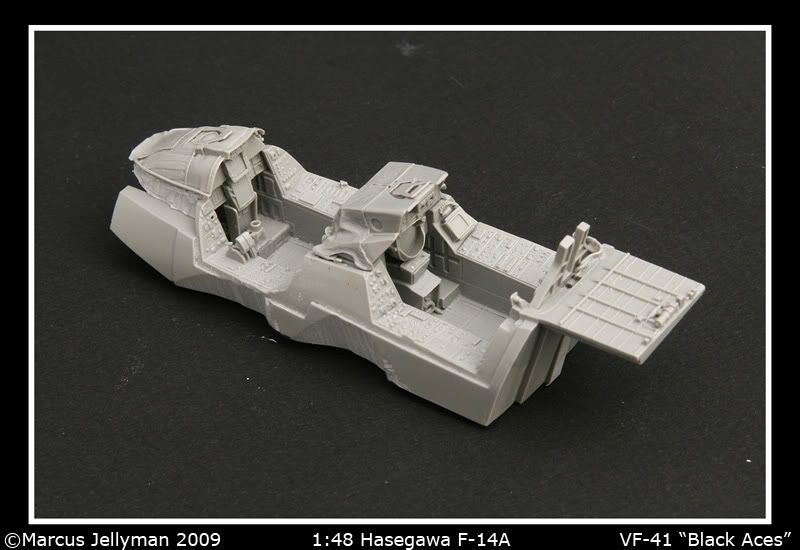
I plucked
up the courage to try and shoe horn the Aires cockpit along side the Verlinden
stuff. To say it's a tight fit would be an understatement! As you can see the
pit was sanded to within an inch of it's life but made it in the
end.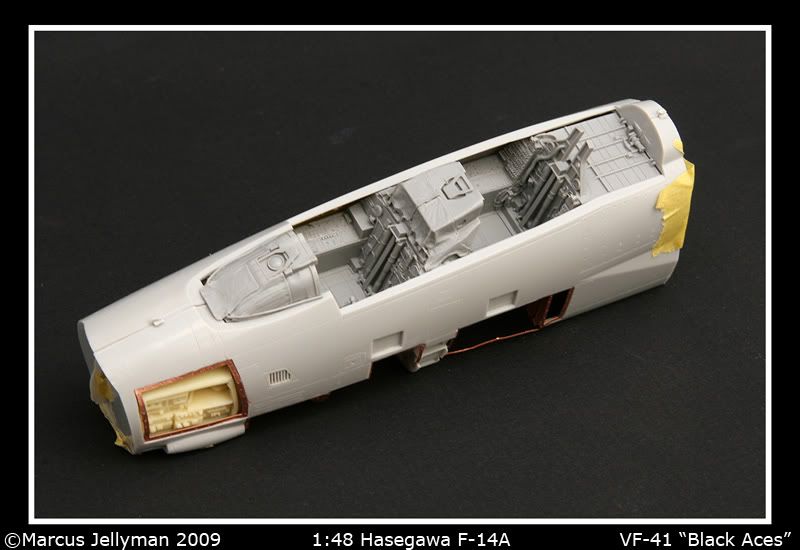

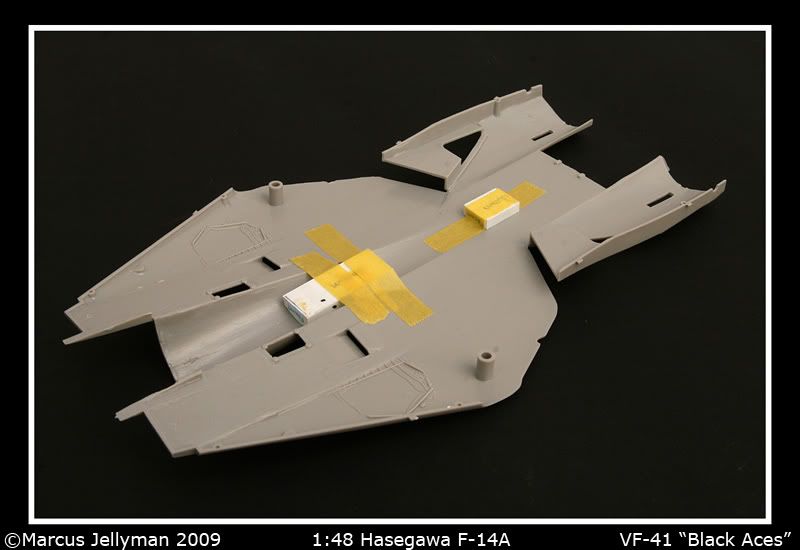
Spent
some time cutting out the panels along the spine. Once the area's were tidied up
i added thin strips of plastic card, once these had dried i drilled out the
holes for the fasteners.
First up the sides for the open
panels.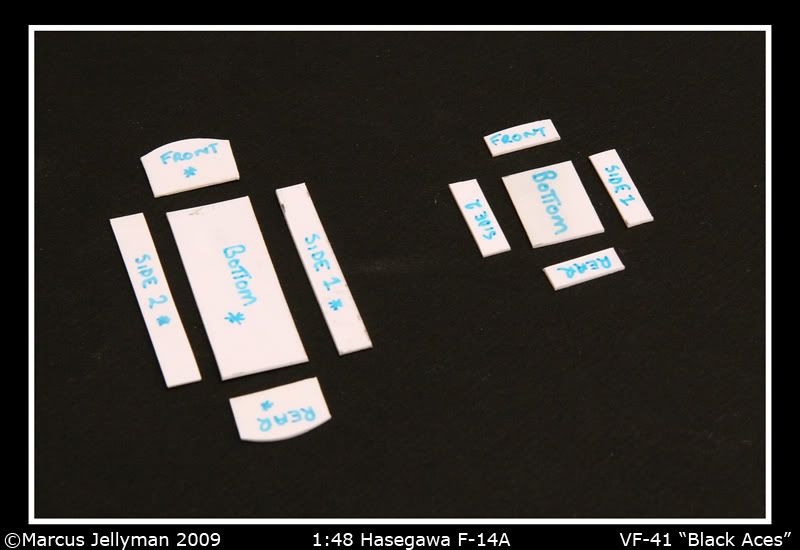
The
panels cut out along the spine.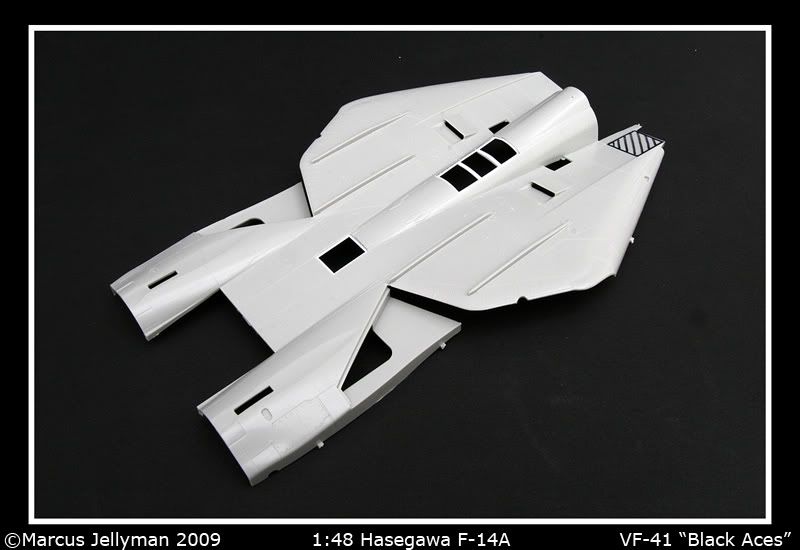
Plastic
strip added and drilled to simulate the fixing holes.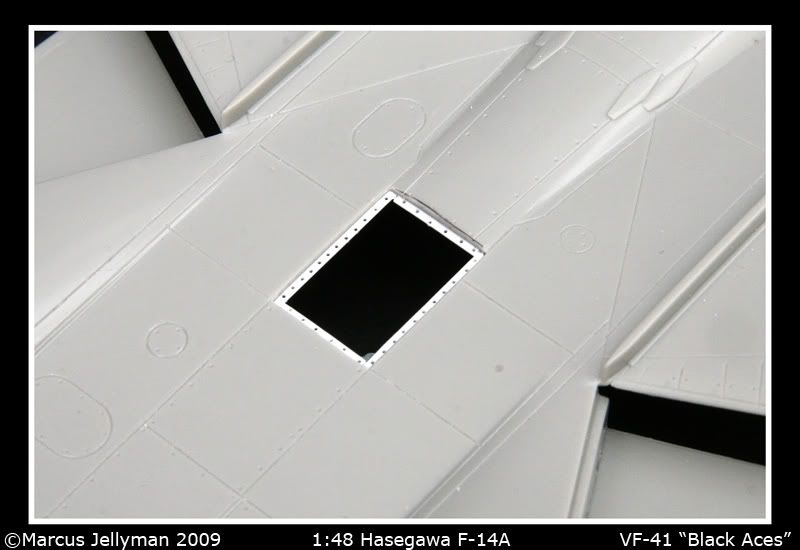

All the avionics bays have now been
finished so hopefully the build should start to speed up and maybe i will catch
up with the other guys!
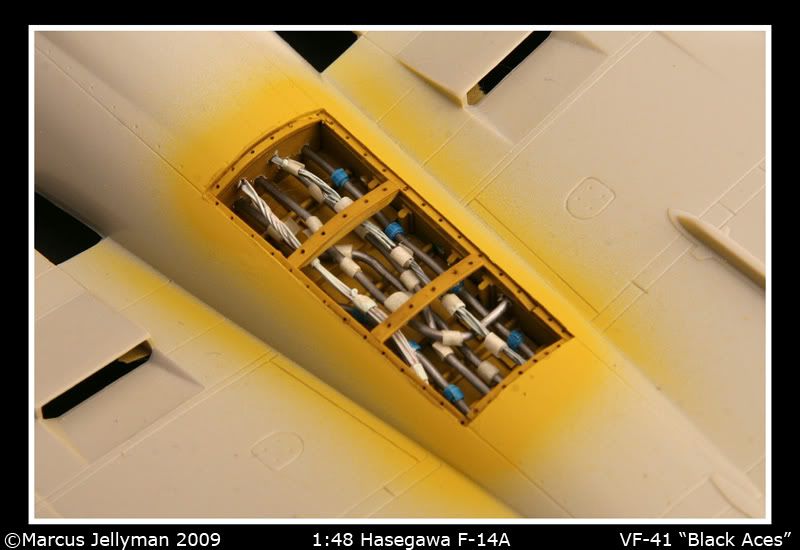
Both bay area's were cemented together and
various shapes and sizes of plastic stripe added for the internal
stucture.

Next
a coat of Model Master 4851 Yellow Zinc Chromate was added, along with a wash
from Citadel.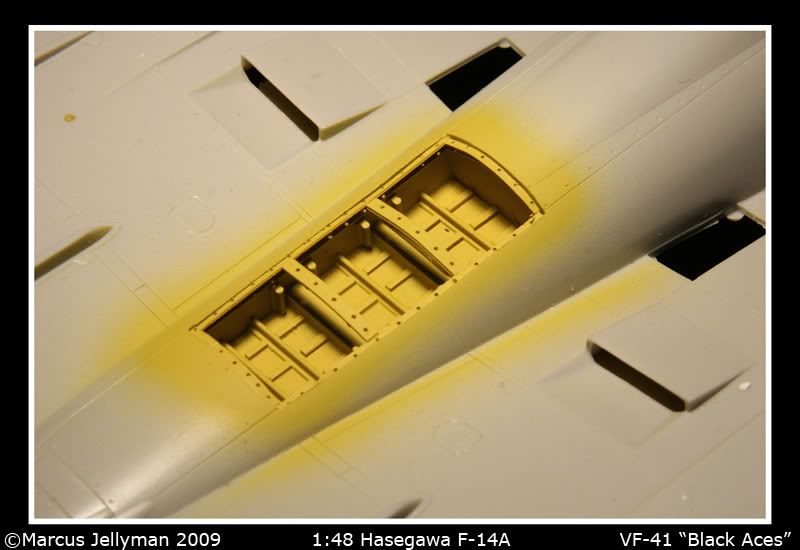
Once
this had dried, pipework and wiring was added using 0.8mm Lead wire and Electric
motor winding wire.


The ejector seats have now been finished,
and most of the cockpit completed. I've also added some wiring to the avionics
bays and these have been glued in place. Now i just need to squeeze it all into
the nose!!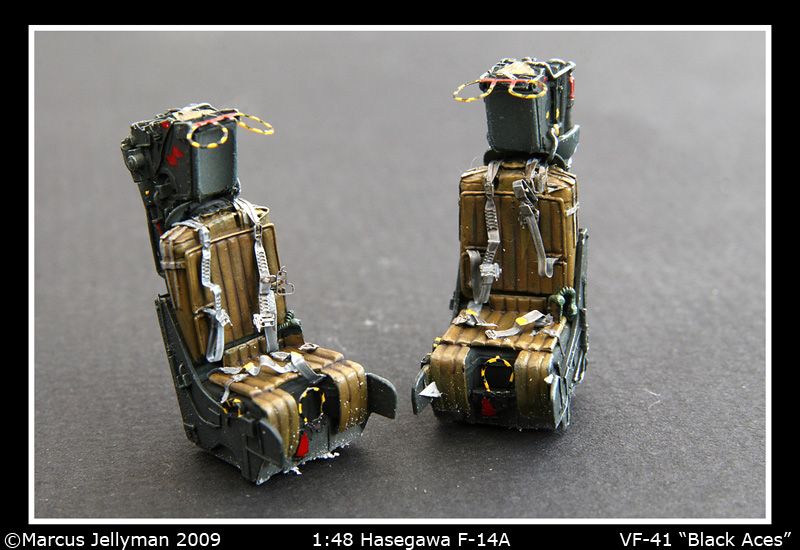


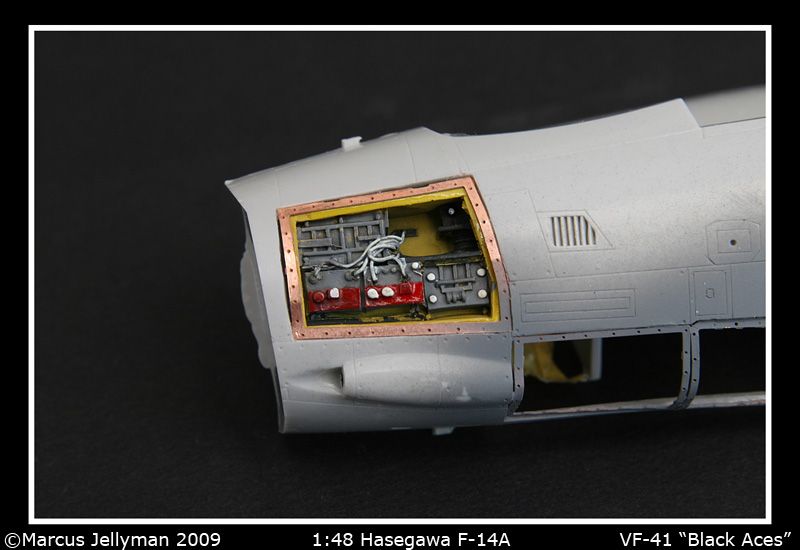
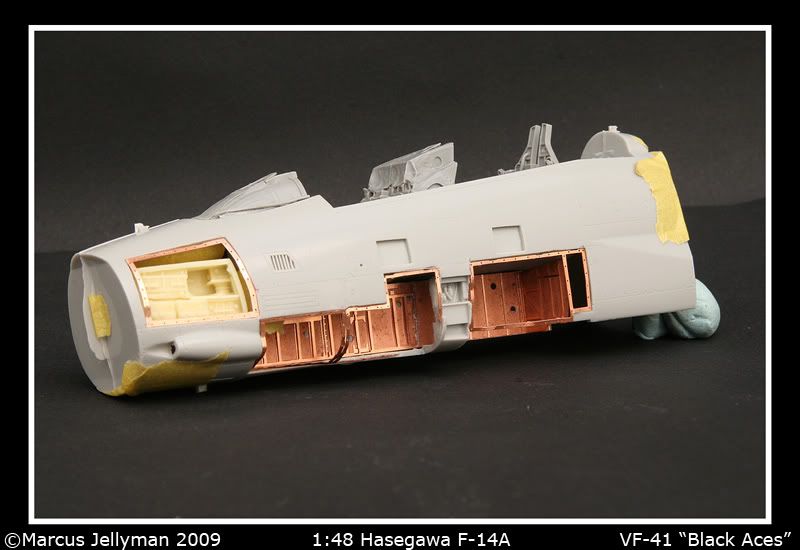
After much fettling the pit has finally been installed and the two halves of the front fuse cemented together, to say it was tight would be an under statement!. The partitions that seperate the gun bays have also been added, they needed some minor trimming but nothing too major. The only thing that doesn't come with the Verlinden set is the roofs of each bay so these were fashioned from plasticard and stripe. Some rivet detail was also added with an RB Productions rivet tool.
There are a also few randome pipes that run through these area that will be added before painting.
The pit in at last!!
The
bays with one of the roofs still missing.
Adding
rivet detail.
Nearly
ready for paint!!


The morning was spent sorting out the
joints, especially the 'step' where the the front and rear fuse halves
meet. Squadron white putty was used, and once dry sanded and re-scribed. The
cockpit and avionics bays were masked and a Tamyia light grey was then used as a
primer. After a couple of joint lines were made good, i used Tamiya flat black
for the pre-shading.


After priming, the entire fuse was rubbed
down with Micro-Mesh and given a good clean. First for airbrushing was the
inside of the airbrake area, the airbrakes were then placed in the closed
position to act as a mask. Xtracrylic White was then shot onto the bottom of the
fuse, and once dry was masked and Xtracrylic Gull Grey shot onto the top side.
Finally Xrtacrylic Black was used for the nose and cockpit area's.
The
tails and wings were shot with the same colours as the fuse excpet for the
leading edges which were shot with Tamiya Flat Aluminium.


Next
up are the burner cans, these were shot with a mixture of Burnt Iron, Metal
Black from Gunze and Flat Aluminium from Tamiya. I then used Jeff's (Fokker 70)
excellent run through from his Tomcat build, thanks Jeff!!

Finally
some work on the landing gear. There are quite a few joints to be made good
first, once this was done i added pipework and brakelines using motor
winding wire and lead wire. All was then shot with gloss black before
adding the white. After a coat of Johnson's Klear a weak mix of Tamiya smoke was
brush into the recesses. All thats left now is to paint some of the brake lines
and add a few placards.


The Aeromaster decals went on a treat,
the small veins on the tails took a bit of settling down but nothing too taxing.
These were left to dry and were then sealed in with coat of Klear. The whole
model then received a Promodellers 'Dark Dirt' wash which came out great. For
the more detailled weathering i used a mix of chalk pastels and Mig
oils.
The reason for the background colour change is that when using the
black you can hardly see the nose!
Still loads to do before she's ready
for the party, but we are on the home stretch.


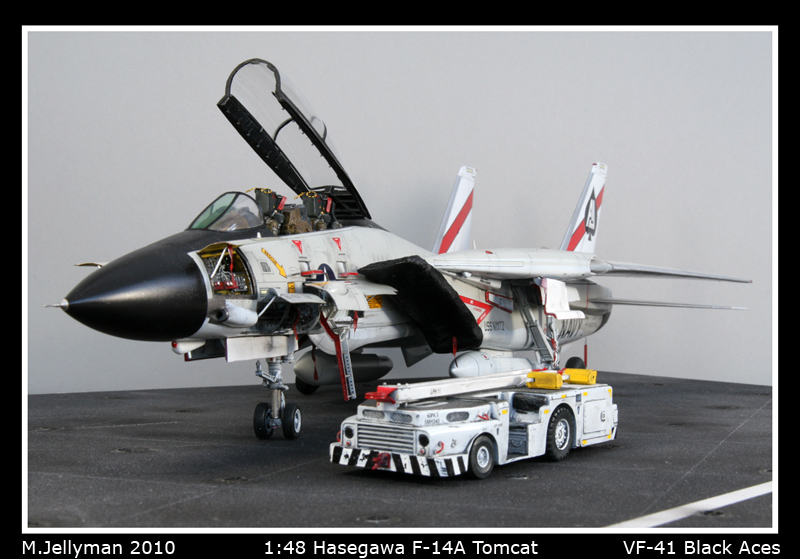
I've also added a resin carrier tug from
PWMP. The tug was first painted gloss black before painting white. The anti-slip
surface on top is 800 grit wet & dry paper cut to shape and glued on. The
tow bar and chocks are from Flightpath.

My F-14A Tomcat is finally finished,
another really enjoyable build that had its moments. Getting the Resin pit in as
well as the Verlinden set was a bit of an effort but really worth it in the end.
A big thanks to Jeff for inviting me in to this build, and to Tom and Hans for
the various bits and bobs that passed hands.
My
Build
Kit:-
Hasegawa
1:48 F-14A Tomcat #09797
Scale:-
1:48
Extra's:-
Aires F-14A Cockpit Update # 4122
Verlinden Super Detail Set # VL0427
Verlinden Cockpit Detail Set # VL0428
Aero Master Colourful Tomcats # 48-588
Royal Resin F-14A Wheels
Royal Resin External Fuel Tanks
Fine Molds Metal Pitot Tubes
Reference:-
SAM Publications – Grumman F-14 Tomcat
In Detail & Scale Vol 9 - F-14 A & B Tomcat
AirForces Monthly - Tomcat v Hornet
World Air Power Journal - Volume 7 Autumn/Winter 1991
The Prime Portal website - Tomcat Pics
F-14A Detail Build - Build
F-14 Pics - Here
Paints:-
Xtracrylic
Tamiya
Gunze
Citadel
Materials:-
Evergreen Styrene
800 grit wet & dry
Lead wire
Copper wire
Tin Foil
Loo paper
PVA Glue


Thanks
Marcus 