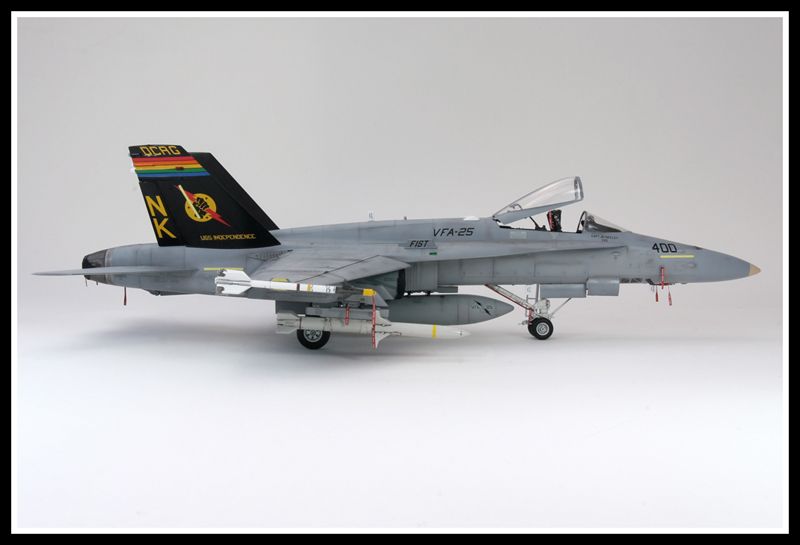
1/48 Hasegawa F/A-18C
VFA-25 ‘Fist of the Fleet’
‘Desert Storm’
By Marcus Jelleyman
- Kit:- Hasegawa F/A-18C
- Scale:- 1/48
- Decals:- CAM 48-077A VFA-25/VFA-105, Afterburner Decals 48-055 Missiles & Pods 1:48
- Extra’s:- Hasegawa X48-3 Weapons set C for AGM-88 HARM & AIM-9L Sidewinders, Verlinden Resin Seat, Eduard 1:72 RBF tags.
- Paints & Weathering:- A mixture of paints from Tamiya, Gunze Sangyo & Citadel were used. Weathering was powders from Flory Models.
The Hasegawa Hornet range has been around for sometime now, and still there is no finer Hornet kit in 1/48. In the box is over two hundred parts, including a set of white metal landing gear and a fret of photo-etch metal. Weak points of the kit are the decals and lack of ordnance. As with most Hasegawa kits the decals are very thick, so an aftermarket set would be recommended. If you want to ‘tool’ your Hornet up, Hasegawa offer several boxes of ordnance to enhance you kit. The kit itself is very well engineered, with a top to bottom fuselage fit instead of the normal two halves. Other good feature’s are the separate tail units that can be left off the model until final assembly and the flaps that can be modeled in the raised or lowered positions.
The Build
The fuselage is split from top to bottom and is common to both single seat and twin seat versions.

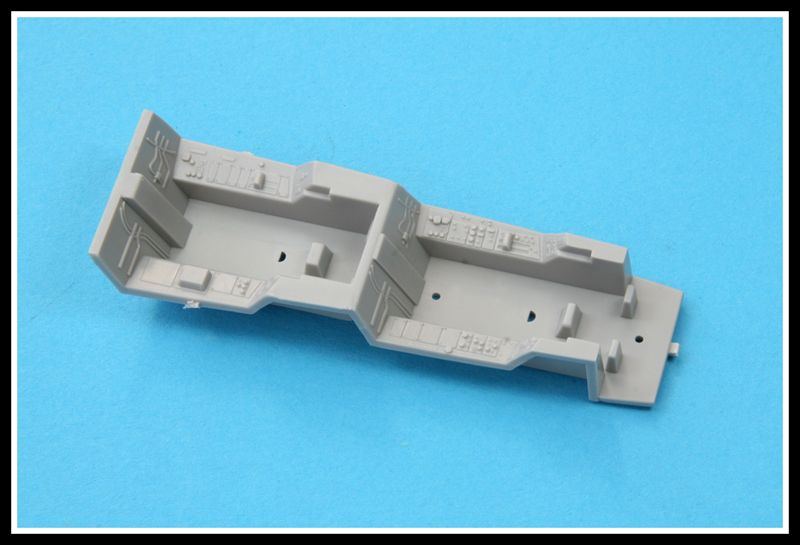
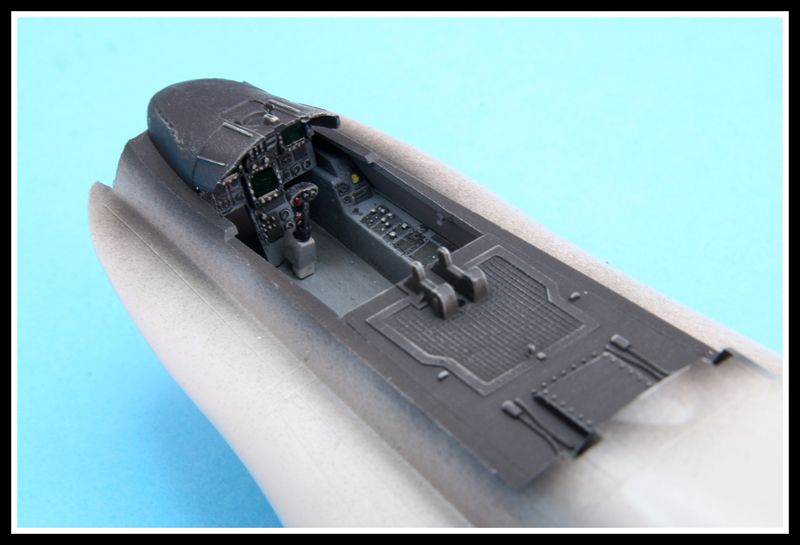
Most modelers will replace the kit cockpit with an aftermarket item but the Hasegawa offering is more than adequate. As you can see, this a again tailored for both the single and twin seat versions.
Gunze Aqueous H77 Tire Black was fused as a primer for the cockpit area. Tamiya XF-54 Grey was then airbrushed over the black. Remember you only need paint the front area!
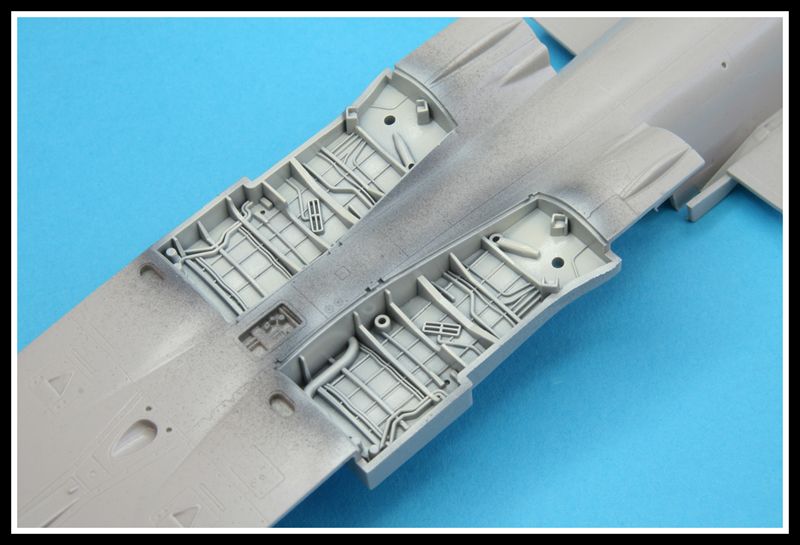
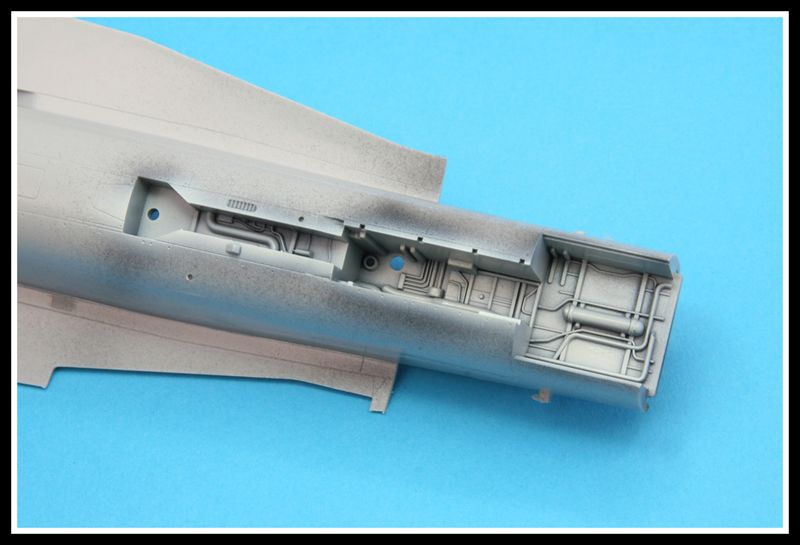
The superbly detailed wheel wells were also primed with Gunze Tire Black, followed by a coat of Gunze White. The black undercoat will show through under the white, creating the illusion of ‘shadows’ in the recesses.
The front wheel well was treated to same painting process as the rears.
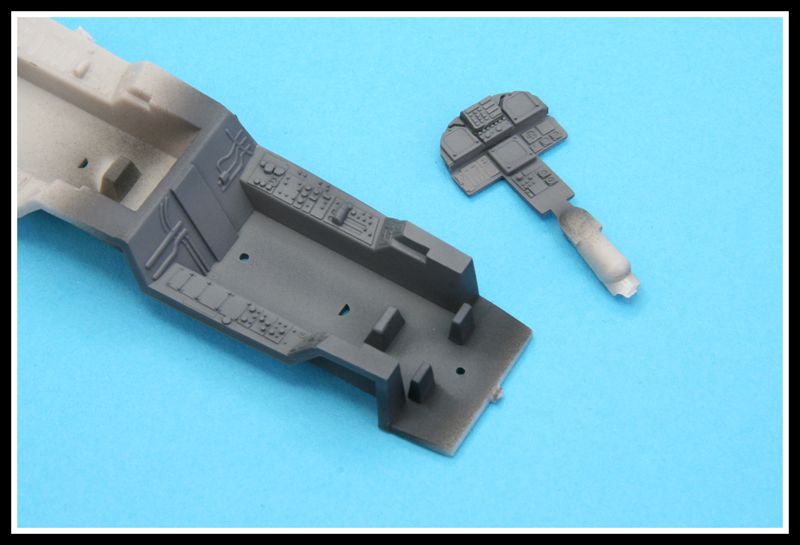
For the Multi-Function display screens, Tamiya Clear Green was painted over a dark background. The Knobs and switches were picked out with a tooth pick. The entire cockpit was then dry brushed with a light grey.

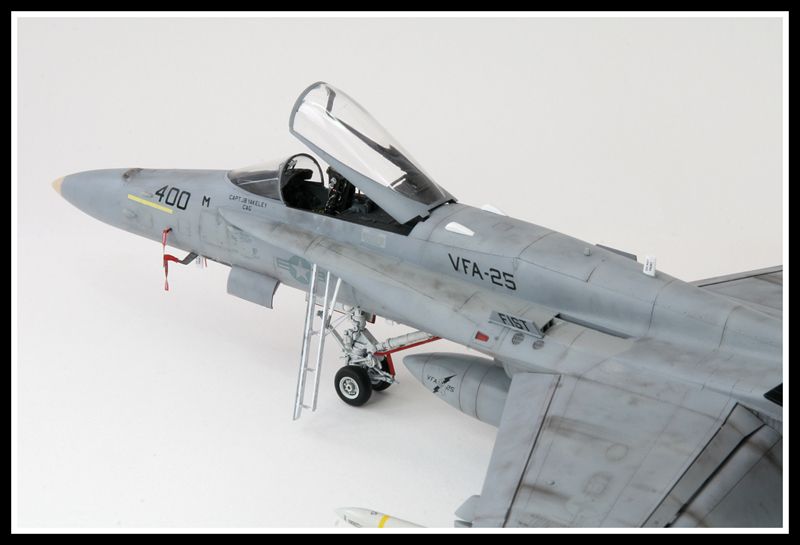
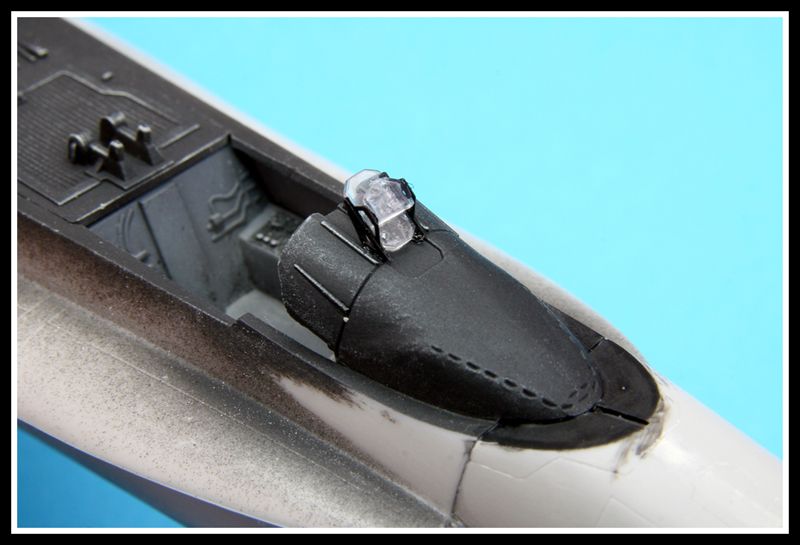
The cockpit coaming has been airbrushed with Tamiya Flat Black and dry brushed again with a light grey. The large panel directly behind the cockpit covers the rear seat area.
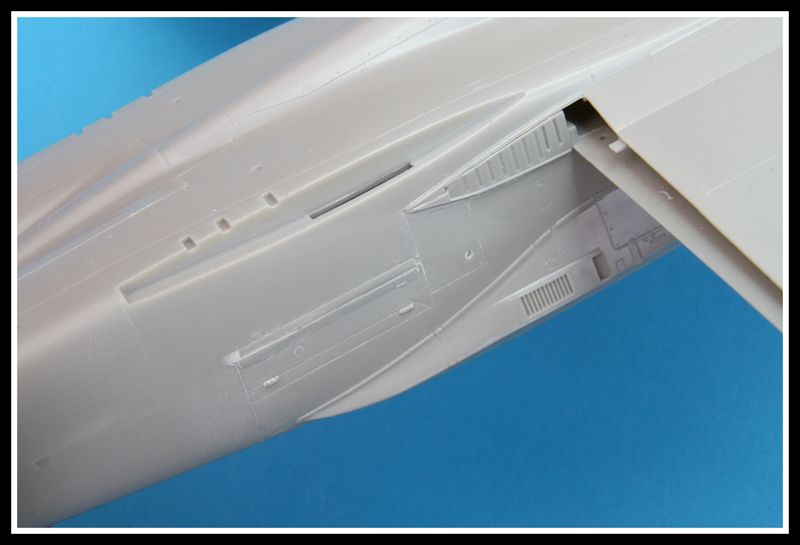
With the cockpit complete, i moved onto getting the fuselage together. Area’s to watch are the sections directly below each of the tails. Test fitting and fixing any problems before gluing will save you a headache later on.
Because of the flat nature of the area, a good fit is essential as to not cause yourself additional work once everything has set. I always test fit before committing to cementing. You can also add plastic stripe braces inside to strengthen the flat joint.
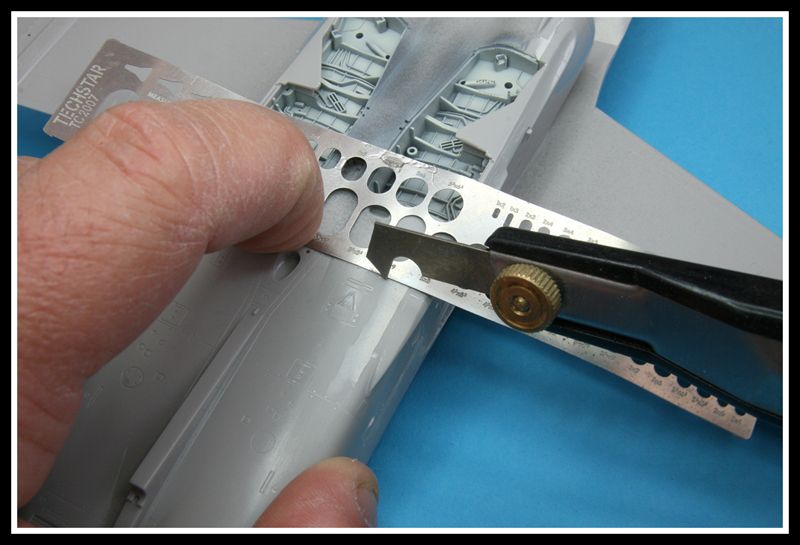
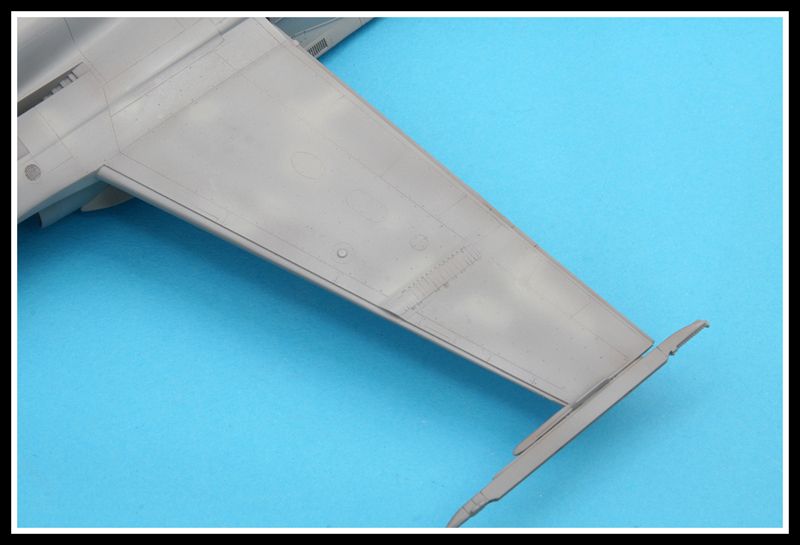
When removing seam lines, it is inevitable that you will lose some of the fine surface detail of the kit. A scribing template and my Olfa-p cutter were used to replace the lost detail.
Before fitting the cockpit glazing, the Head-Up-Display (HUD) requires building and fixing into position. The frame work for the HUD is photo-etch and is included in the kit.
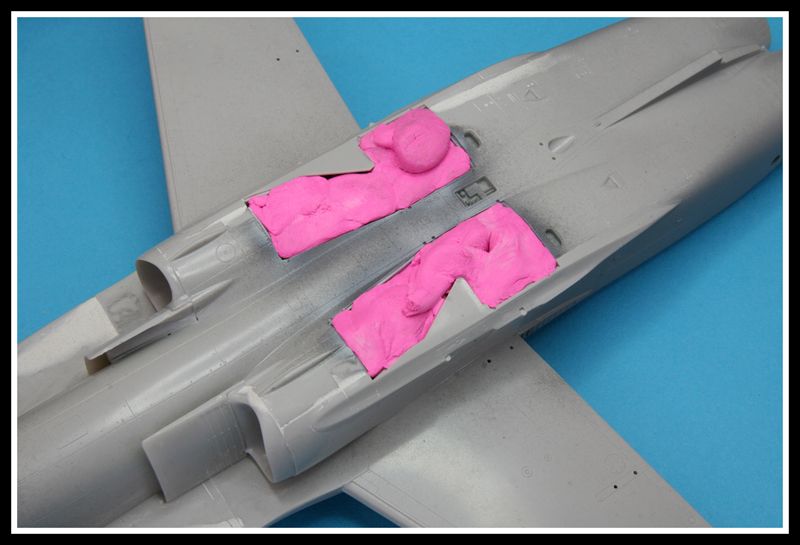
To save time when masking the wheel wells, use BluTac (in this case Pink!) over regular masking tape.
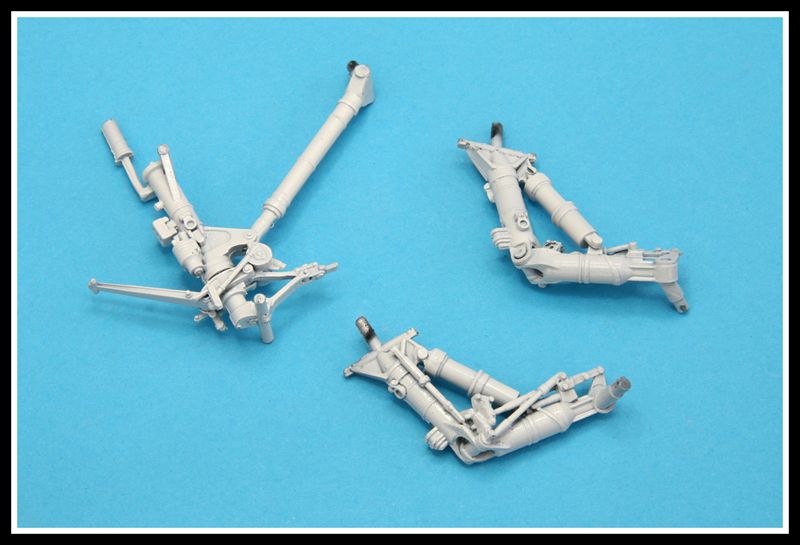
The beautifully cast white metal landing gear will need minimal preparation before priming. I used the edge of a scalpel blade to scrape away the casting seams.

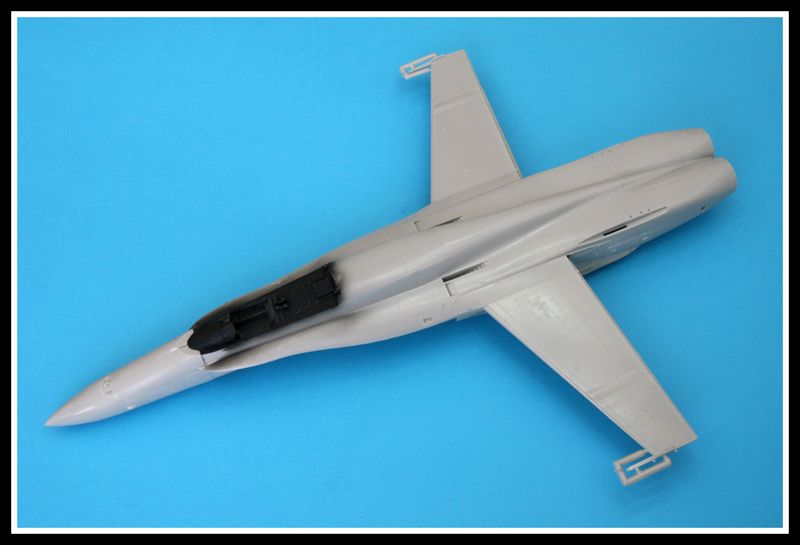
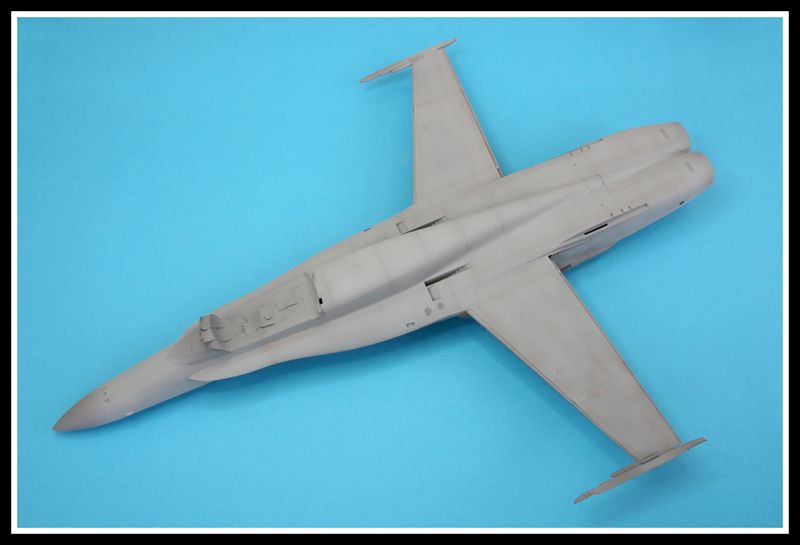
With the cockpit and wheel wells masked, i primed the model with Halfords auto grey primer from a spray can. The landing gear has been painted black in preparation for the white top coat.

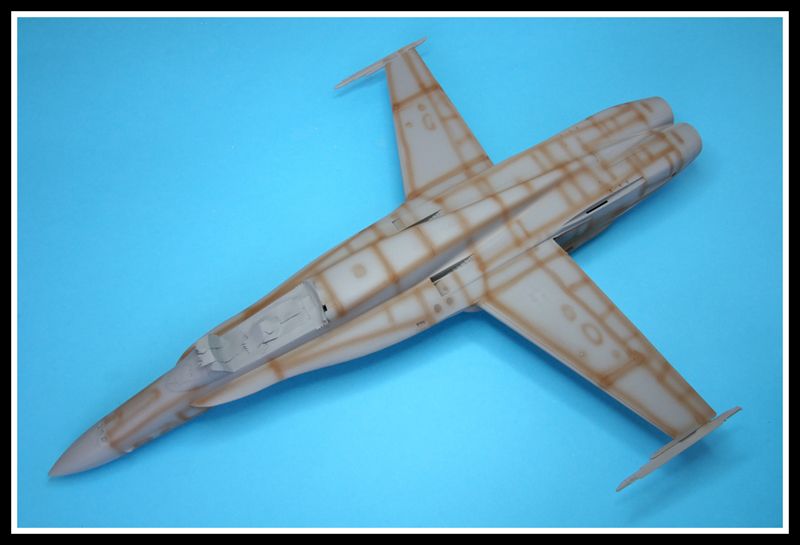
For this model i decided to try something new with the pre-shading. Instead of using my usual black, which can look a little strong under grey, i have gone for a light brown. This was heavily thinned and airbrushed onto the model.
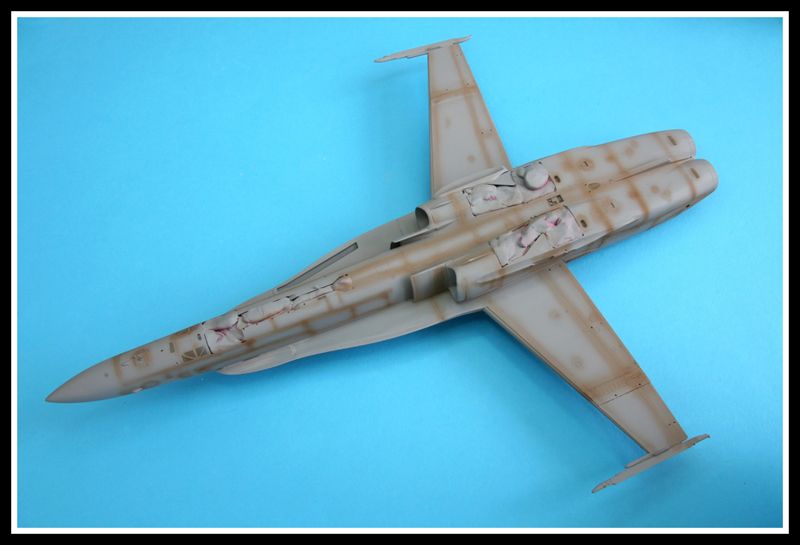
With the pre-shading complete, i moved onto the two tone Grey Navy colour scheme. The lower surface is Federal Standard (FS) 36320 and Gunze H307 was sprayed and left to dry. The slightly darker upper surface is FS 36375 and again Gunze was used, this time with H308.
Navy aircraft are constantly fighting the elements when operating in the harsh sea air, with maintenance crews needing to ‘touch up’ areas of paint work that may be susceptible to corrosion. These ‘touch ups’ can be easily seen as patches of newly applied paint across the airframe. Using a lighter grey, i have picked out random area’s along panel lines where this painting would occur.
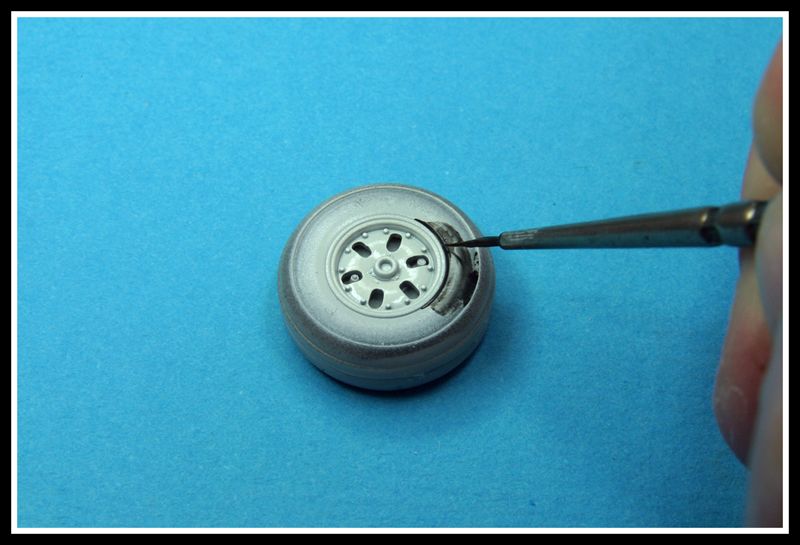
The landing gear has now been painted with Gunze H316 Gloss White and left to dry.
With the centre hubs painted gloss white, i heavily thinned some Gunze Tire Black and let capillary action take the paint around the hub. This will prevent the need to go in close with a loaded brush and risk over painting the hub area.
After a couple of coats of Johnson’s Klear, the model was set aside for a few days to cure. The decalling process can then begin.
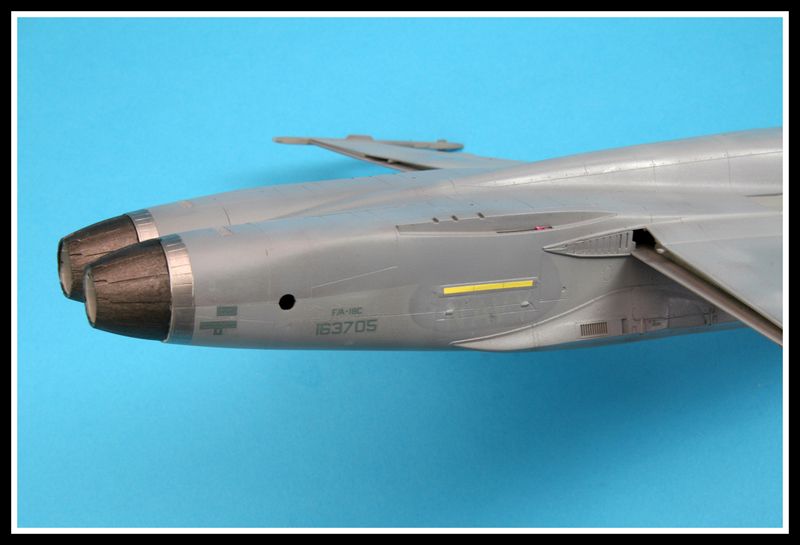
The rear burner cans were hand brushed with Gunze Burnt Iron and then cemented in place. Engine cover will be added to these later in the build.

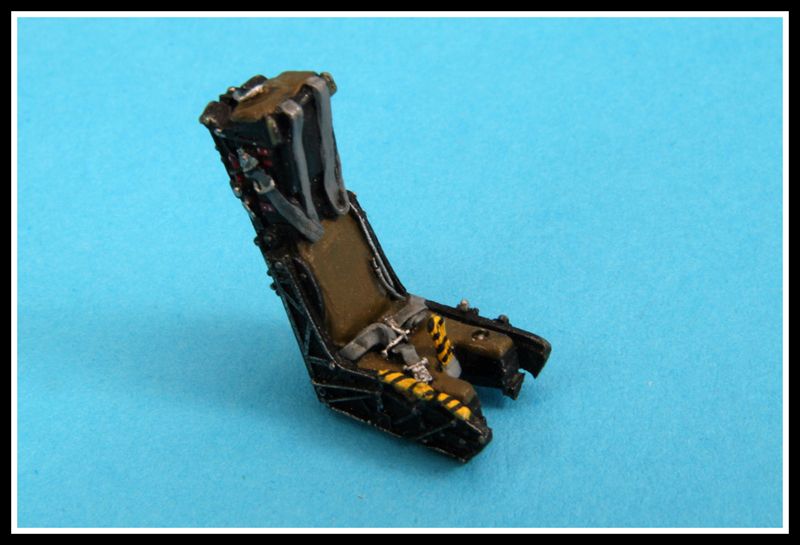
I decided to use an aftermarket ejection seat for the build. The SJU-5A seat below is a resin item from Verlinden. This was painted and finally dry brushed with flat aluminium.
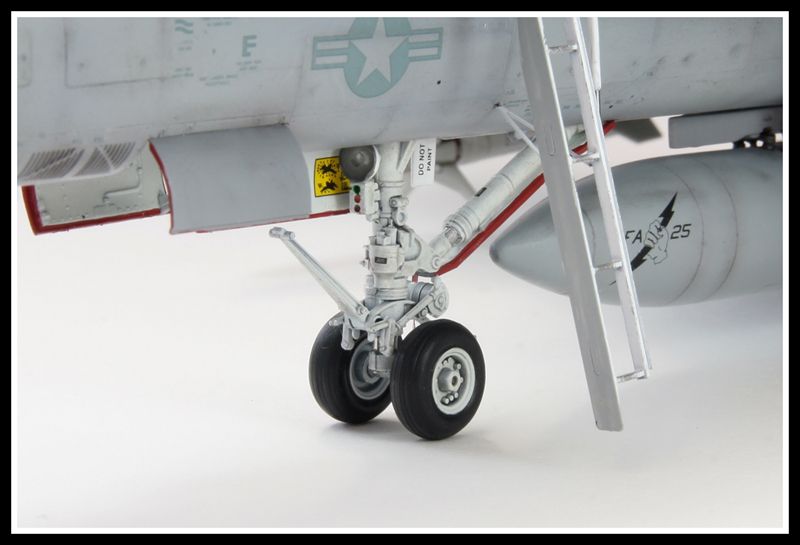
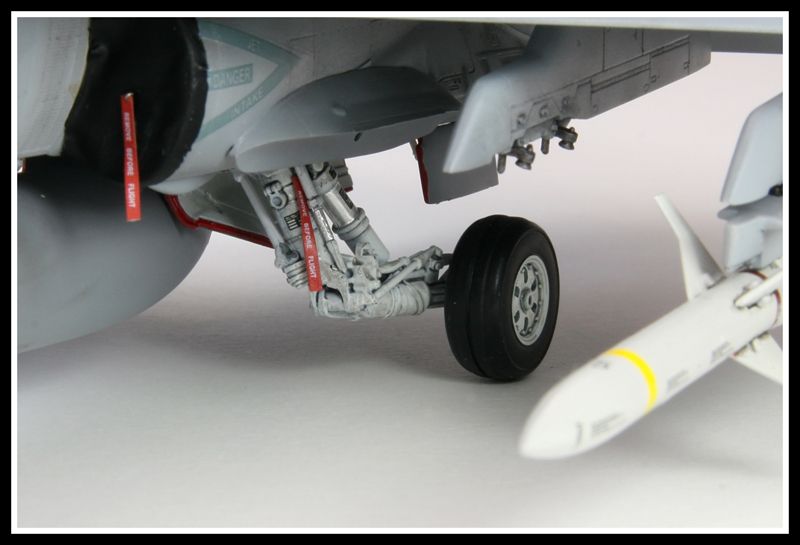
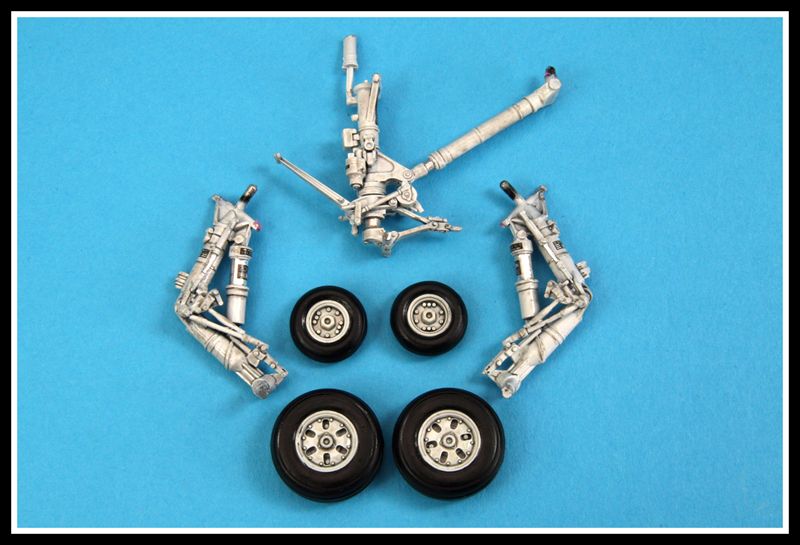
The landing gear is now fully painted and weathered. For the weathering i used diluted Tamiya Smoke which was run around the recesses. For the silver areas, i use Bare Metal Foil. Finally kit decals make up the information placards on the gear.
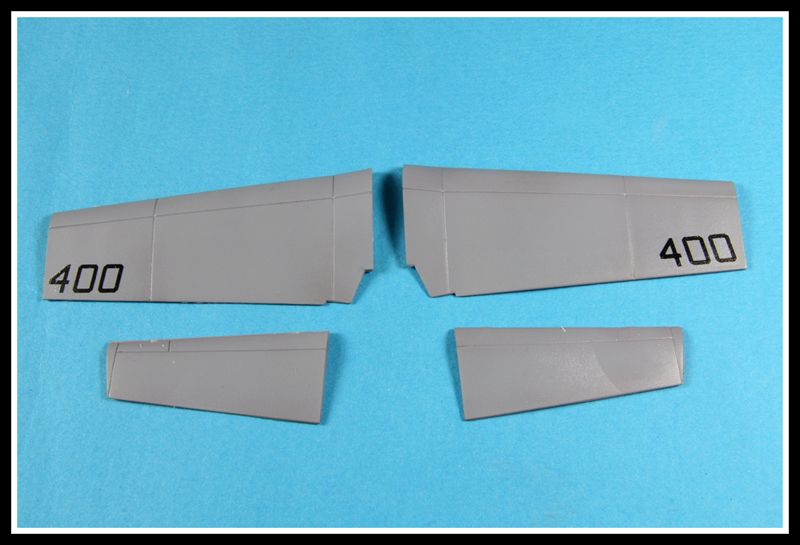
You are given the option to have the flaps in the raised or lowered position. I have chosen to have them lowered, and here they have been painted and the squadron Modex number added.
The centreline fuel tank fully painted and decals applied.

For the gun ports on the nose i hand brushed Citadel Chain Mail Silver, followed by some Flory Models Black powders brushed on to replicated soot.

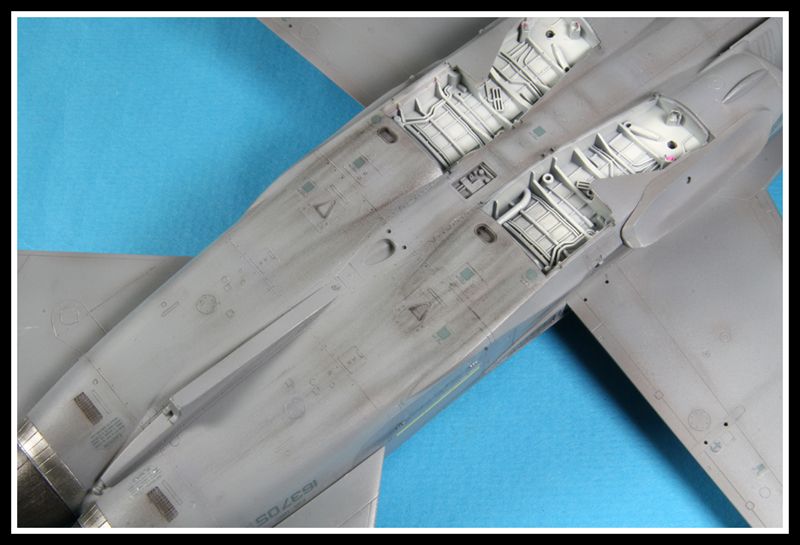
I used various shades of Flory Models powders for the staining on the belly of the model. By mixing the powders together you can get a wide range of colours to suit all types of staining and fluid leaks.
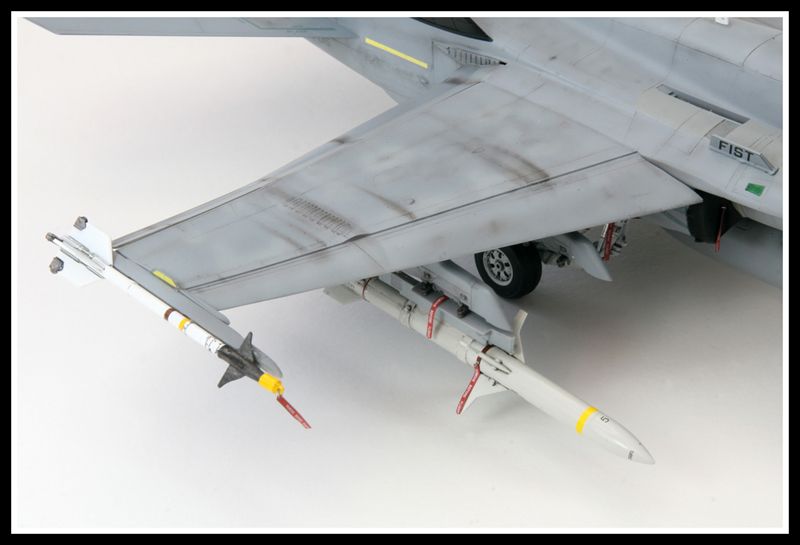
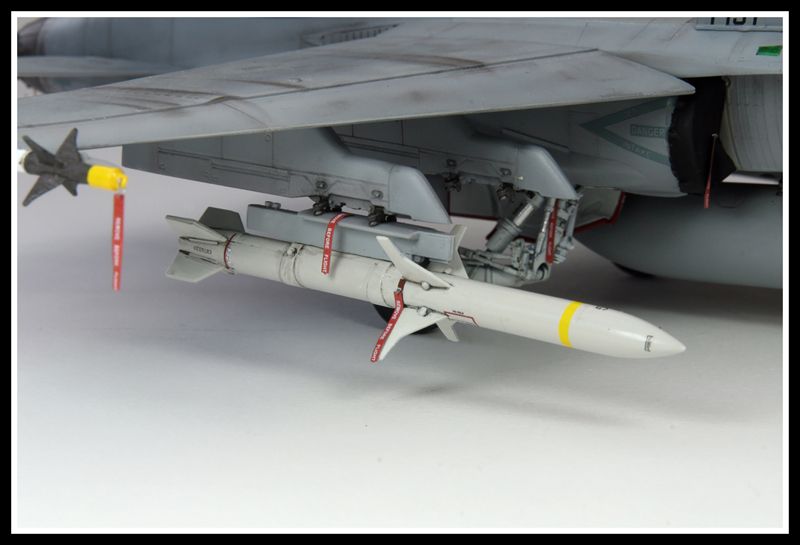
I decided to arm the Hornet with a pair of AGM-88 HARM missiles along with a pair of AIM-9L Sidewinders. Hasegawa kits are renowned for their lack of weapons, so these were sourced from one of the manufacturers ordnance sets.

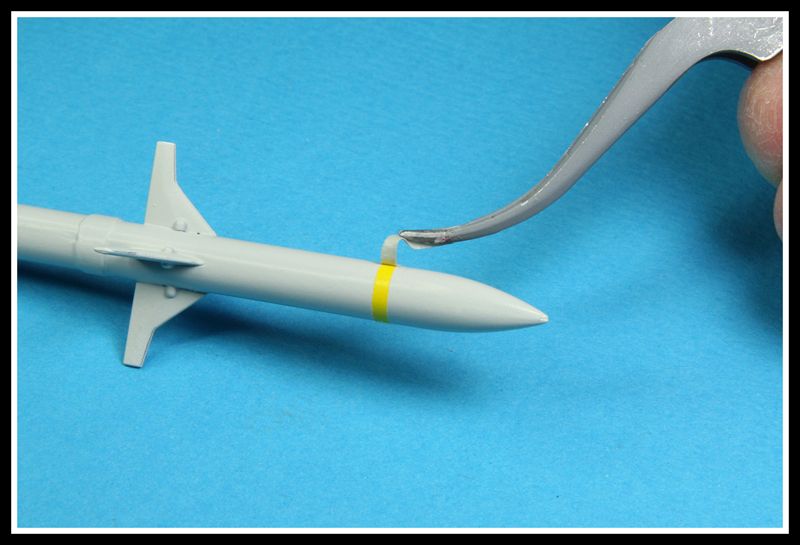
The yellow bands on the ordnance were masked and painted before the application of decals from Afterburner.
The excellent Afterburner decals have been added and followed by a wash with Flory Models Dark Dirt wash. The sway brace adapter is also from one of the Hasegawa ordnance sets.

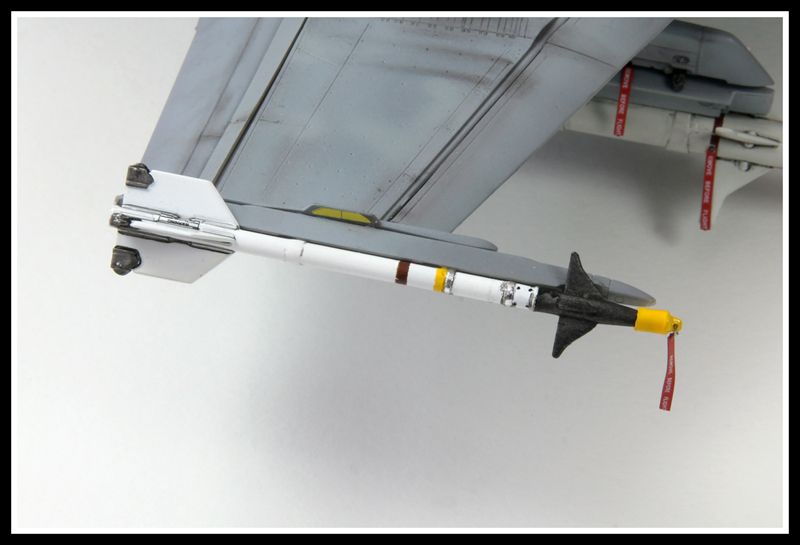
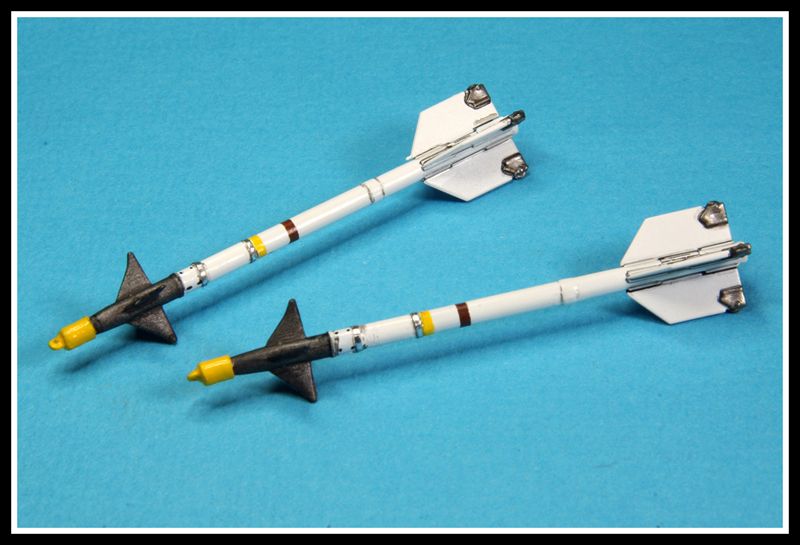
The AIM-9L Sidewinders were given the same treatment as the AGM-88’s
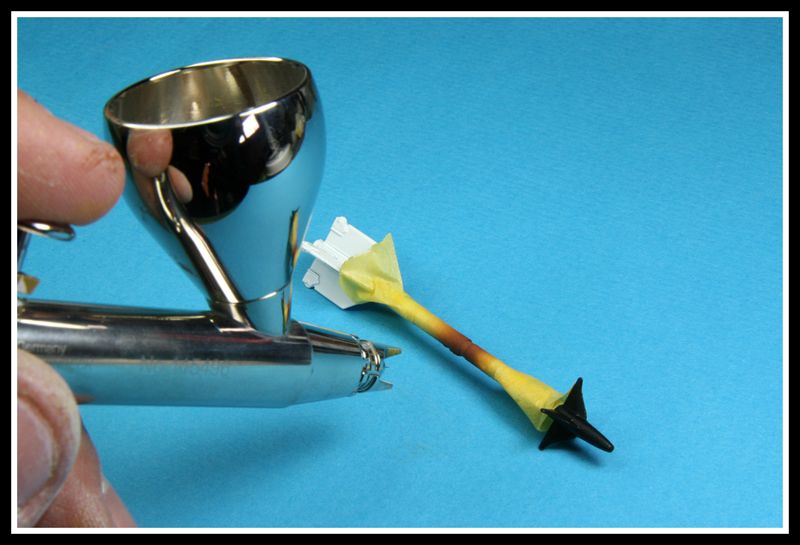
For the seaker covers, i first cut a piece from the body of a cotton dub (Q-tip) and glued this onto the missile. A small piece of plasticard was then inserted into the end and then round off with a file. To finish, a hole was drilled through the plasticard for the tie down cords to go through.

The completed Sidewinders with the head covers painted yellow. I have also added Bare Metal Foil to the body of each missile, and to finish them off, given each a wash with FM Dark Dirt.
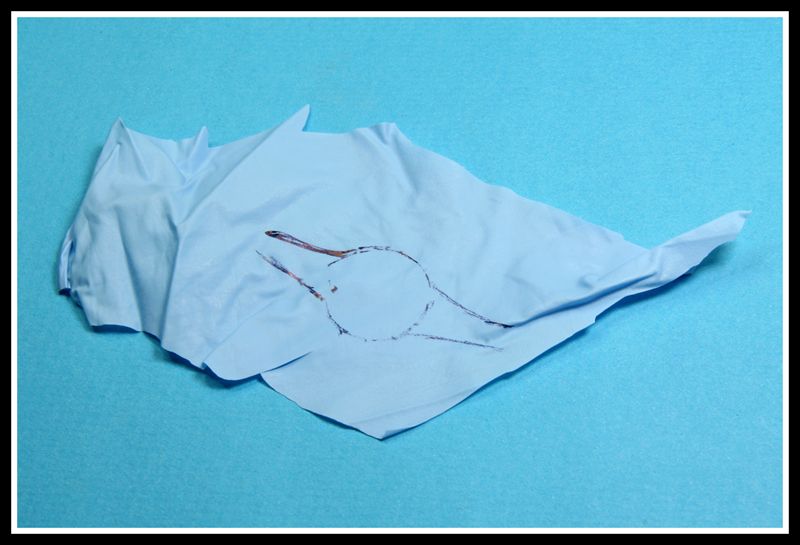
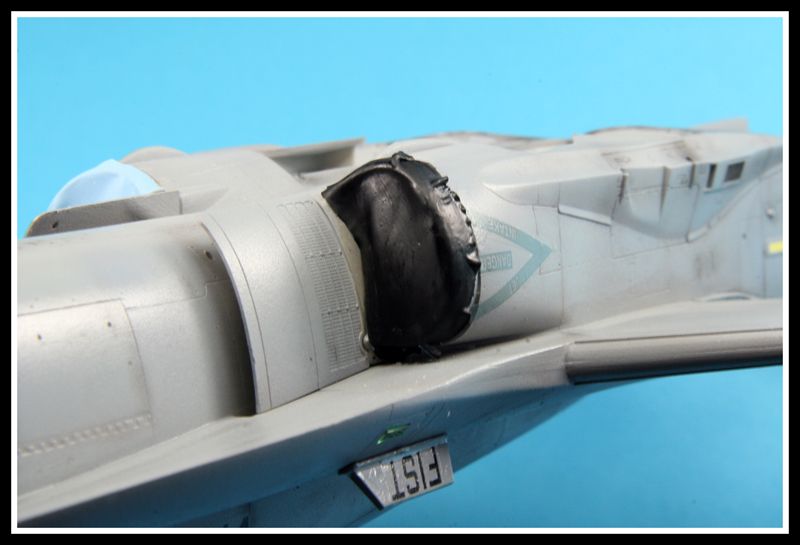
I would normally use kitchen foil for my intake/exhaust covers, but this time i’m trying something new using latex gloves. For the exhaust nozzles, i traced around each one and then cut the material to shape.
Once i was happy with the fit, i attached each cover with super glue.
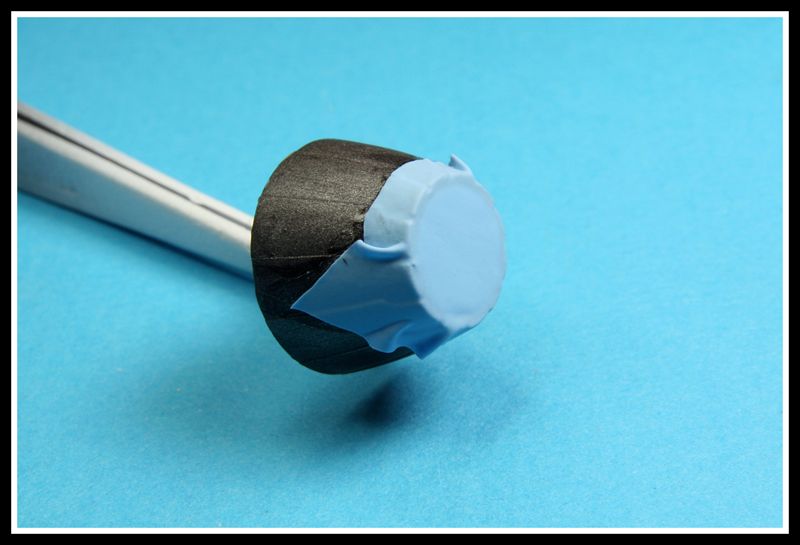
The same was done for each of the intakes. A sharp knife is essential here.
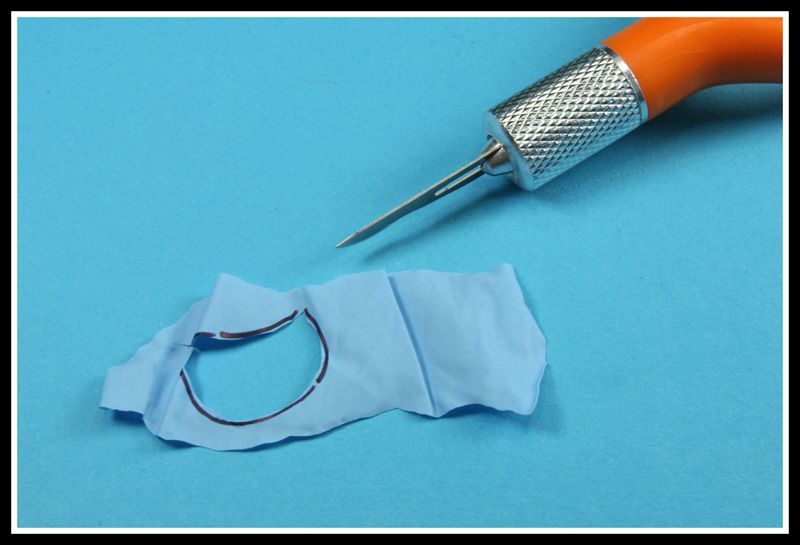
The cover in place.

To finish each cover, Tamiya Black was hand painted followed by some light dry brushing.
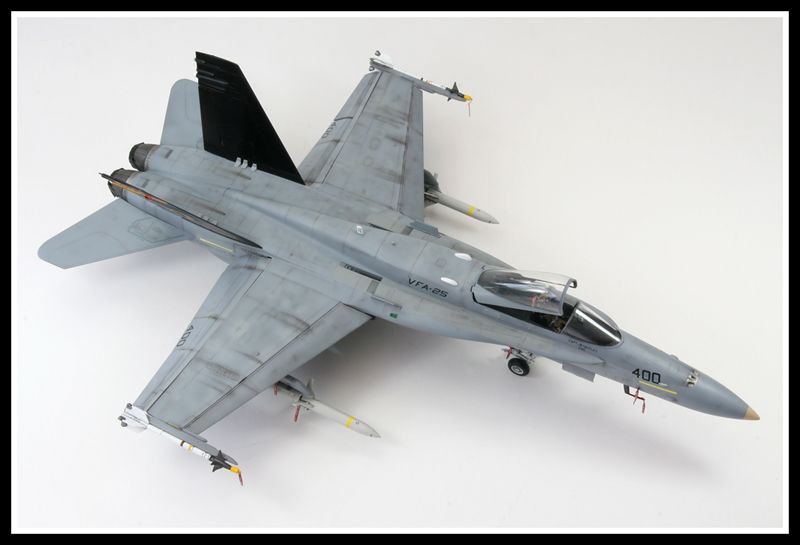
I decided to use only pigments for the weathering. I have worked various colours of Flory Models powders into the model to gain that ‘operational’ look. Use the powders sparingly as they cover well, you can always add more if needed.


Dirty scuff marks from ground crews boots along the top surface of the aircraft.

The cockpit seat has been installed along with the antennae’s and pitot tubes.


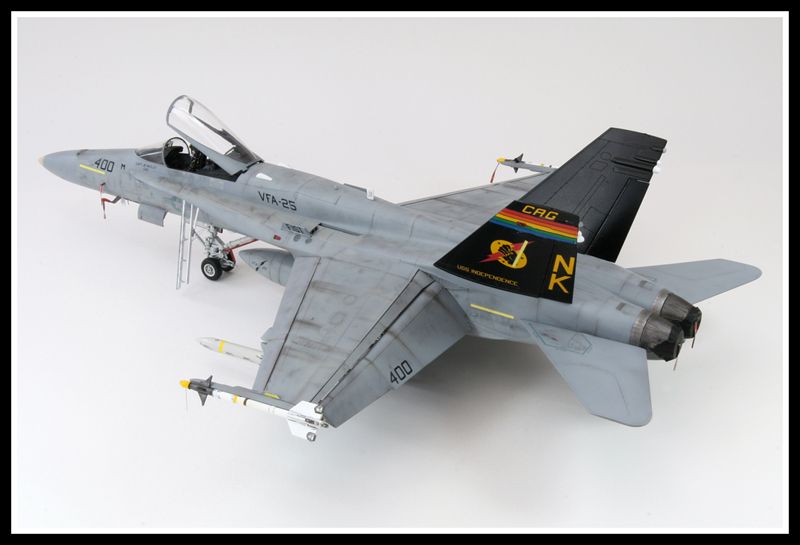
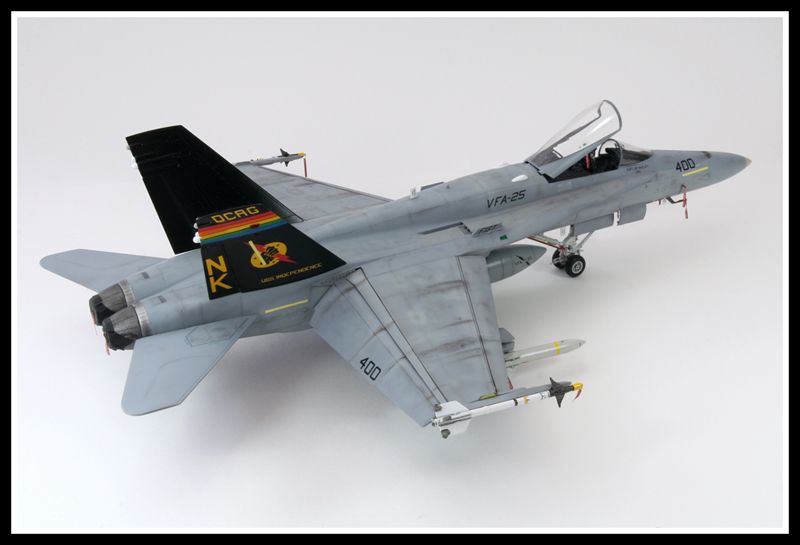
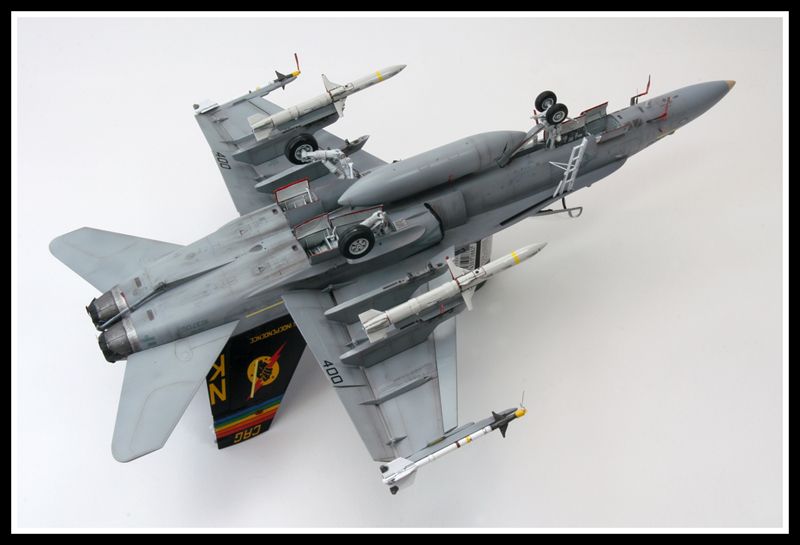
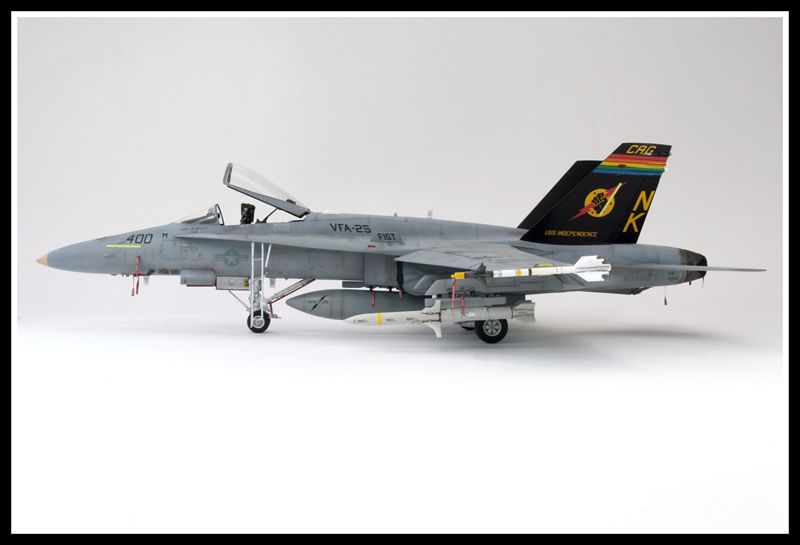
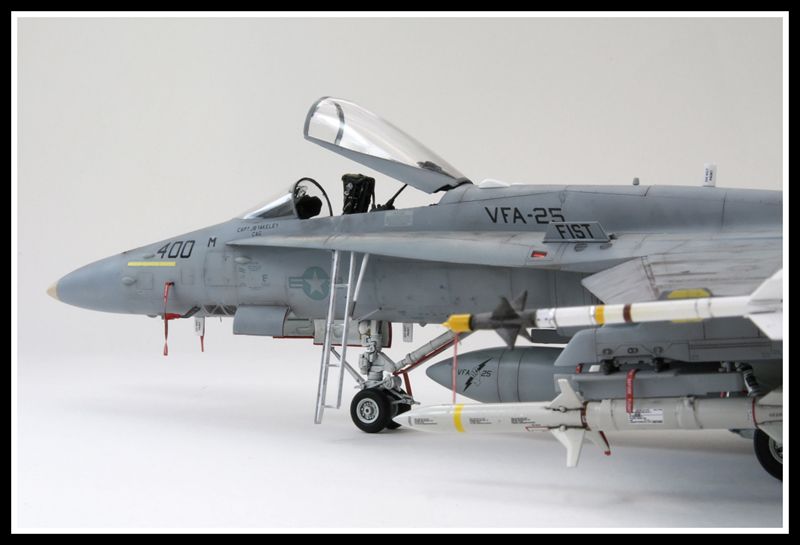
The completed model
Once you’re familiar with the build sequence of the kit and how to rectify the slight fit issues, the Hasegawa Hornet is a joy to build. The flaps and slats can be a bit tricky to install, and the decals are a little on the thick side, but taking your time and regular test fitting will reward you with great looking Hornet.