


1/35 MiniArt Russian Street with Advertising column Diorama
The name MiniArt needs no further introduction in today’s modeling circles, as they are well known among figure, armor and diorama builders. Although their figure and armor lines have been stealing the most recent headlines, the building and accessory range is already well established.
These kits are relatively inexpensive, and using thermoformed styrene, all buildings are detailed on both faces. Every set also includes a standard injected set of details such as windows, doors, railings, streetlights, etc. plus a neatly produced set of posters to add to the authenticity of the scene depicted. They have now taken this line a step further, and offer a complete diorama setting, which includes a cobblestone/paved roads and occasionally even figures.
What is in the Box:
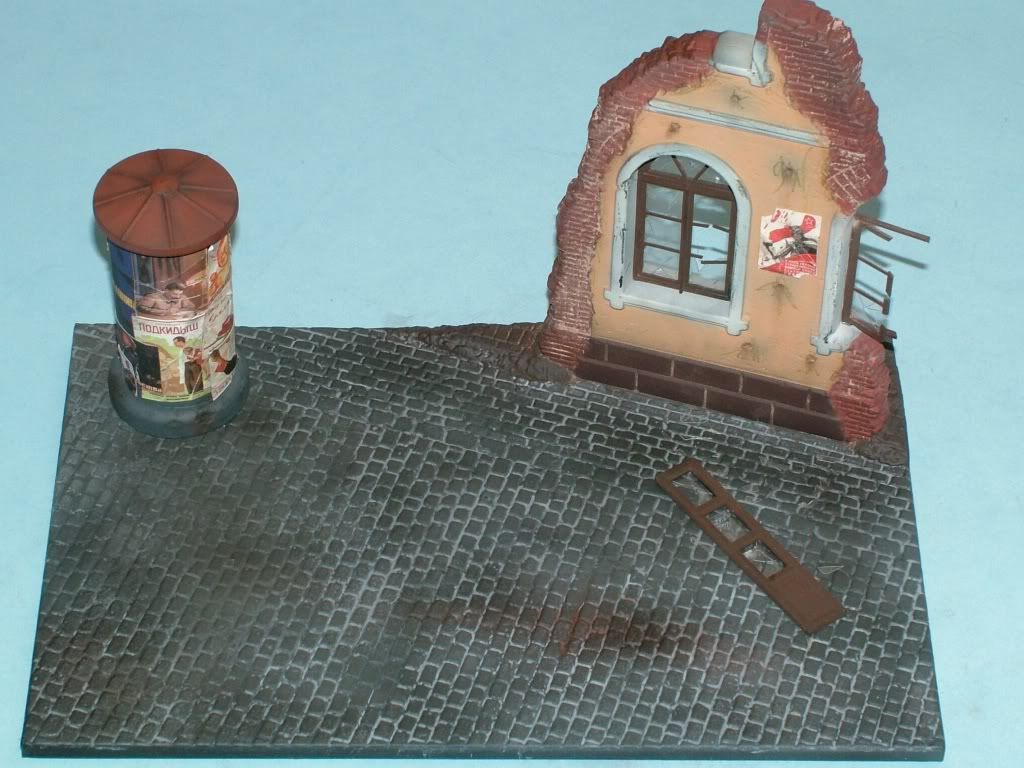
The subject of this photo buildisthe“Russian Street w/ advertising column” set. Two sheets of thermoformed styrene provide the pieces for the road, the ruined building and the advertising column.
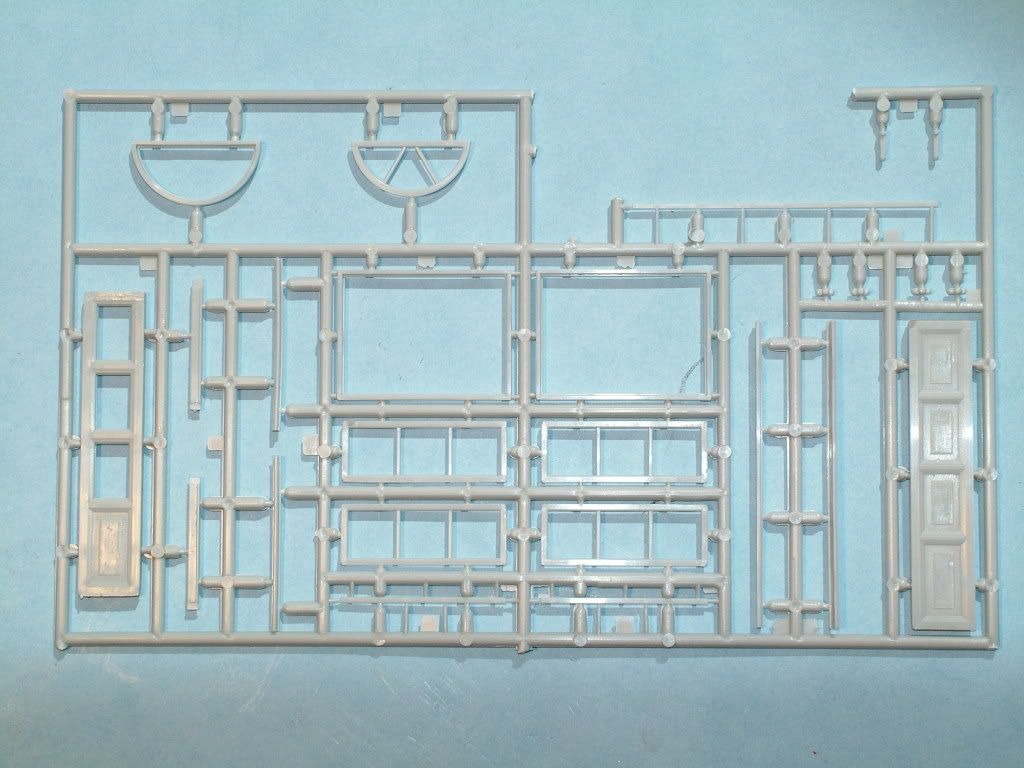
To further detail the building, an injection-molded sprue of windows and doors is included. An A4 size sheet has a useful painting suggestion and also includes many posters to decorate the advertising column.
The quality of the piecesis excellent with well-defined details. There is a little flash on the injected molded parts, but this is very easy to clean up with a hobby flex file or some sandpaper.
The most impressive piece is the cobblestone road section. The cobblestones appear very natural and there is good relief in the crevices to allow washes to be applied (as later shown in this build).
There is room enough for any WW2 tank or small vehicle and figures. The advertising column is a very useful addition, as it provides a space-filler and/or background, depending on what subject will be placed when complete.
Box Art: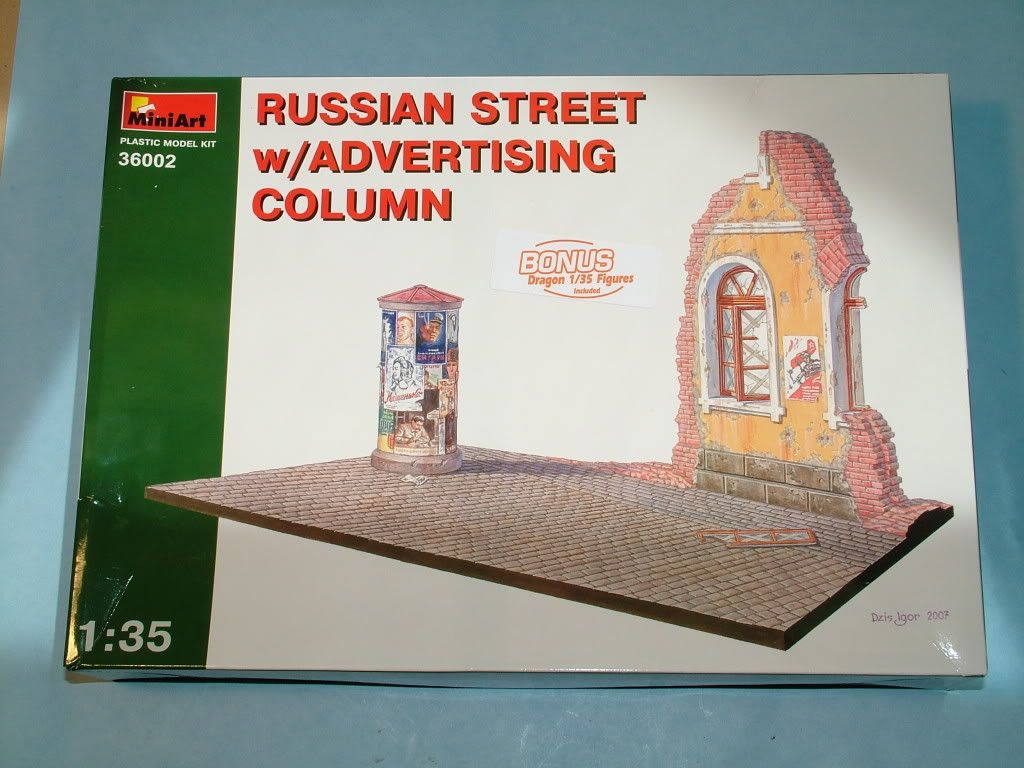
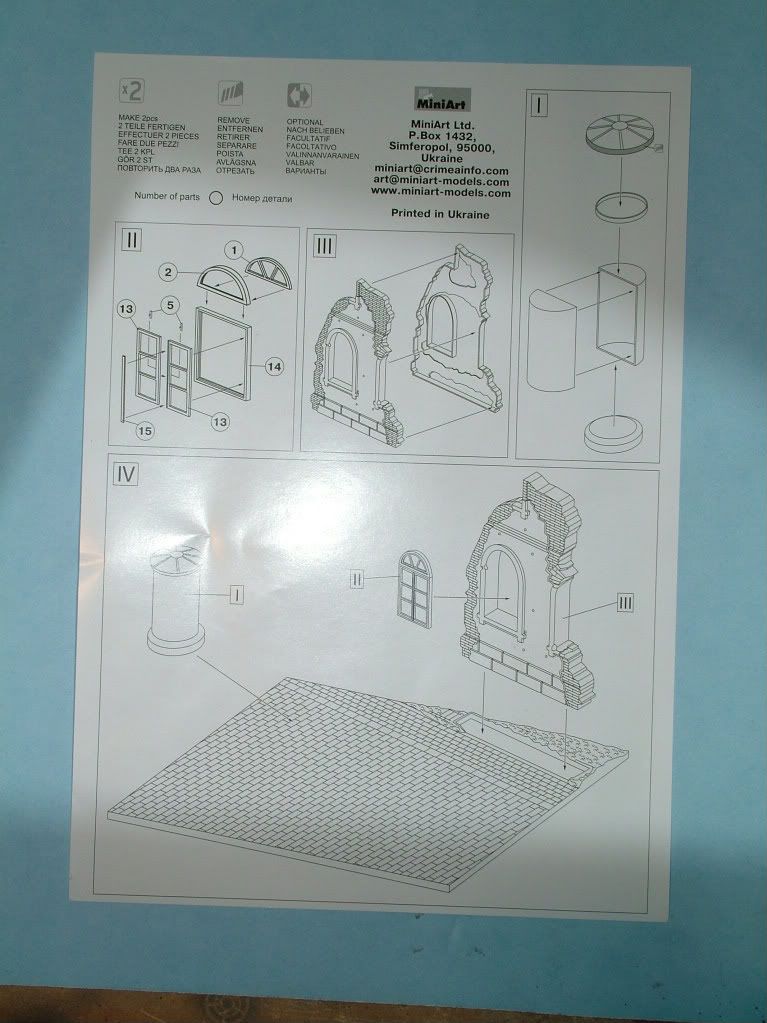
Included Instructions:
Kit parts: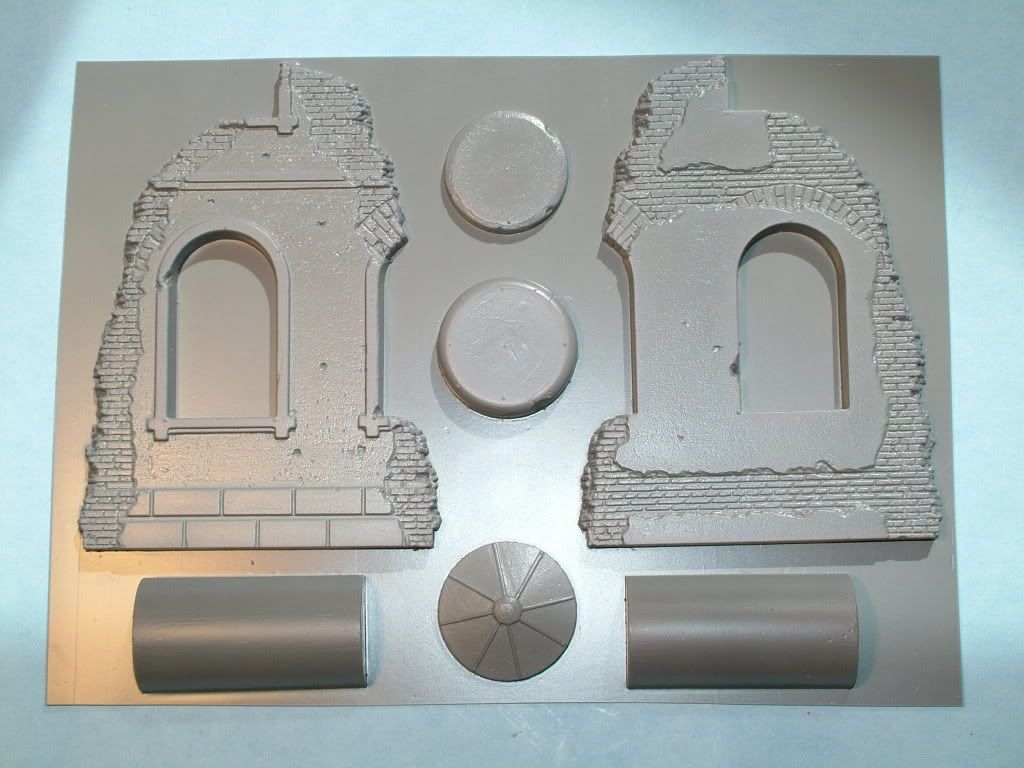

Main parts cleaned up.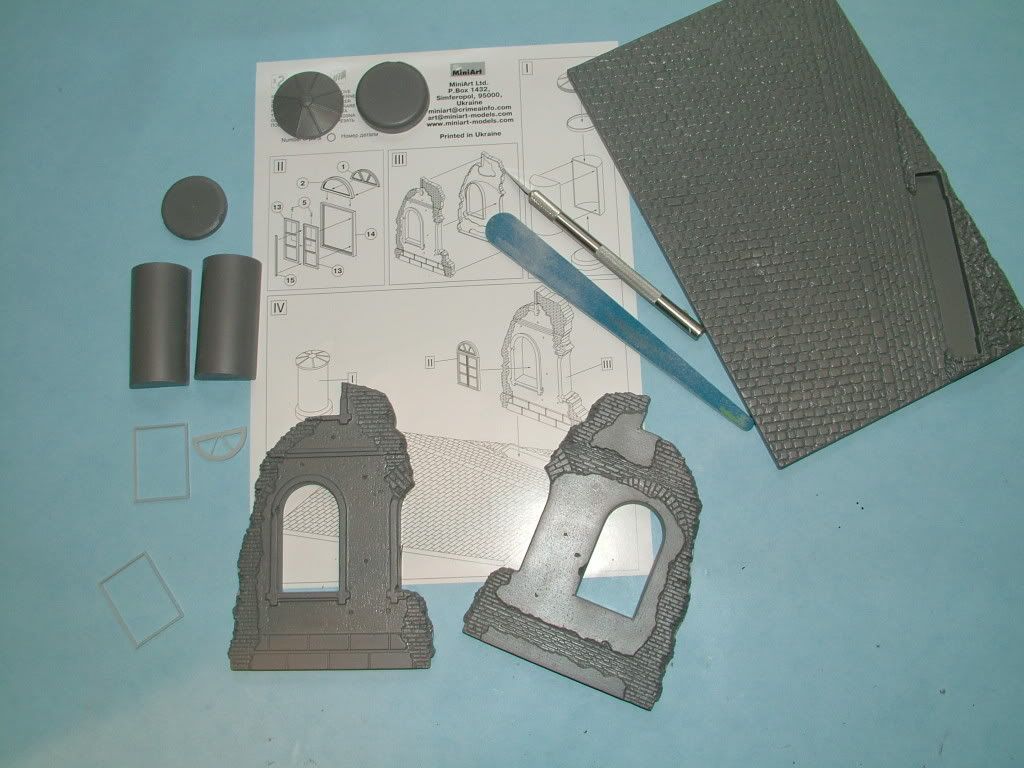
Used Tamiya Thin and Thick weld got the two main "building parts" together.
Used the Thick type pretty liberally over the edges and on the concrete sections to "stipple" in the seam.
Flat black from a rattle cangives everything a smooth base to work from and providing some depth to the final paint layers.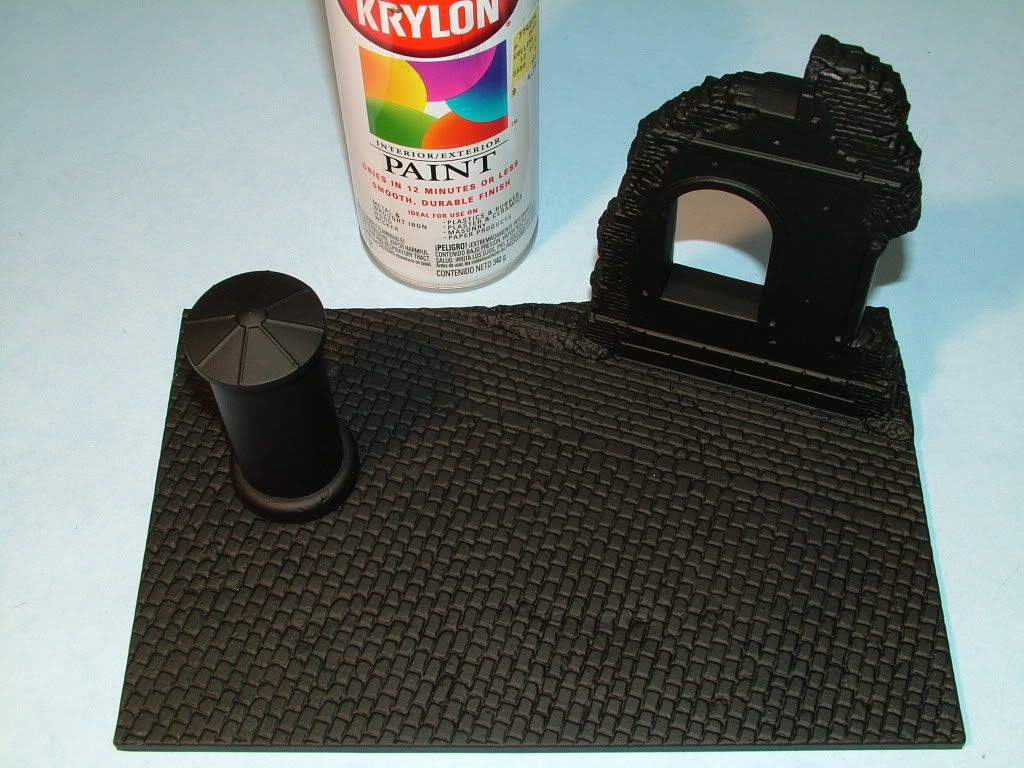
Start of the "advertising column".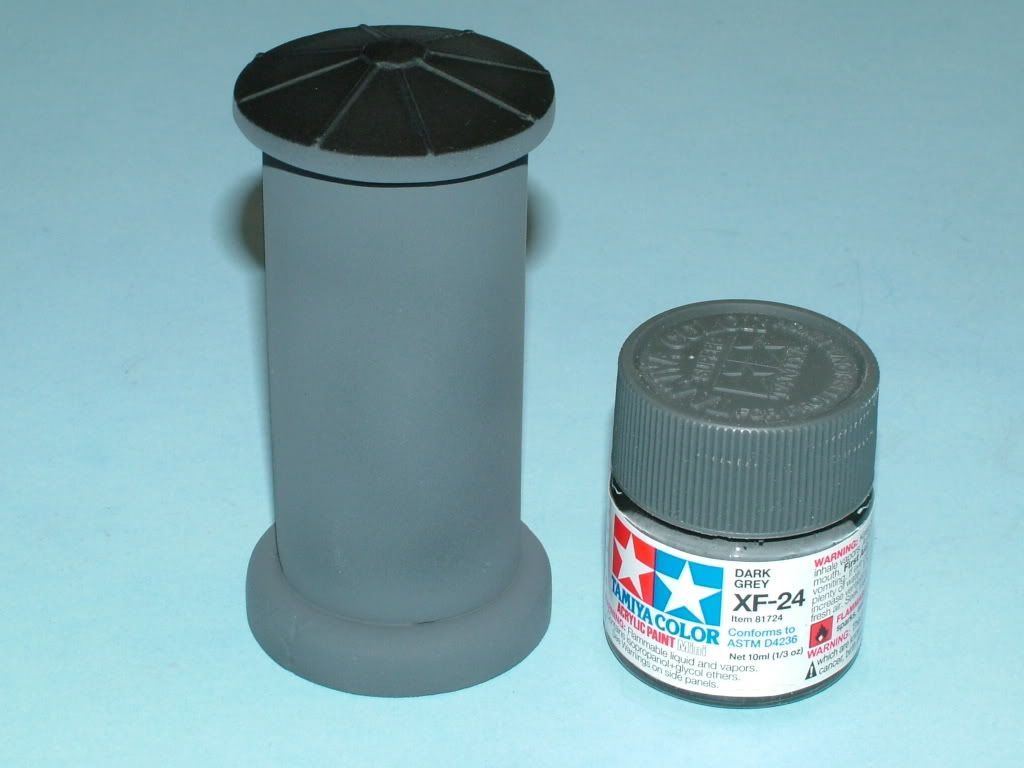
Metal roof to the column with a "custom color blend" of Tamiya Flat Red XF-7 and Tamiya Flat Earth XF-52.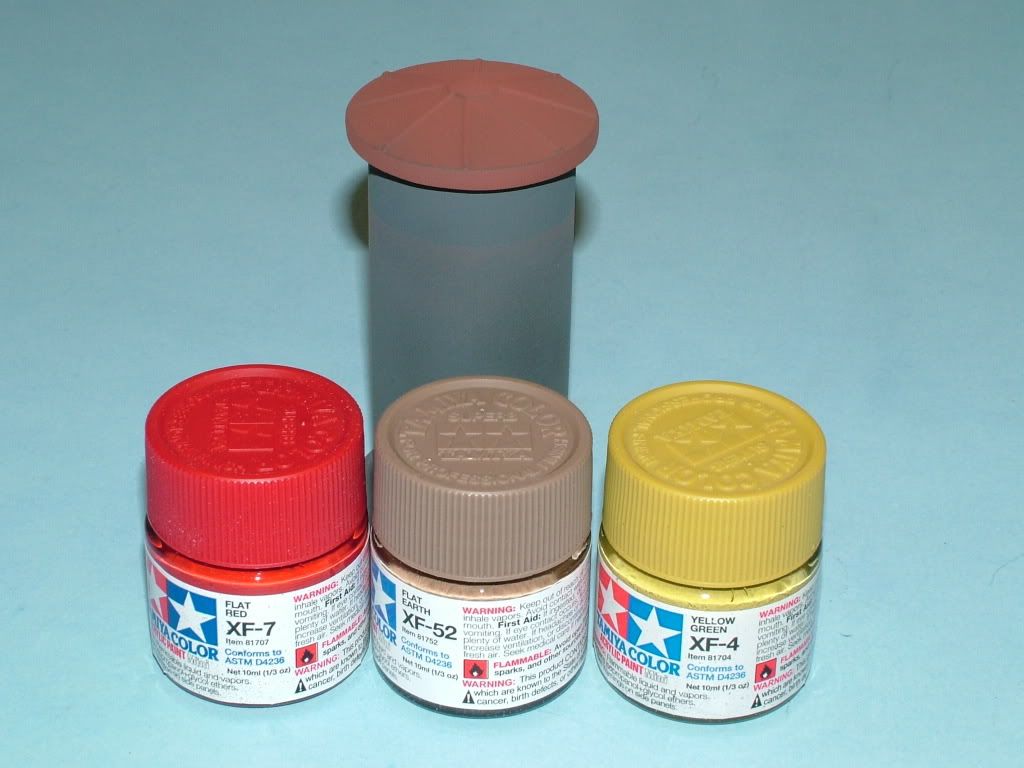
"Concrete Plaster" is next, toned downTamiya Buff XF-57 with white XF-2,just touch.
Opposite Side detail.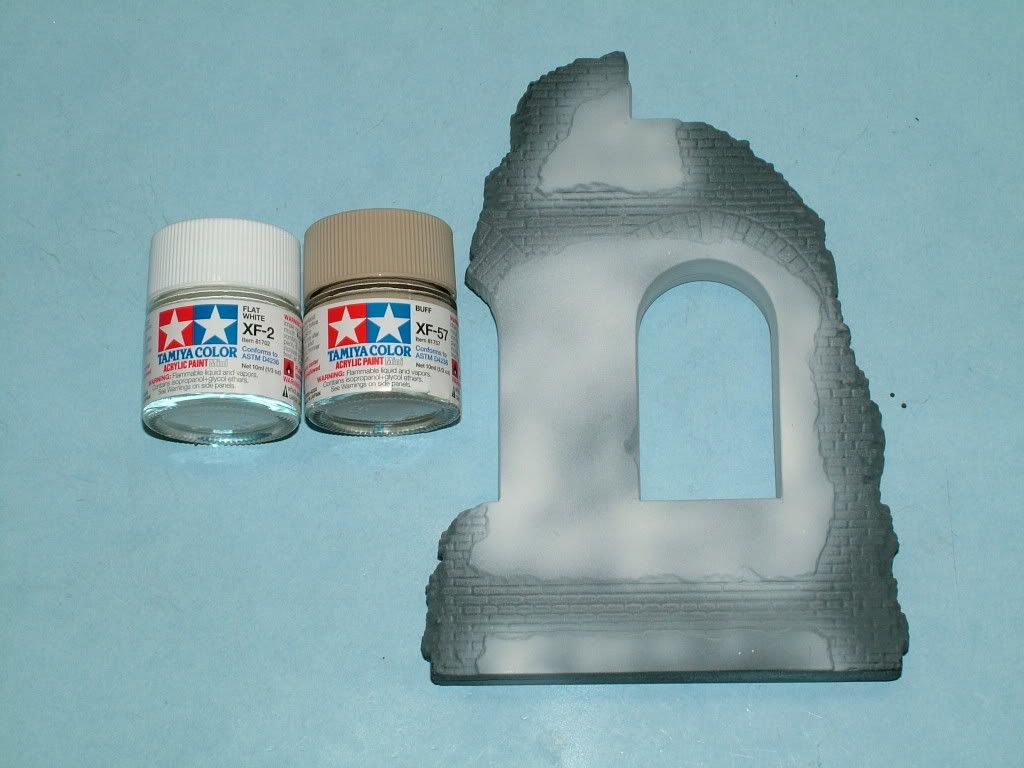
You will notice that the white color is very unevenly applied and letting some of the Grey and the Black shine through. In hopes of making it much more realistic and "dirty" due to exposure to the outside and bomb blasts.
Window Frames and broken glass, simulated with some clear acetate sheeting, just took a sharp blade and punctured and cut at angles.
Window frame painted with Tamiya Flat Brown XF-10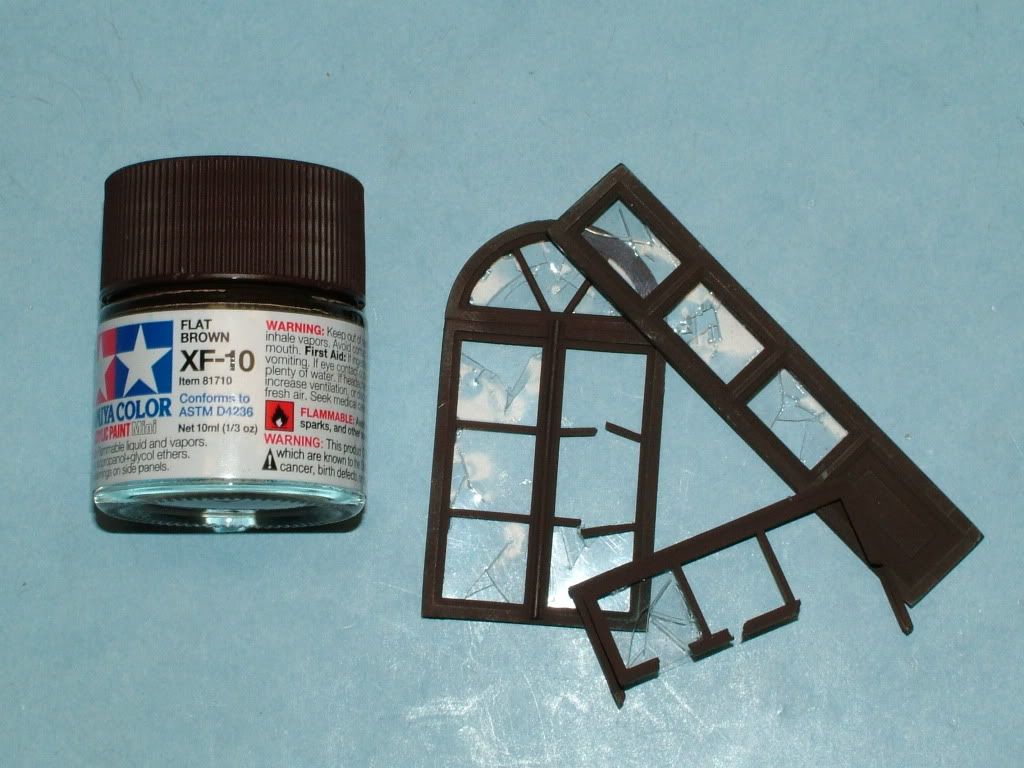
Next steps is to applya nice "pastel" type color for the outside of the house.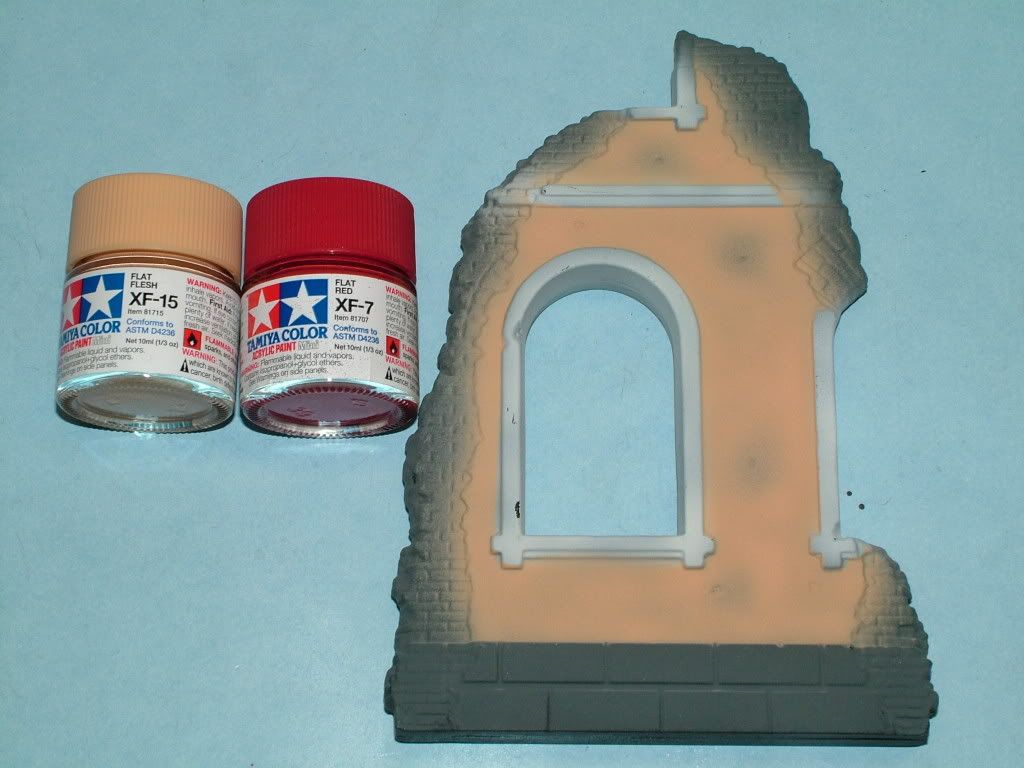
Stone foundation of the building.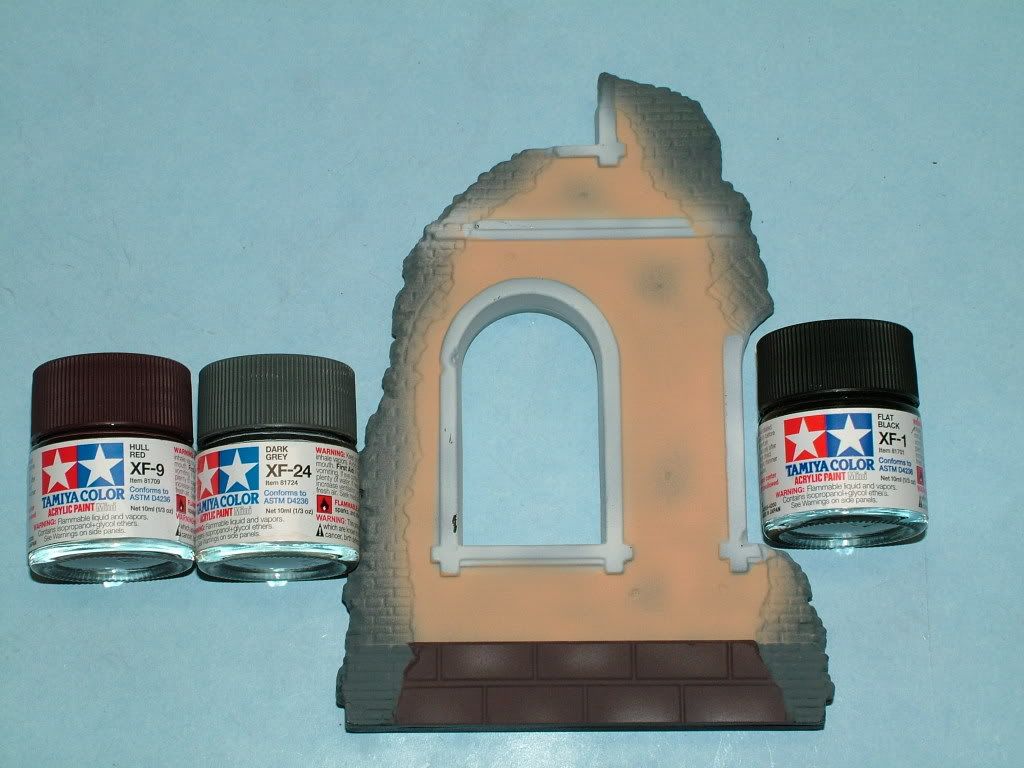
Taped everything off with bits and pieces of torn tape, this method gives a nice uneven edging of where the plaster was torn away from the original brick of the building.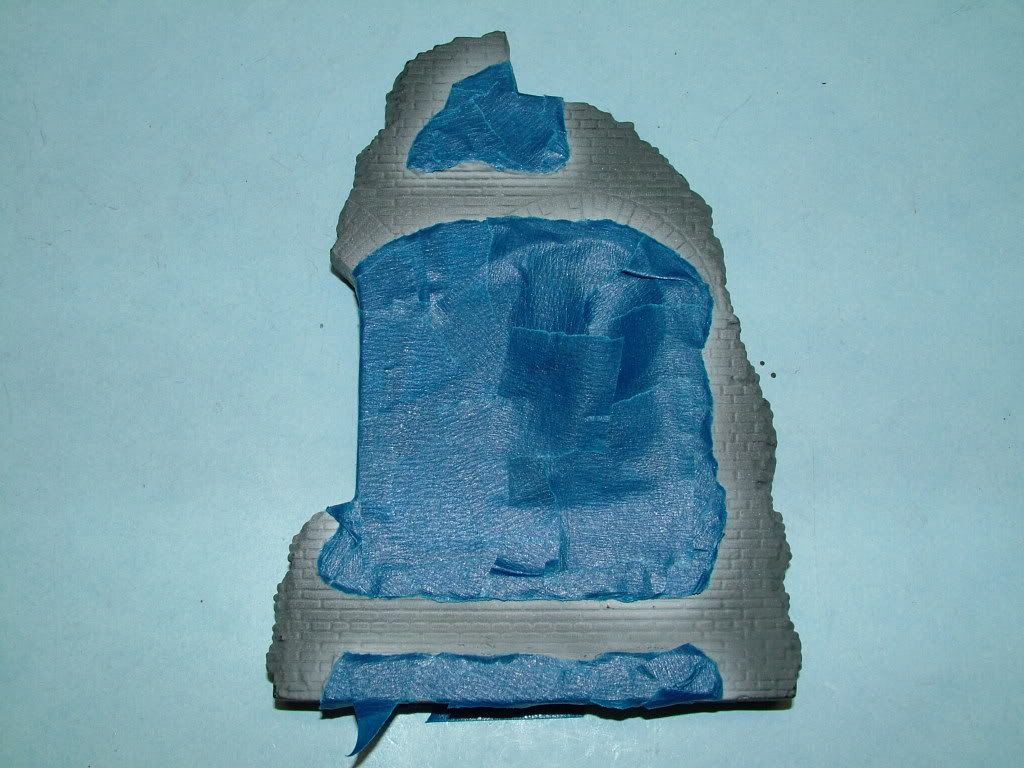
Opposite Side Detail.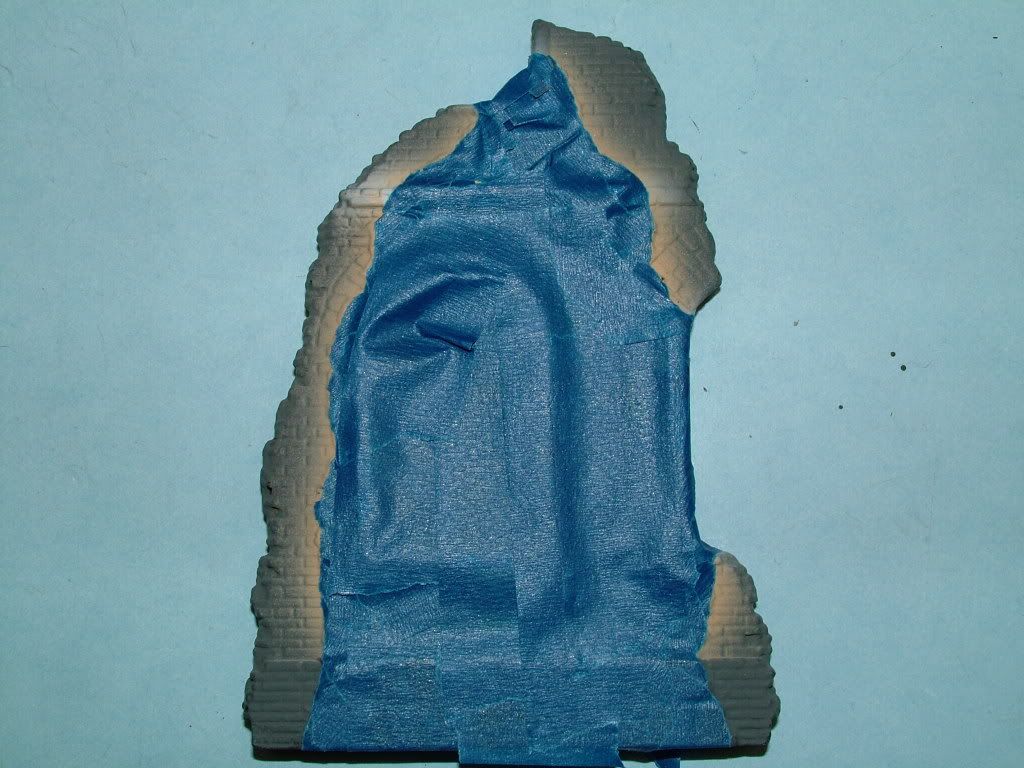
Another "custom blend" to simulate the red brick.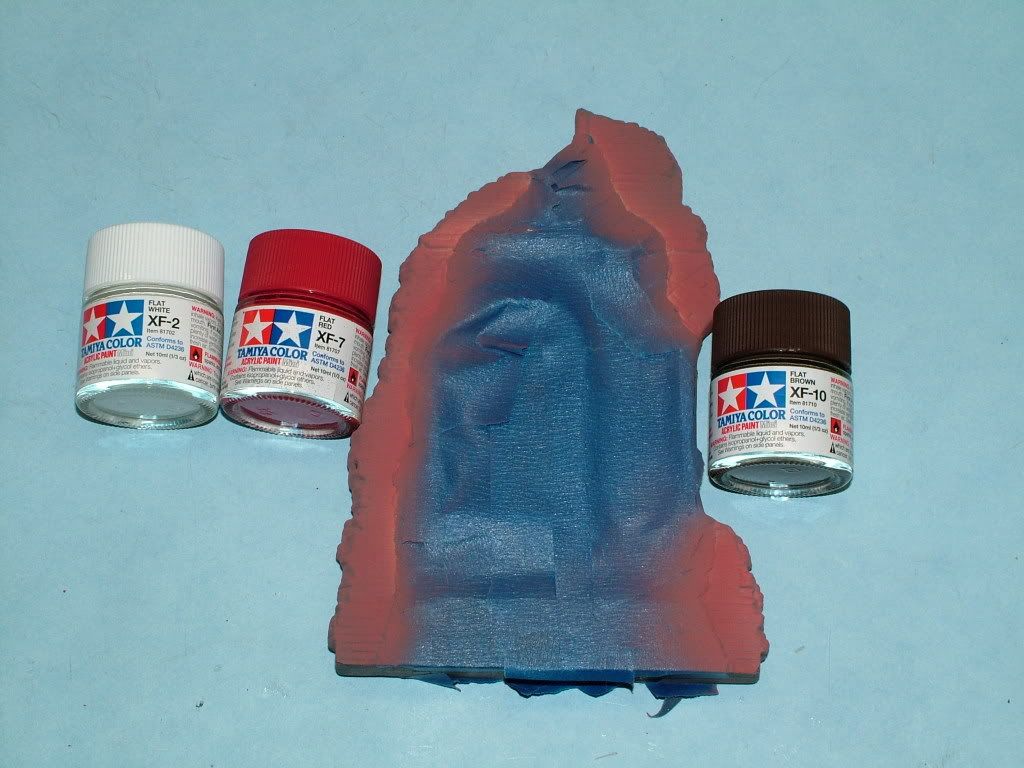
Airbrushedthe whole "building" with thinned Tamiya smoke, to tone down all the colors and blend in the various edges.
Used my nail and some other sharp objects to randomly scratch up and do battle damage to the building, emphasized the shrapnel and bullet holes.
Sprayed a clear Dead Flat coat to seal that stage.
Used Mig Pigments to rub in some shading on the street cobbles, again completely random.
Used Brick Dust from Mig Pigments and cover all the edging and into the "mortar" then sealed that stage with a Flat coat.
Glued in the windows and applied a Poster to the wall.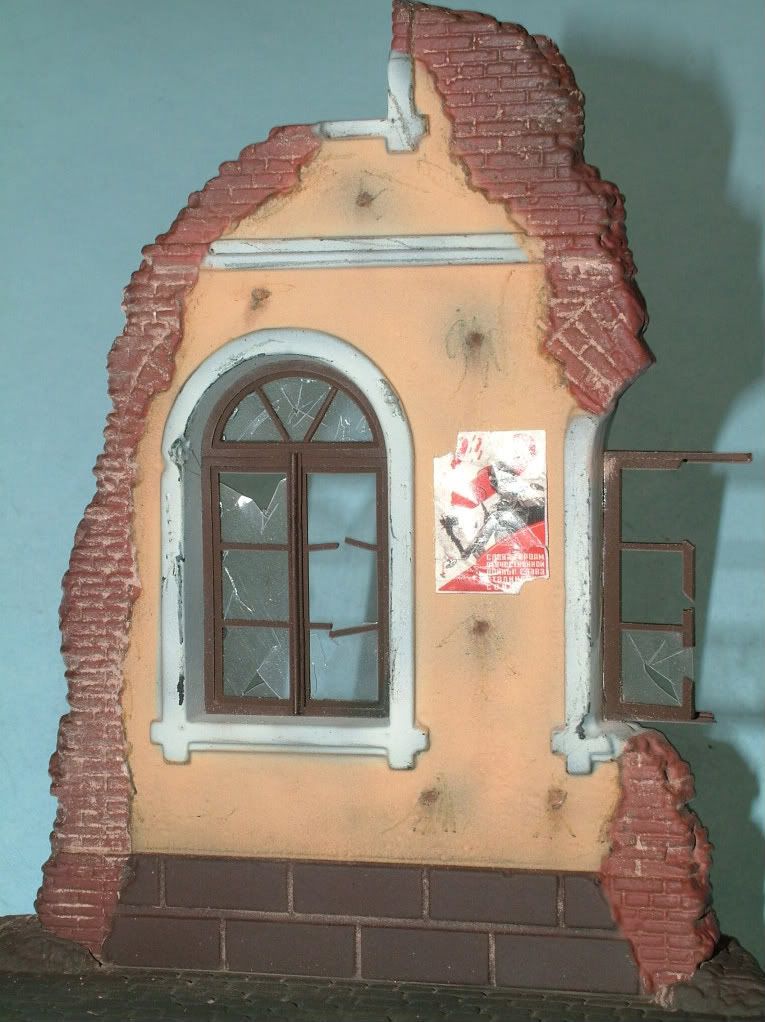
Simulated a broken door and randomly spilled glass onto the street.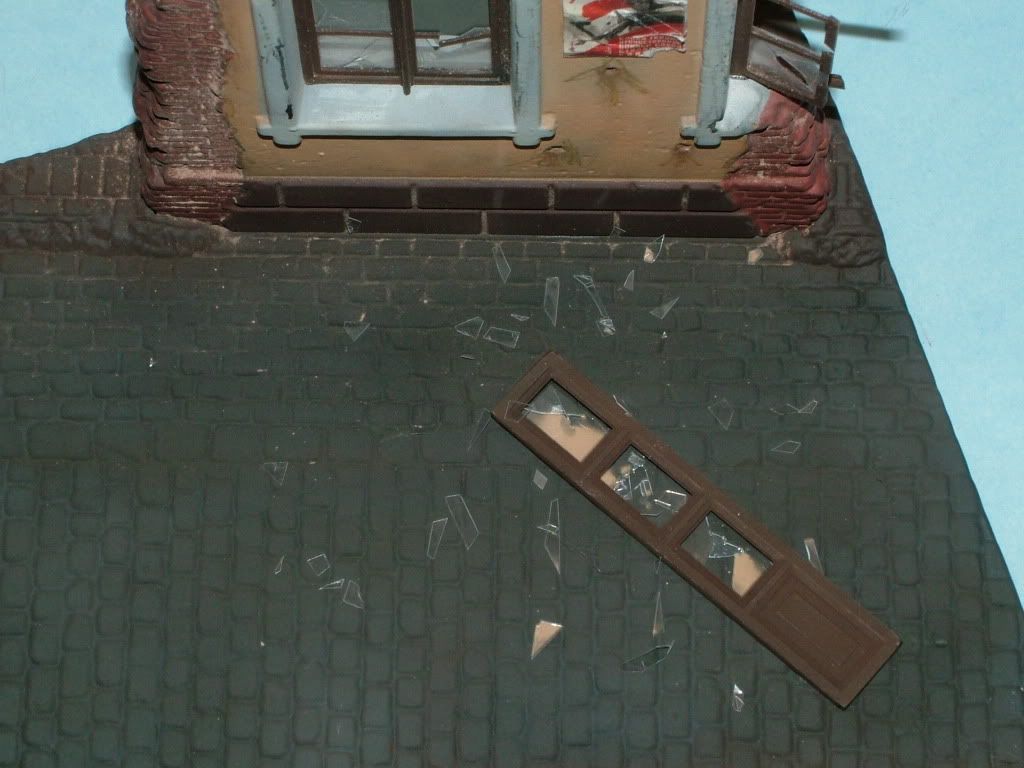
Pro-Modellers Wash was used tohighlight the mortar between the street pavers.
White Wash Applied.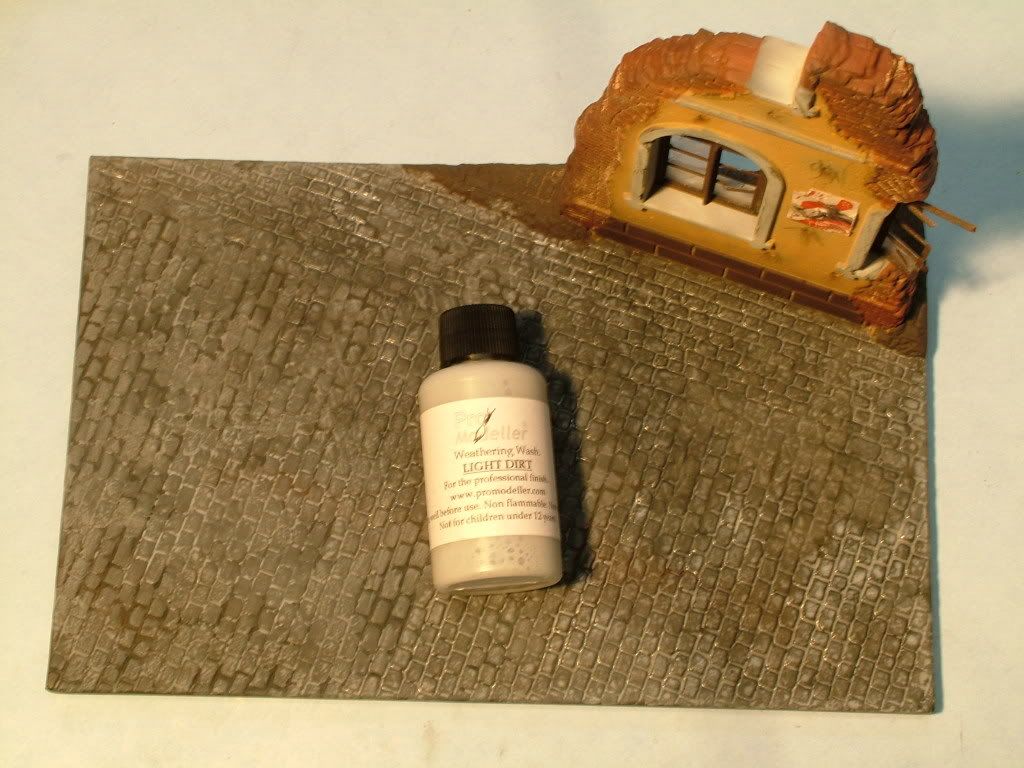
The wash wiped and toned down a bit, also added some spills of "brown" dirt in the lower parts, and simulated some Dry/Wet areas with flat/gloss clear.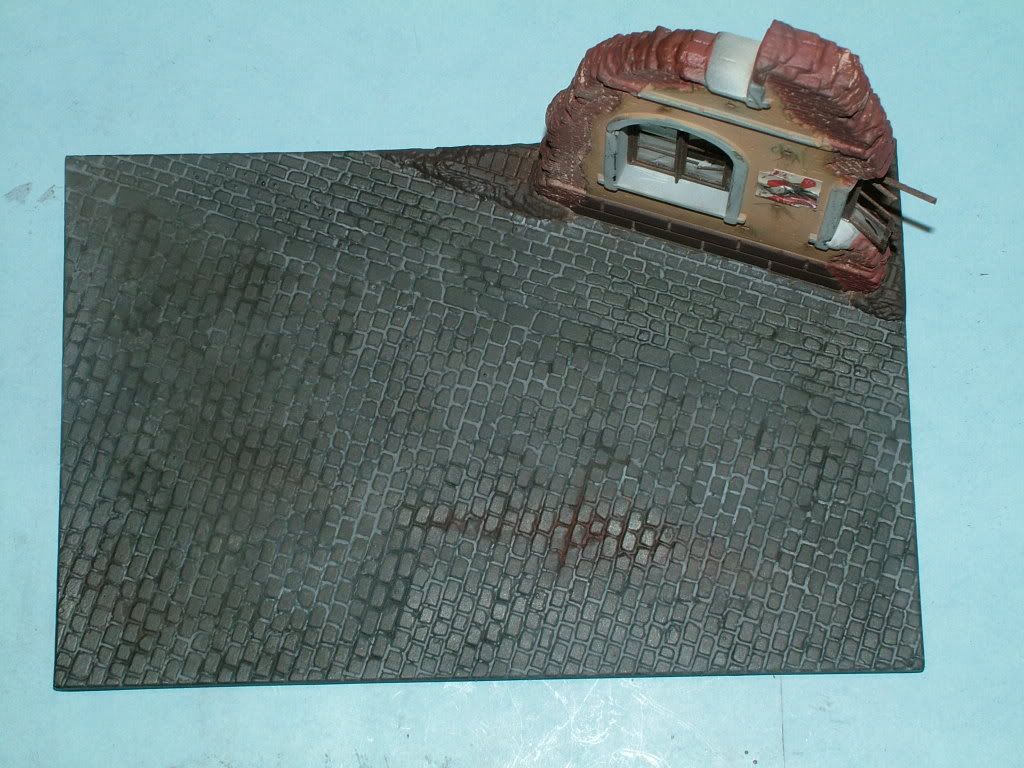
Advertising Column finalized.
Crumpled up the posters and tore of some corners here and there, then used regular yellow wood glue to attach.
After that airbrusheda Dead Flat coat over it to get rid offthe nice "shiny" print.
Applied soot and rust over the metal roof and darkened the small cracks of thecrumpling concrete footing.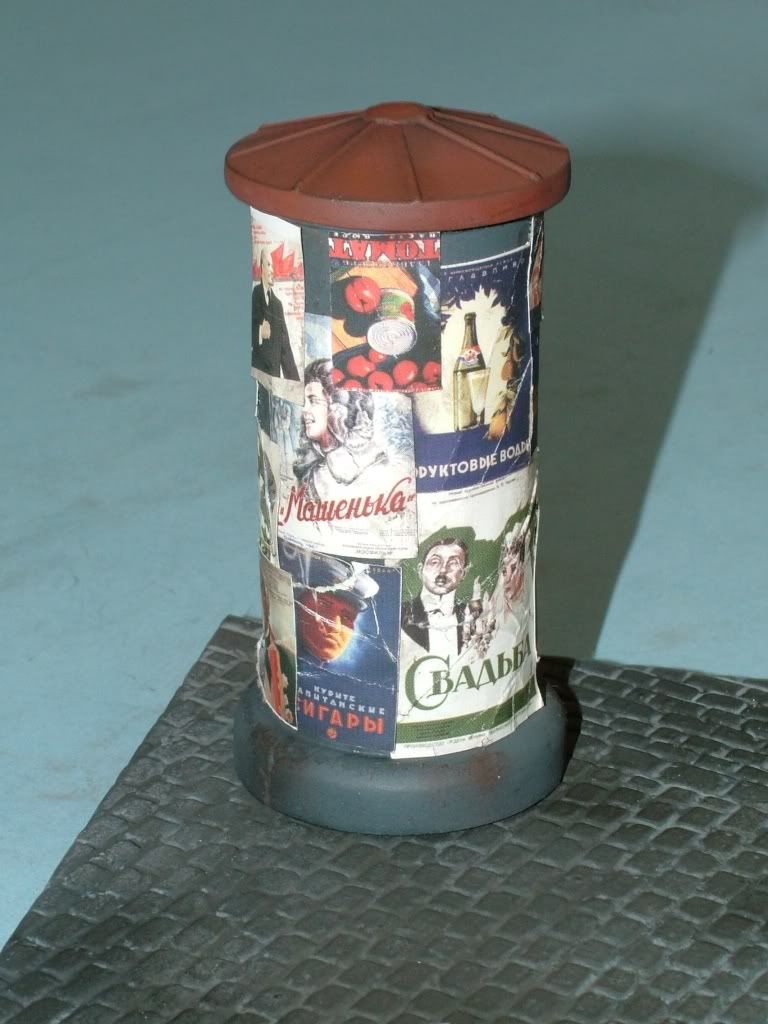
Some of the posters are peeling off a little, by pulling on the edges with some tweezers.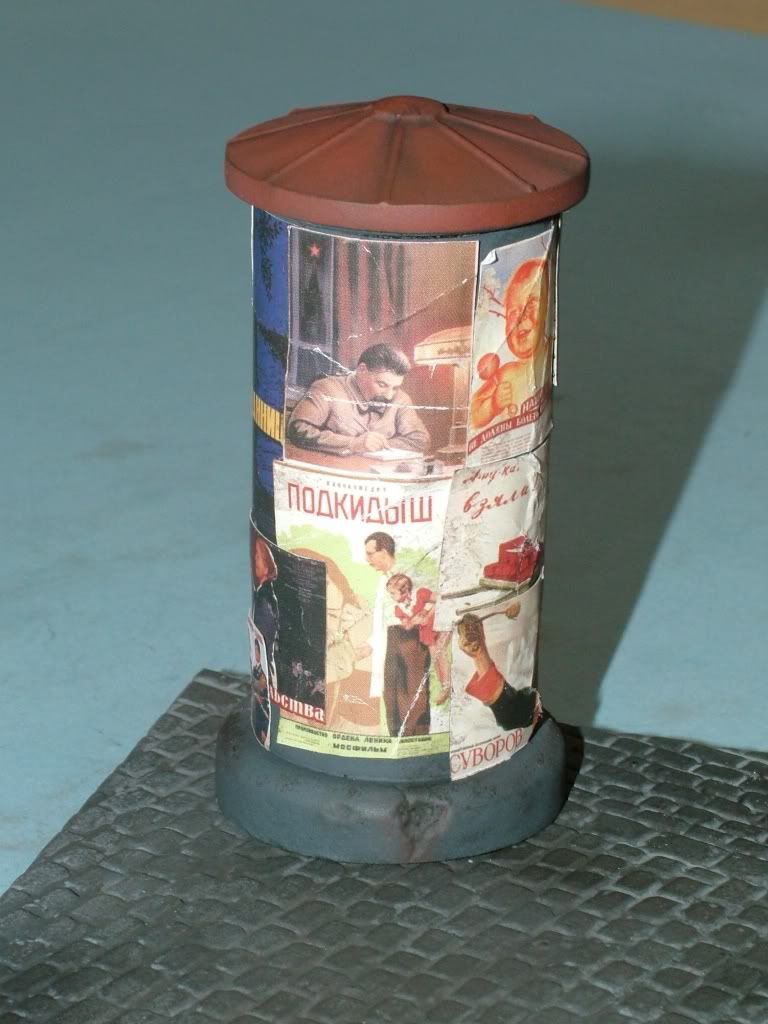
Final build observations / hints and solutions
For anybody wanting a simple, yet effective base, thisdiorama will fit your bill. The assembly is very quick and simple,as evidenced in the above photo sequencesonly basic modeling skills are required to get a greatresult.
Final Reveal
Build Info:
Tools & Sundries used
Tamiya Extra Thin Cement
Tamiya Extra Thick Cement
Squadron Green Putty
Tamiya Masking Tape
Household Low Tack Blue masking tape
Various grits of SandPaper
White PVA glue to glue posters to column and wall
Large scriber to cut irregular wall shape (Bricks) from vac form
Clear Acetate sheet from Evergreen Plastics
Paints and Weathering
Krylon Rattle Spary Can Flat Black for base color
Tamiya XF-1 Black
Tamiya XF-2 White
Tamiya X-24 Dark Grey - Concrete simulation
Tamiya XF-52 Flat Earth - Advertising Column Roof
Tamiya XF-4 Yellow Green - Advertising Column Roof
Tamiya XF-57 Buff - Concrete Plaster
Tamiya XF-10 Flat Brown - Window Frames
Tamiya XF-15 Flat Flesh - mixed for final pastel exterior house color
Tamiya XF-9 Hull Red - mixed to simulate lower brick foundation of house
Model Master Flat and Gloss clear to seal in details and simulate some oil/wet on cobble stones
ProModeller Dark Dirt, Black, Brown and WhiteWashes
Weathering Set fromhttp://www.bragdonent.com
SoftPastels ground up to simulate gun and bomb blasts
Aftermarket Parts Used:
None