


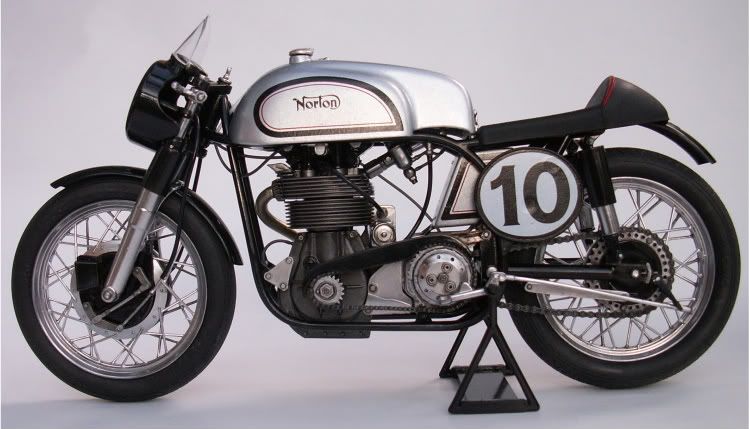
Norton Manx 500
By Wayne Byrne
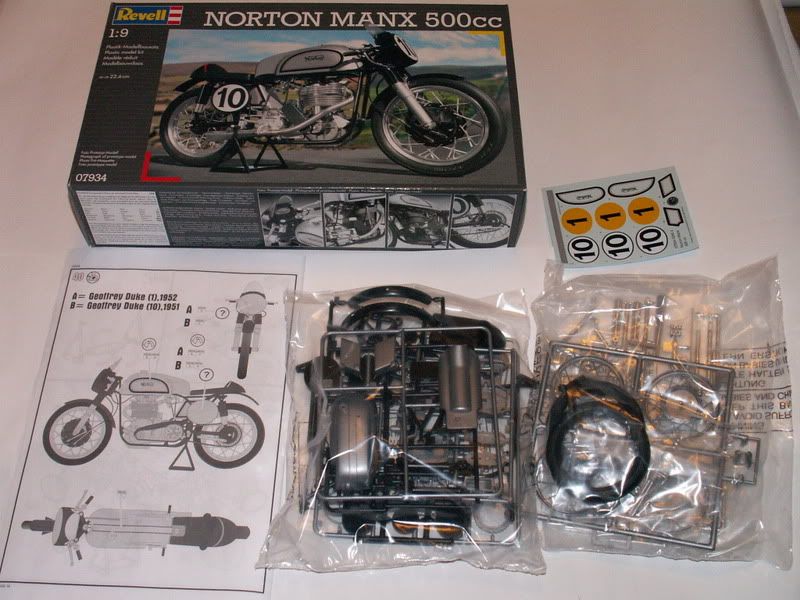
Everything looks pretty good except for the chrome, it looks very cheap and nasty.
First job is to strip it, and see whats underneath.
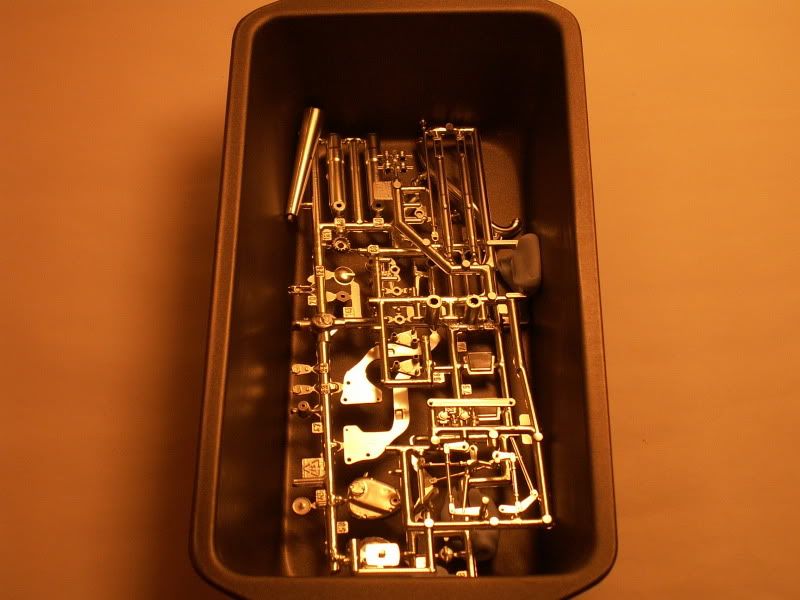
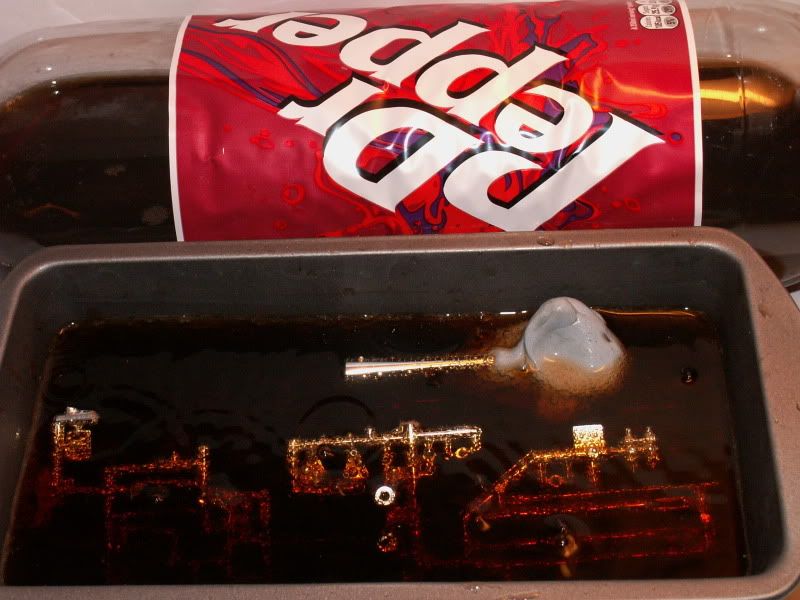
I have seen on other sites that Coke gets rid of the chrome if you soak it for 48 hours (Karl I think it was). As this sounds more eco friendly than Fairy power spray i thought that i would give it a go. The trouble is that i dont drink coke anymore, but i do drink Dr pepper. As it is probably just as acidic and 'good' for you as coke, im giving it a go instead. Its in to soak, and i will let you know if it works.
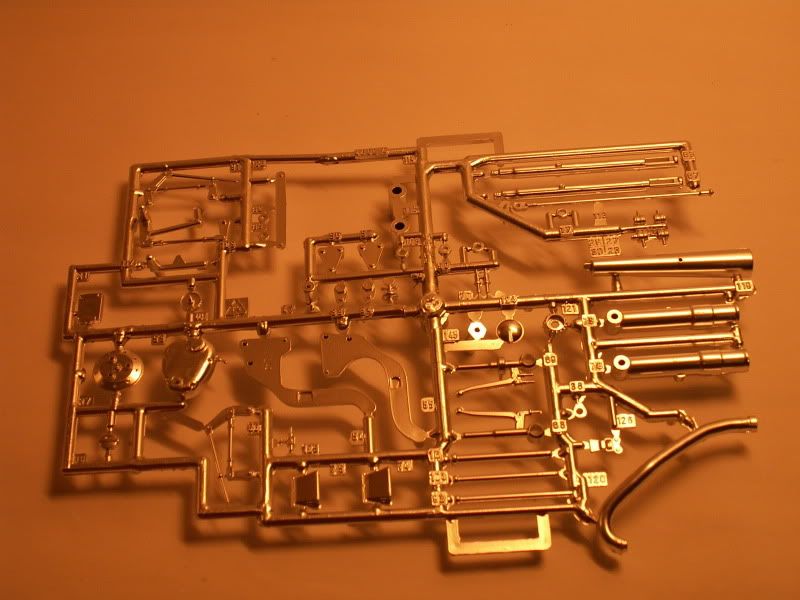
here is the sprue after 18 ish hours in with the fairy power spray.


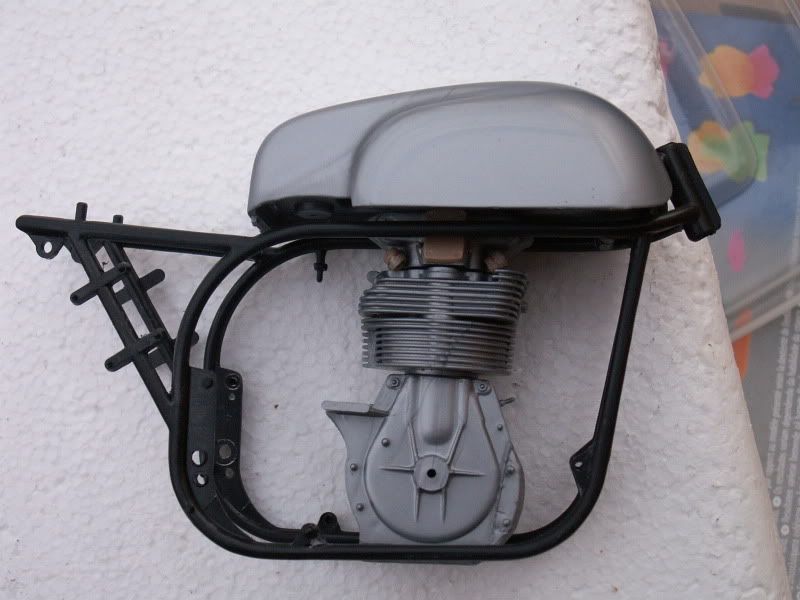
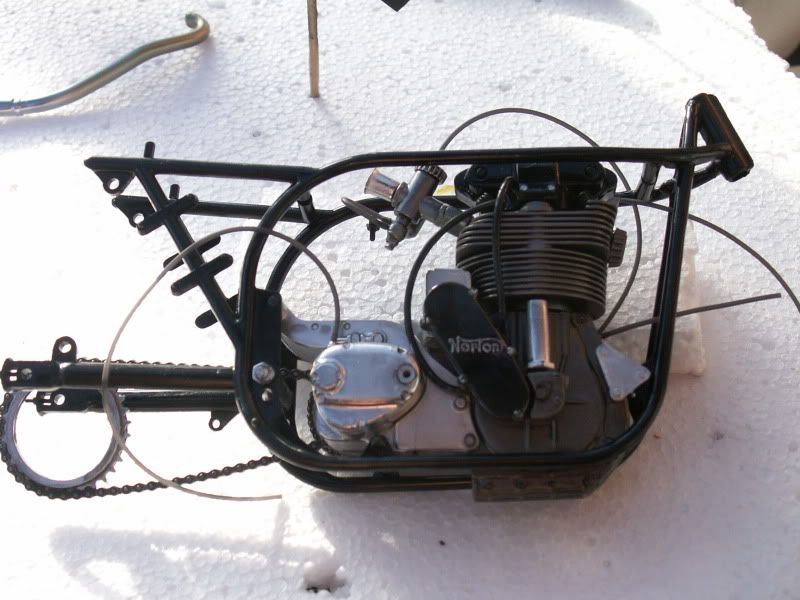
And here is what I have managed to do so far.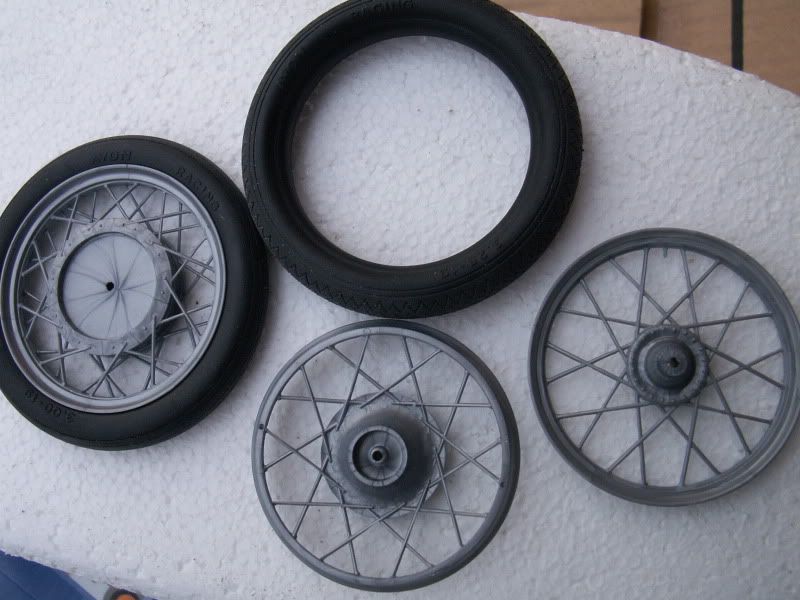

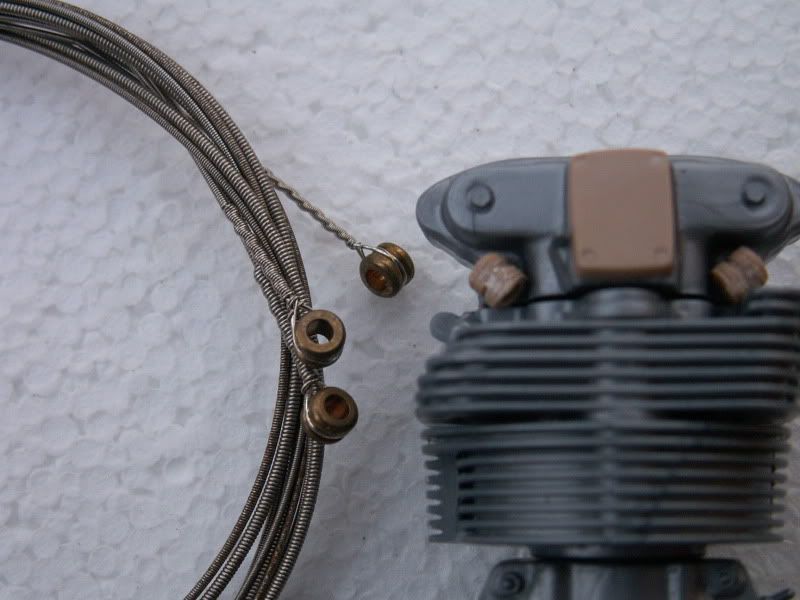
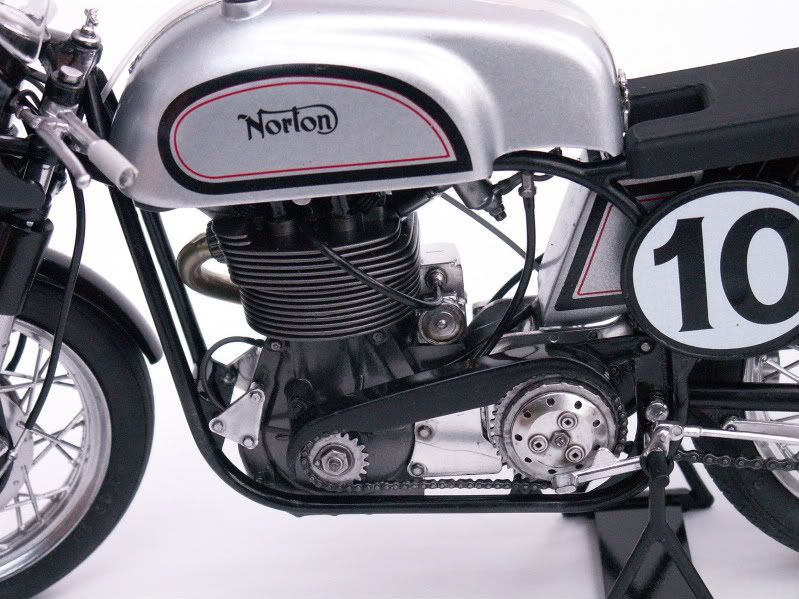
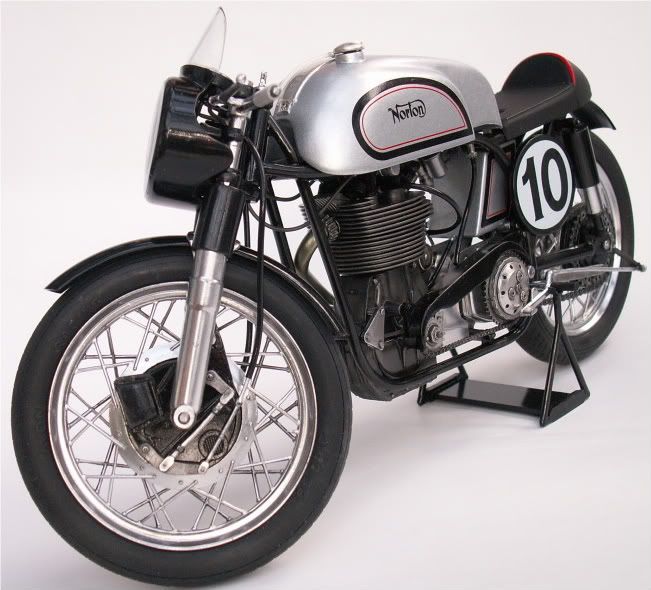
I had a little look on the net and found this pic of the cylinder bits. It turns out that they look like some coiled pipe or wire (I know very little about engines). So i came up with a better solution to the guitar string ends.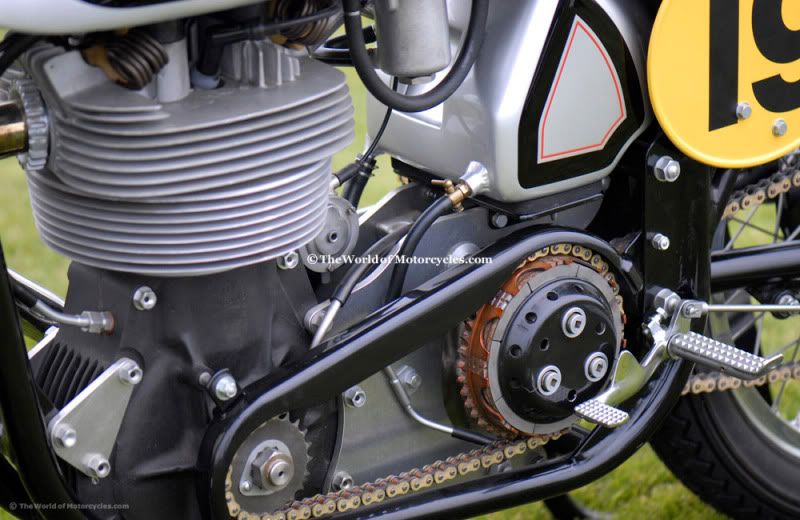


here is the sprue after 18 ish hours in with the fairy power spray.
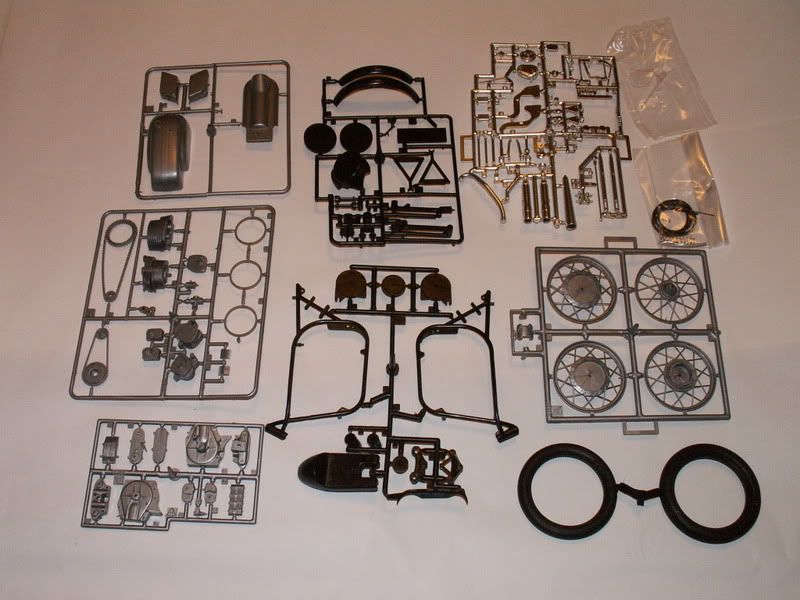
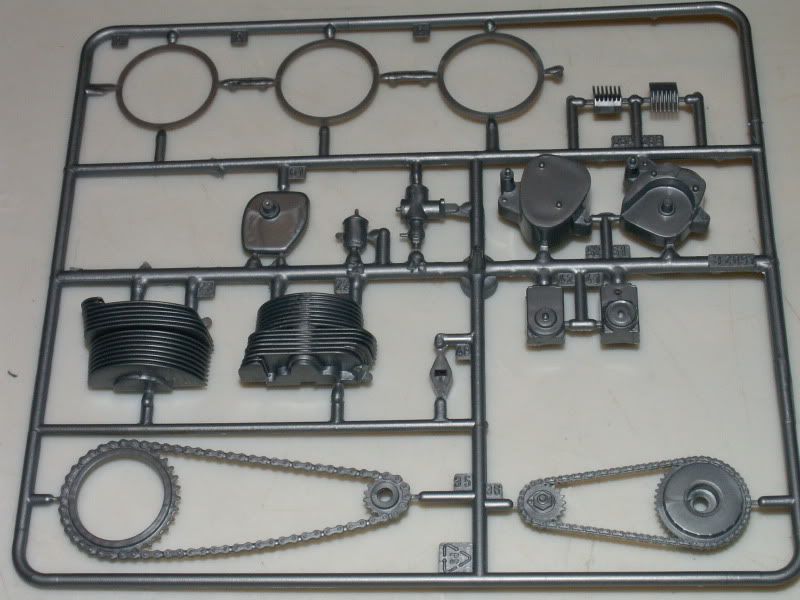
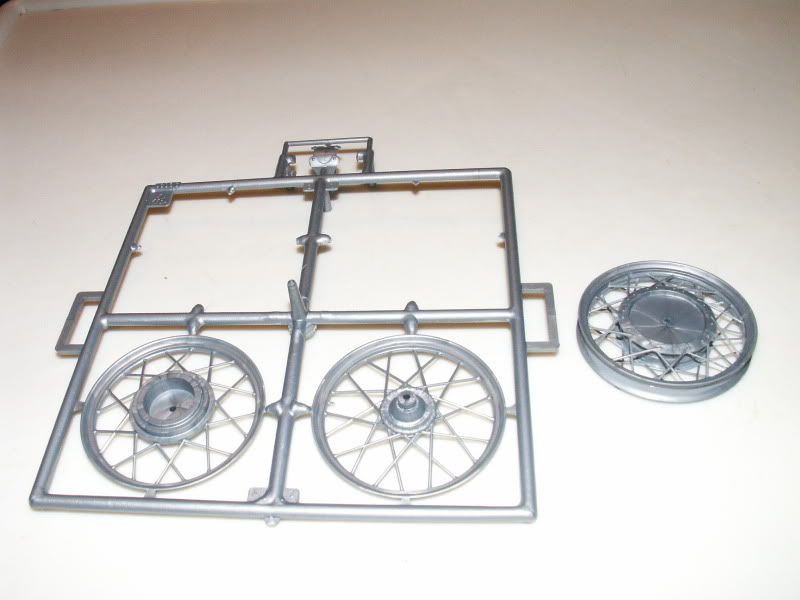
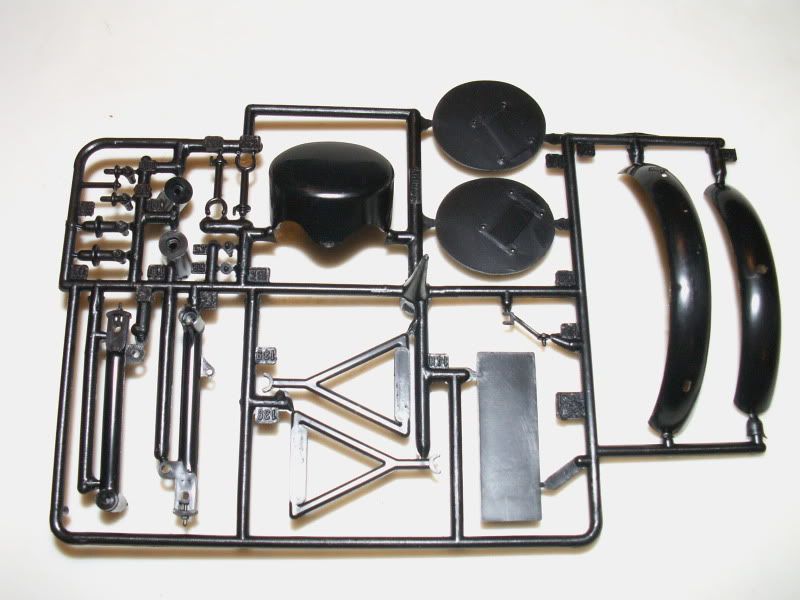
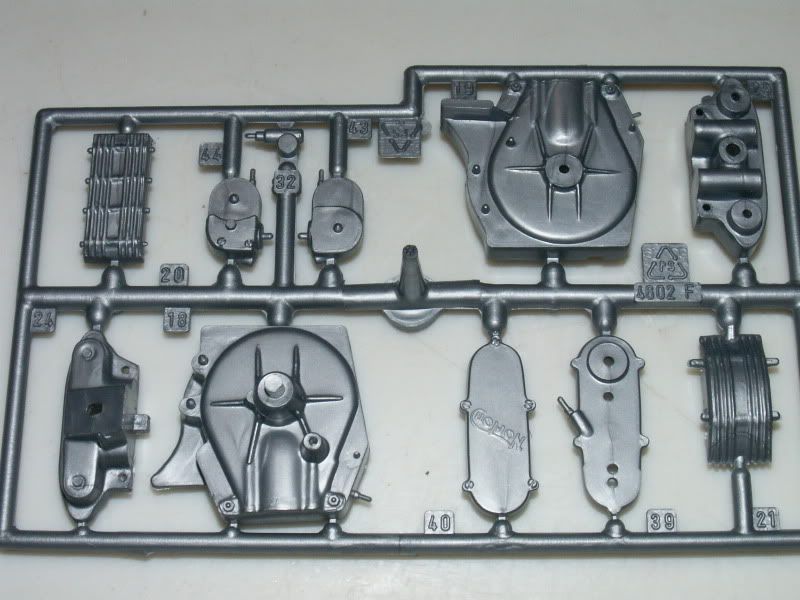
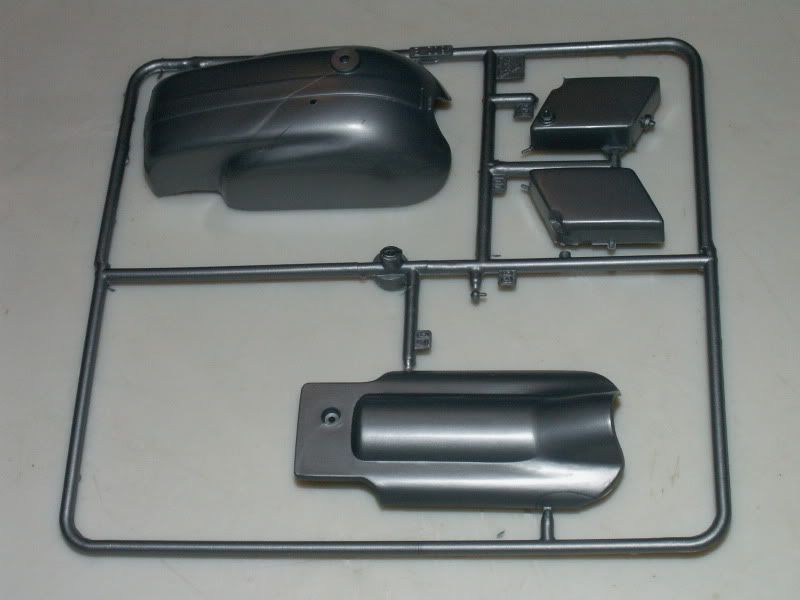
While i am at it here are the other individual sprues. They are all pretty good except for a little flash around some of the parts and what looks like a very slight misalignment of the tooling with the frame sprue.
And here is what I have managed to do so far.
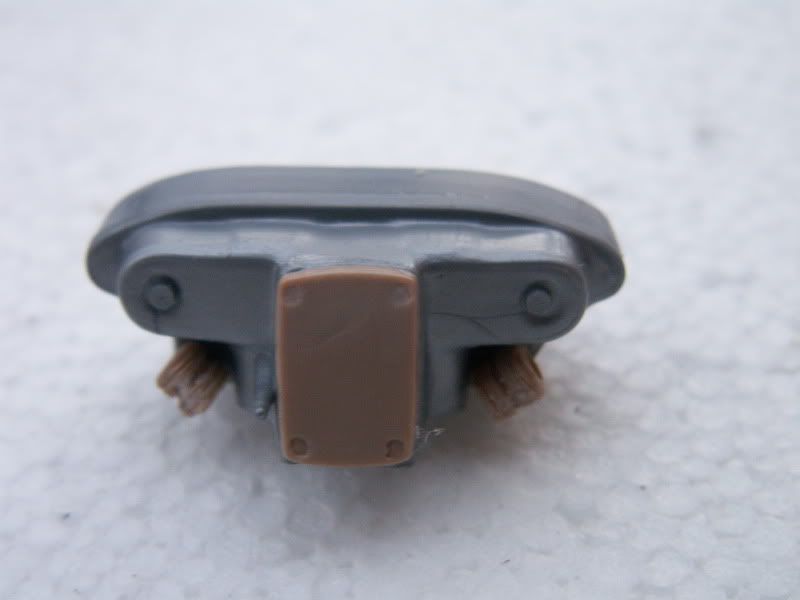
Im not happy with these little cylinder bits, and i have stuck them on at the wrong angle. So i am thinking of replacing them with the ends of these old guitar strings.
I had a little look on the net and found this pic of the cylinder bits. It turns out that they look like some coiled pipe or wire (I know very little about engines). So i came up with a better solution to the guitar string ends.
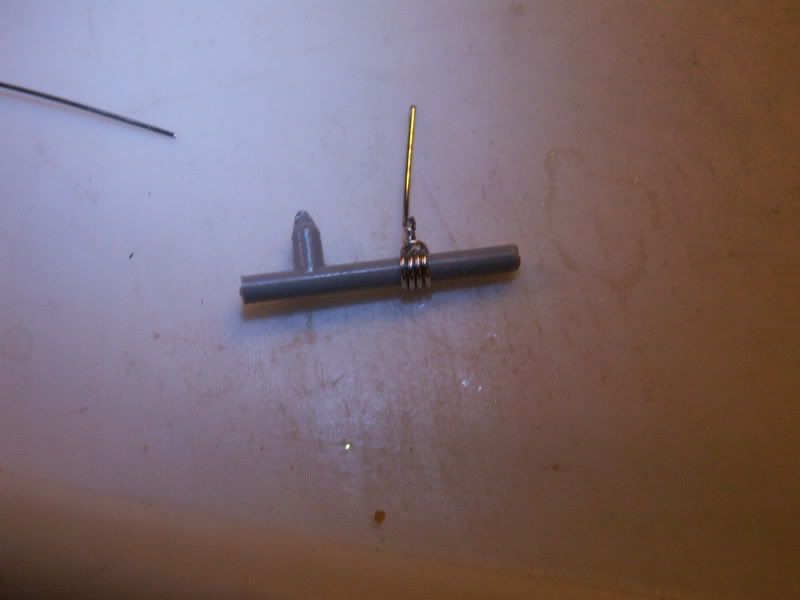
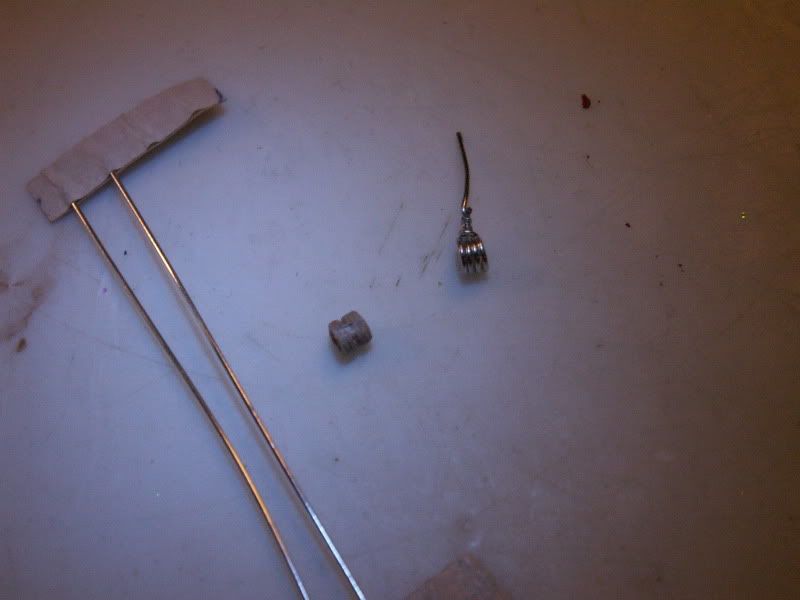
So i came up with a better solution to the guitar string ends, I used some circuit board links and wrapped them around an old bit of sprue the correct diameter. Twisted the coil around the back and cut it off with a little tail to fit in the hole of the kit.
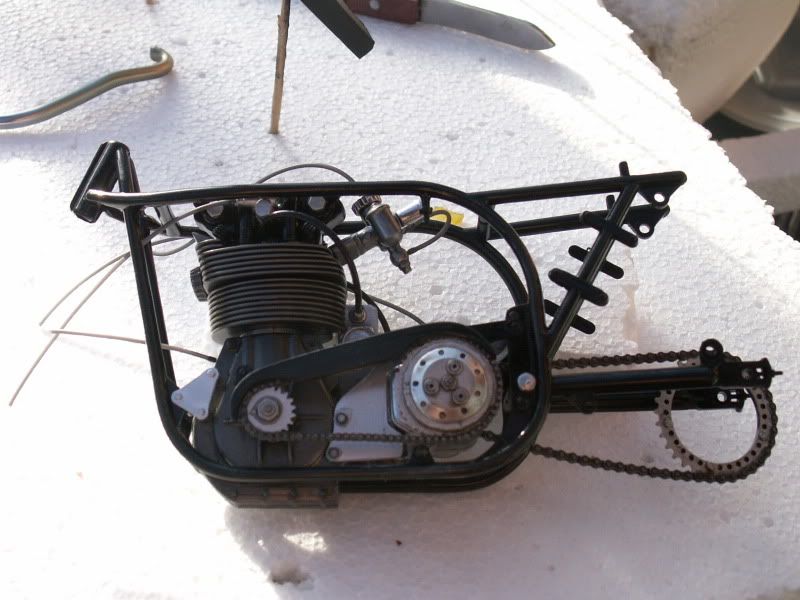
Here they are in place, looking much better than the kit bits, and they are now at the correct angle.
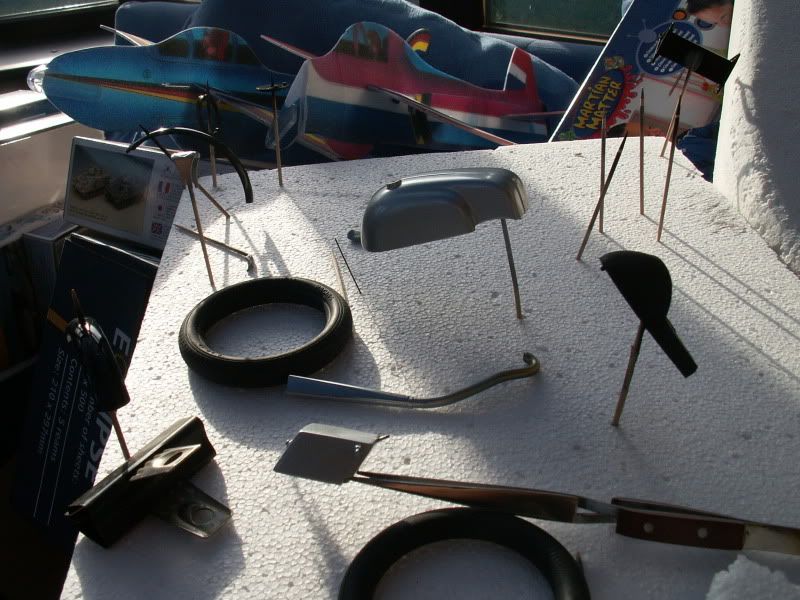
here are the pics
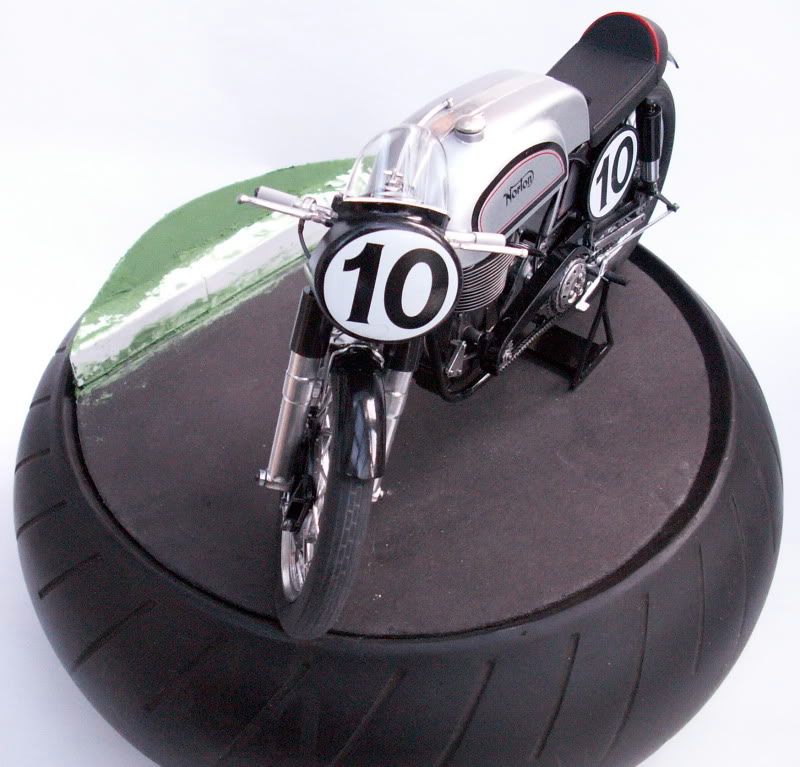
Here are some pics of it on a base i am making for club shows, it will be a curb and a road on a mini moto tyre.