


1:48 Italeri S-3A Viking - VS-31 'Topcats' - BuNo 159789 AG-700 USS Independence 1977
This will be my second build for the Promodeller Naval Group Build, and will be Italeri's excellent S-3A Viking. The aircraft will be another colorful US Navy example from the 1970's and will depict an aircraft from VS-31 'Topcats' based aboard the USS Independence. The S-3 Viking, or 'Hoover' as it's affectionately known has always been one of my favorites, and as soon as the subject was chosen for the GB i just had to build one. I had a few decal sheets in the stash but these were mainly 'Grey' examples and after building the A-6 i preferred the look of the old 'white & grey' schemes. Again i will using the Paragon Designs wing fold set, Eduard PE and a Vac-form canopy from Squadron. I have also decided to open up a few panels along the fuselage and add scratch built details.
Build Info
Tools & Sundries used
Loctite Super Glue 3 Gel Cyanoacrylate
Tamiya Extra Thin Cement
ZAP-O Odorless Cyanoacrylate
Milliput - Fine
Squadron Green Putty
Tamiya Masking Tape
Evergreen Sheet Styrene and Strip
0.2 & 0.5 Lead Wire
5 AMP Fuse Wire
1200 Grit Wet & Dry Paper
Dental Tools for scribing
Olfa-P Cutter
Micro Sol & Set decal solutions
Johnsons Klear
Bare Metal Foil - Chrome
Paints and Weathering
Halfords Grey Primer
Tamiya X-1 Black
Tamiya X-2 White
Tamiya X-4 Blue
Tamiya XF-69 Nato Black (For Tyres)
Tamiya X-27 Clear Red
Tamiya X-25 Clear Green
Model Master Acryl Dark Gull Grey
Gunze Sangyo H-318 Radome
Gunze Sangyo H-76 Burnt Iron
Gunze Sangyo H-92 Clear Orange
ProModeller Dark Dirt & Black Washes
Tamiya Weathering Master Powders Set B
Inscride Soft Greystone Pastels
Aftermarket Parts
Eduard PE #48172 for the A-6E / EA-6A Intruder
Eduard PE #49009 Remove Before Flight Tags
CAM Decals #48122 S-3A Vikings Valahala VS-31 'Topcats' 1977
Paragon Designs #48066 S-3AWing Fold Mechanism
Squadron #9643 Clear Vacform Canopy
First up the Box Art and Sprue shots.


The extensive kit decals.

The CAM Decals for VS-31 and Eduard PE

The clear Vacform canopy from Squadron, The kit canopy is way too dark as S-3 canopies only have the side panels tinted. I will dip the canopy in a mixture of Johnson's Klear and Tamiya Smoke.

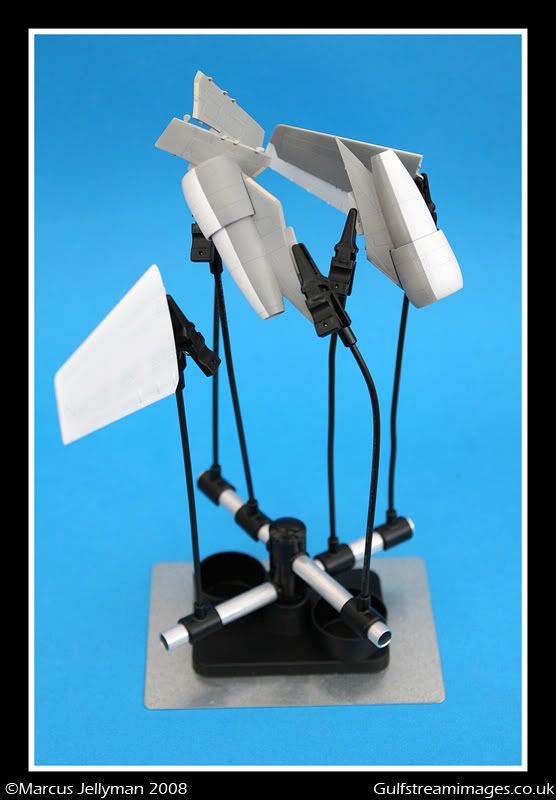
The Paragon wing fold set.

Reference Material

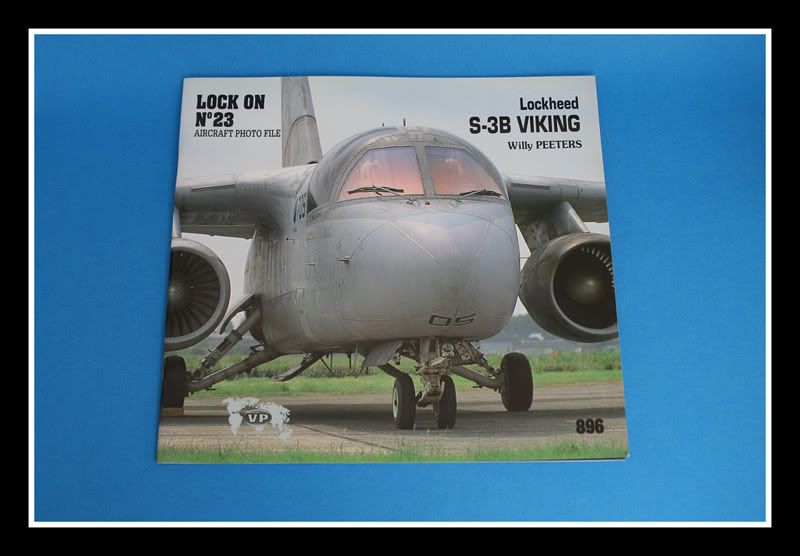
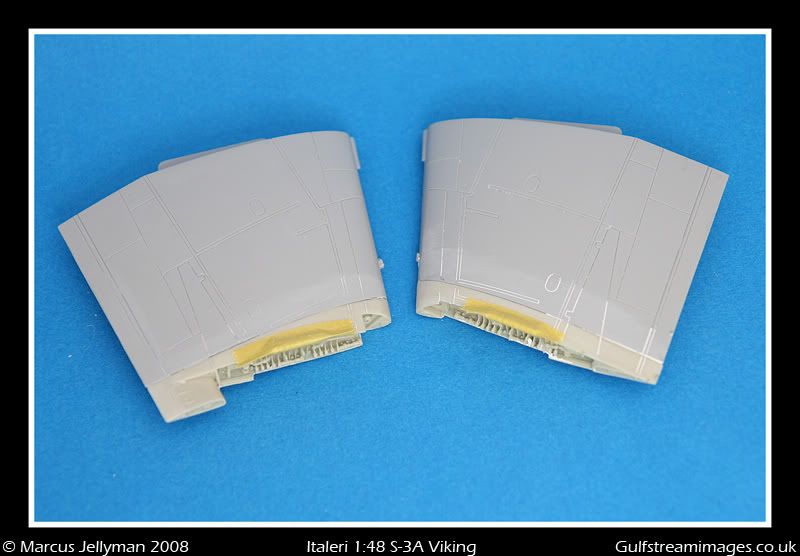
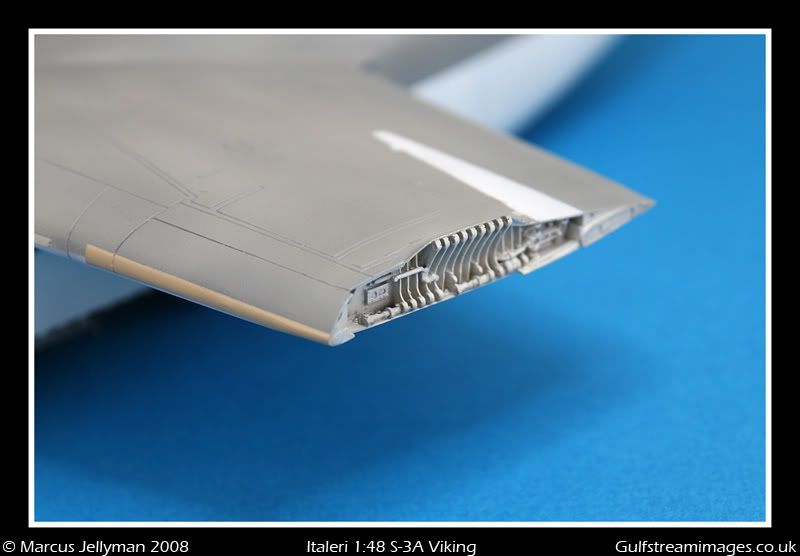
First up for surgery were the wings, i first cemented them together and then measured out where the cuts needed to be made. After the cuts were cleaned up the resin was bonded on with CA, i filled where where neccersary with CA and Kicker. The joints were sanded with 1200 grit wet & dry paper, and re-scribed where needed.

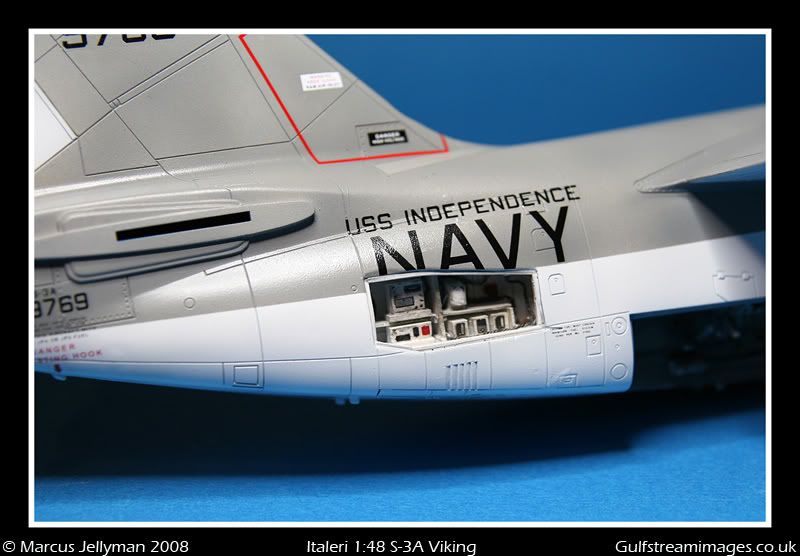
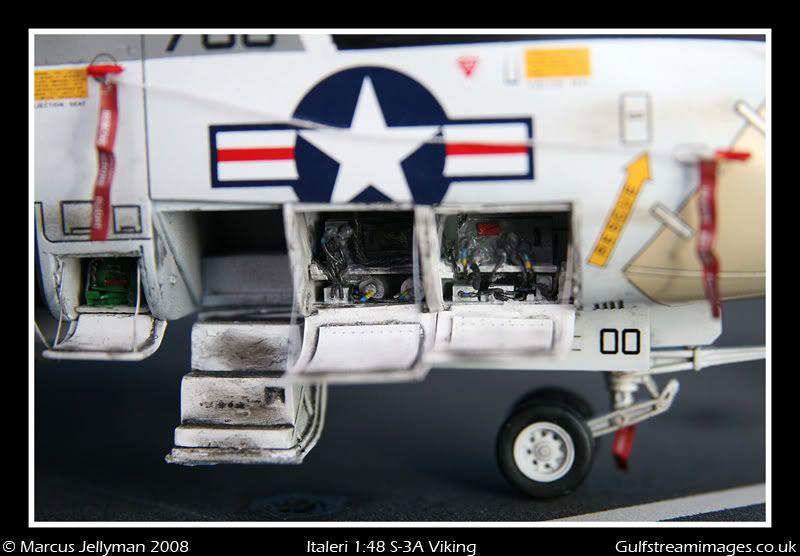
Now on to the fuselage, i decided to open up a few panels and scratch build various components. I used panel lines as a guide, and with my Olfa-P cutter gently cut each panle out. As these panels were to thick i decided to use these as a template and build new ones out of sheet styrene. All the bulkheads and internals structures were built from sheet styrene and plastic strip.


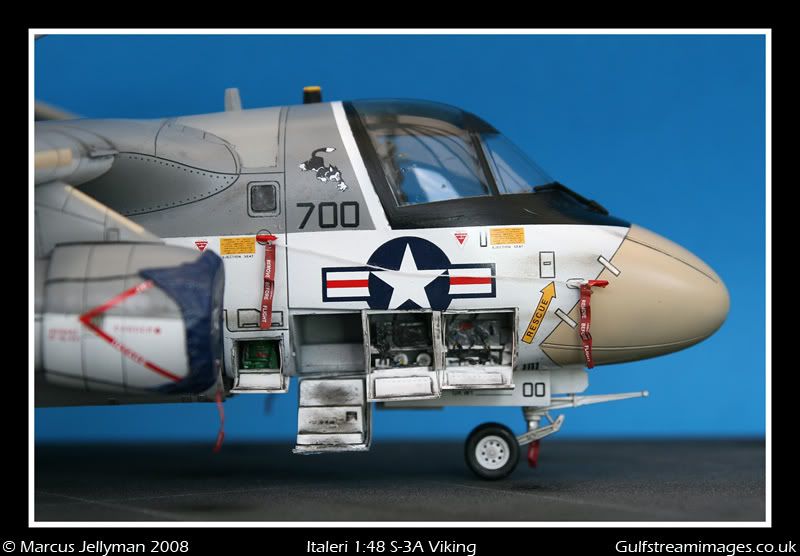
All the internal avionicshave beenadded , the wiring and plumbing have been made using lead and fuse wire. Everything was painted and was given a wash with thinned Tamiya smoke.


The Eduard set also includes parts for the bomb bay, i also added a few extra scratch built items.


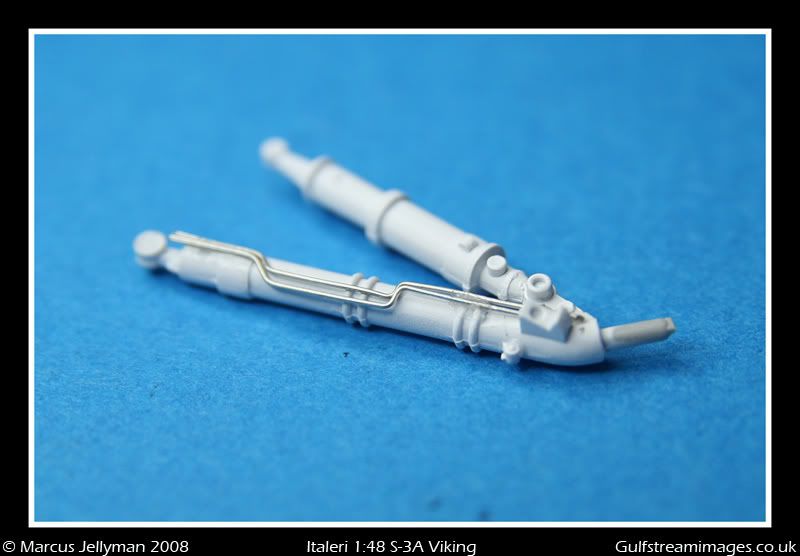
The liquid oxygen system.

The wheel wells with added details, again with plastic strip/rod and lead wire. These area's were painted white and weathered with pastels.


Next up, the wings were cemented on and re-scribed as needed, also the Vacform canopy was attached and blended in with Milliput.


The kit cockpit installed with extra's form Eduard, i used the kit ejector seats and just added PE belts.

Fuse wire brake lines added to the landing gear.
Everthing was primed with Halfords grey primer before painting Tamiya White, Model Master Dark Gull Grey and Gunze Radome. A few coats of Johnsons Klear were then airbrushed on ready for decals.


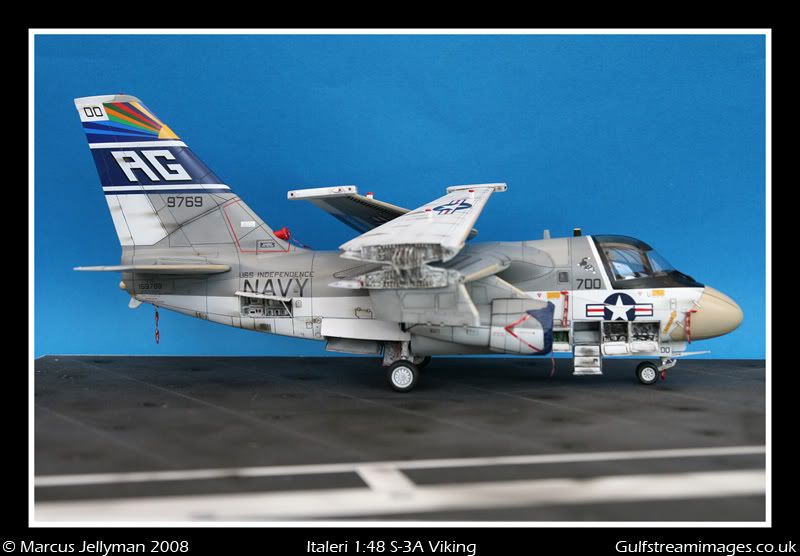
Now my favourite part, the decalling. All the going well until i reached the tail section, the decal for the tail was about 3mm too short at the front, meaning it would meet up. The decals give you the option to paint the blue area and add the 'AG' and white lines after. Tamiya's X-4 Blue was a near perfect match so i opted to to spray this and just add the letters. I was quite pleased with the result.


The aircraft was weathered with Promodellers Dark Dirt Wash and oil/grime stains added with pastels. The engine covers were home made with kitchen foil and loo roll, they were the sprayed with Tami ya Blue, and once dry weathered with Tami ya weathering powders. Finally Eduard RF tags were added.


Another thoroughly enjoyable build.
Marcus 