


My build of the Airfix 1/48 TSR.2. From the outset this build was to be a "What if?" Depicting the aircraft as it could have been had the project gone ahead further than the testing stage the aircraft reached.
The model was to be finished in the operation colours, and, wrap around camouflage worn by the RAF's 617 Squadron "Dambusters"
The build was completely out of the box other than the Xtradecal decal sheet for the What if schemes.
Paint used was Vallejo Model Air Dark Sea Grey and Dark Green for the camo, black for the nose, fin tip and wing aerials.
Camouflage was painted freehand as i wanted a real soft edge to the colours.
And the metal finish at the rear was done using Citadels Mithril Silver with Chainmail heat staining.
Model finished using Promodeller Dark Wash and Xtracryix Flat Varnish.
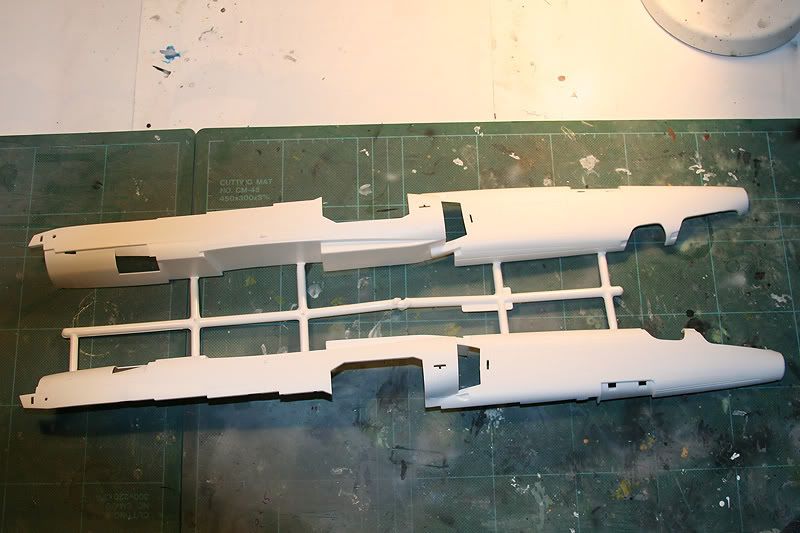
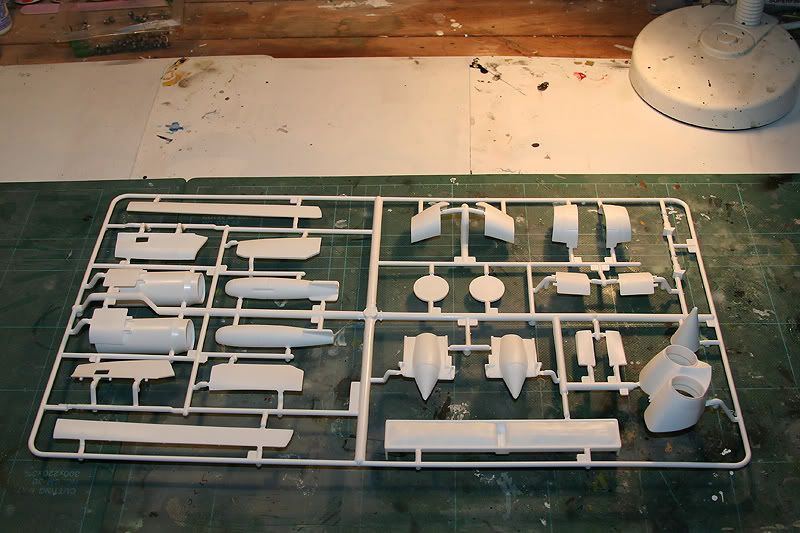
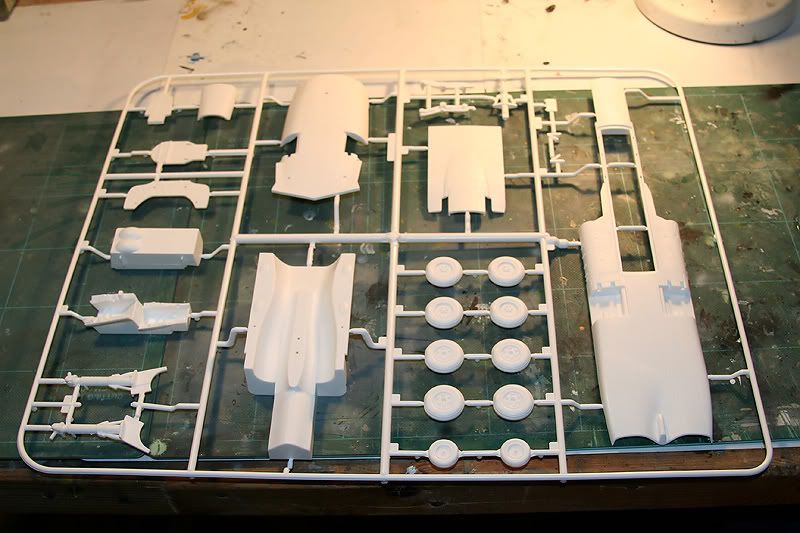
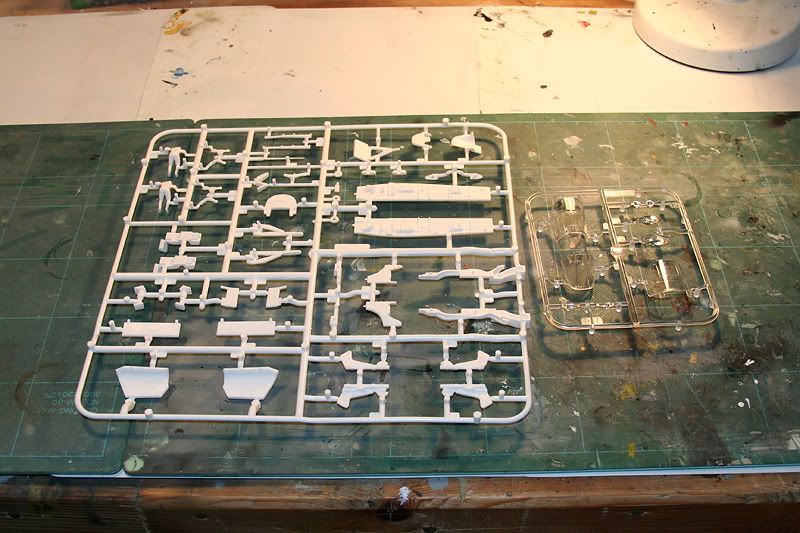
First the box and sprues.

Started with the cockpit and seats and assembled the main gear / bomb bay section.
Pit ready for detailing and washing.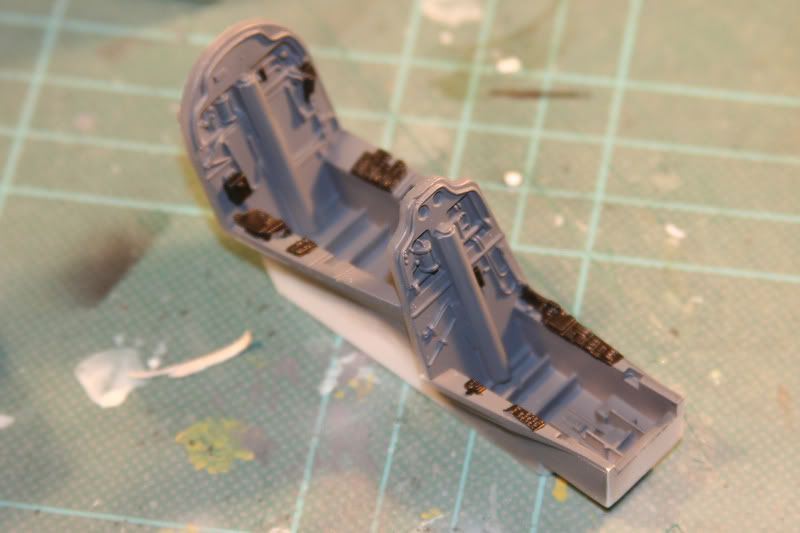
Seats ready for detailing
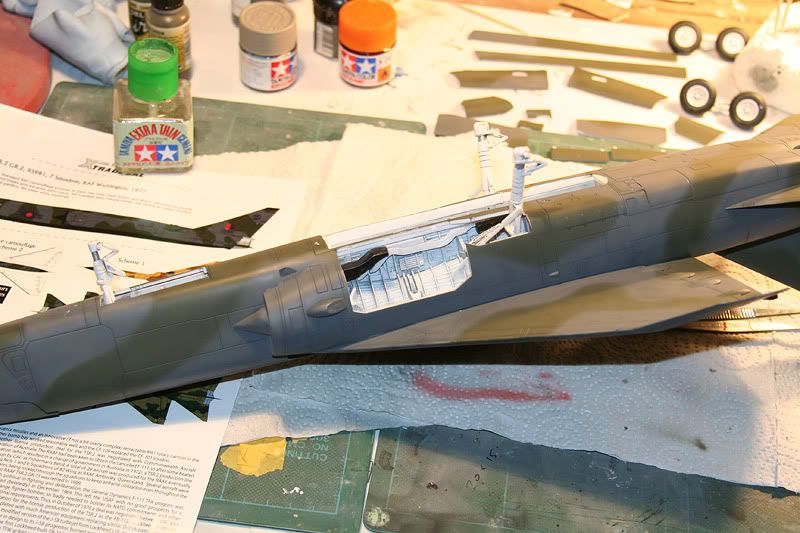
Wheel/Bomb bay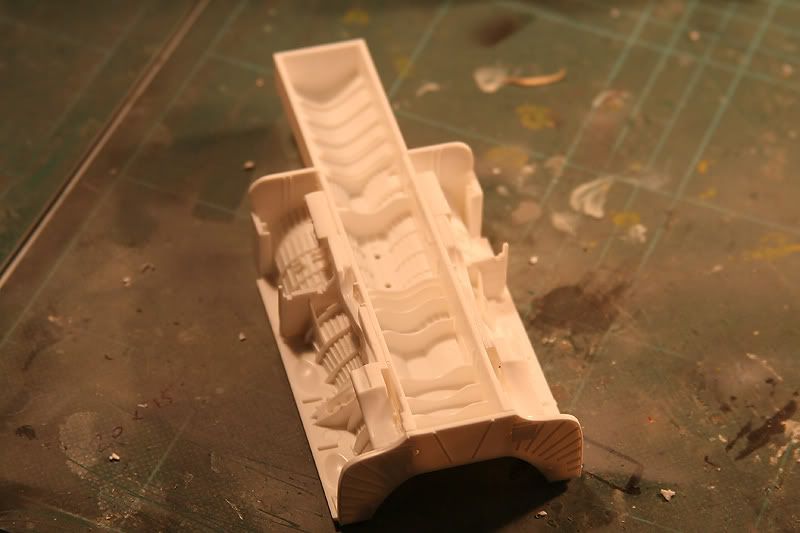
Cockpit in fuselage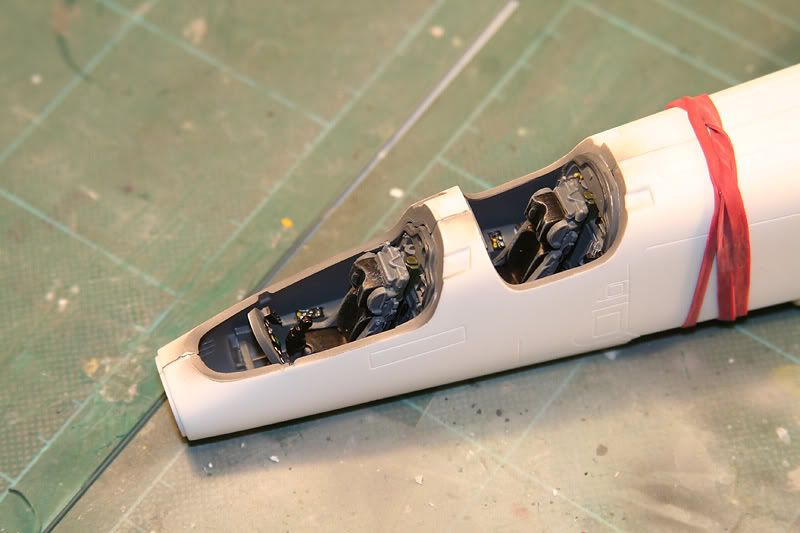
Wheel/Bomb bay painted up and installed in fuselage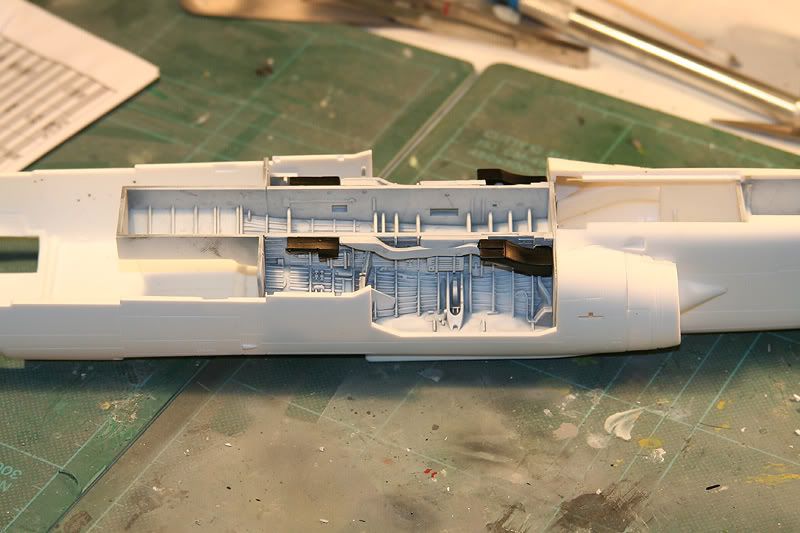
Fuselage joined and cemented ready for rubbing down of joins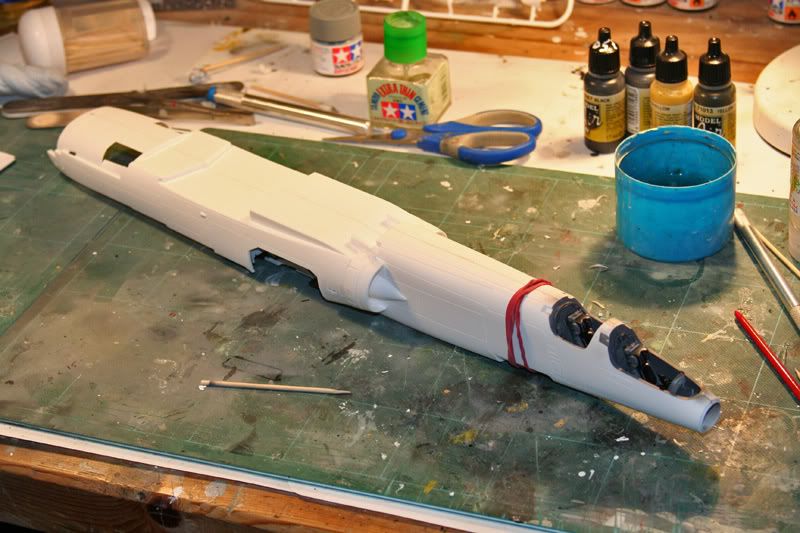
Wing fitted and clamped in position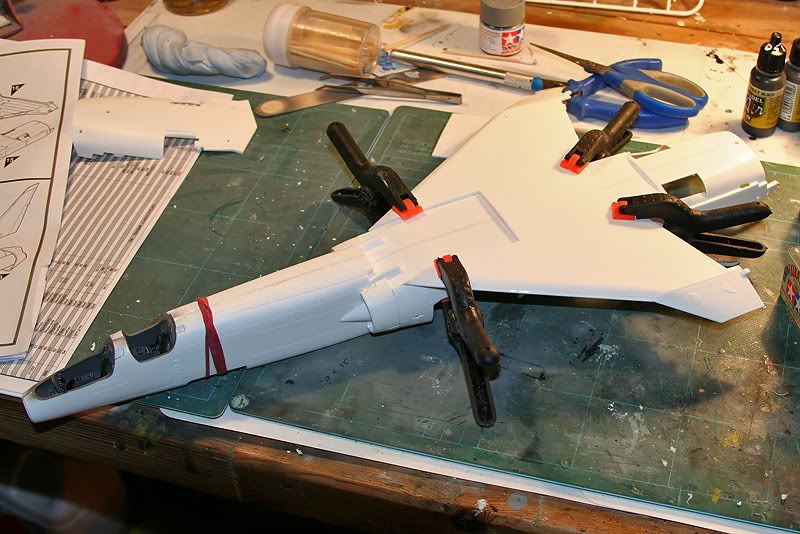

Back end cover in place
The first little problem i encountered were at the air brakes. I was modelling them in the closed position and they were obviously made to be in the open position. Some filling and rubbing back was required to make them look a bit better. Nothing too drastic though.
Where i'm at. ready for filling of air brake gaps and rubbing down of seam lines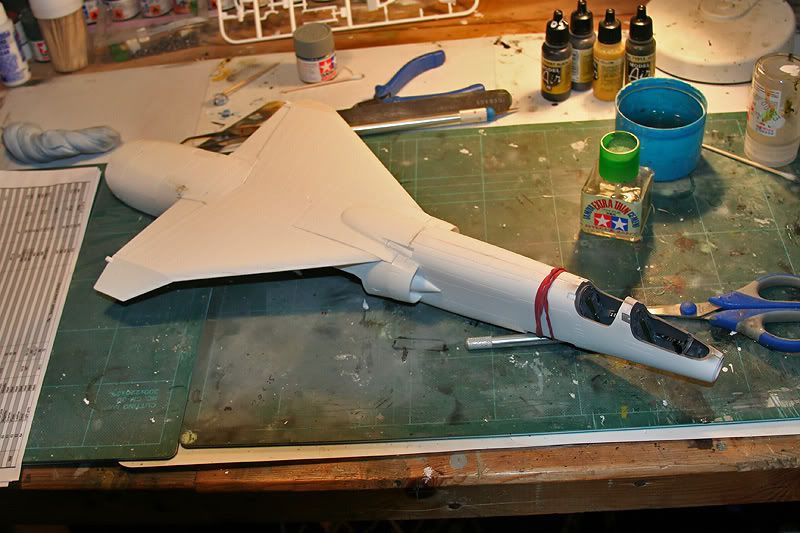
Almost ready for a primer coat now but first i'm checking the joins using Tamiya paint.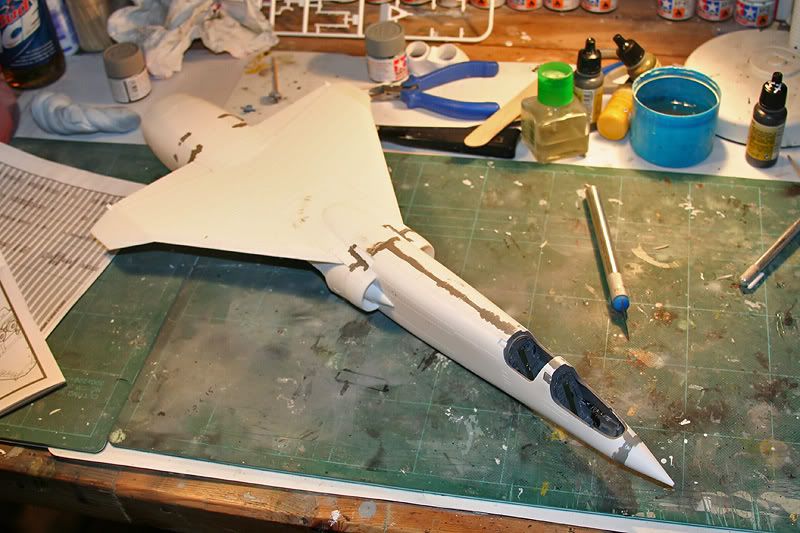

Joins cleaned and looking ok. Fin installed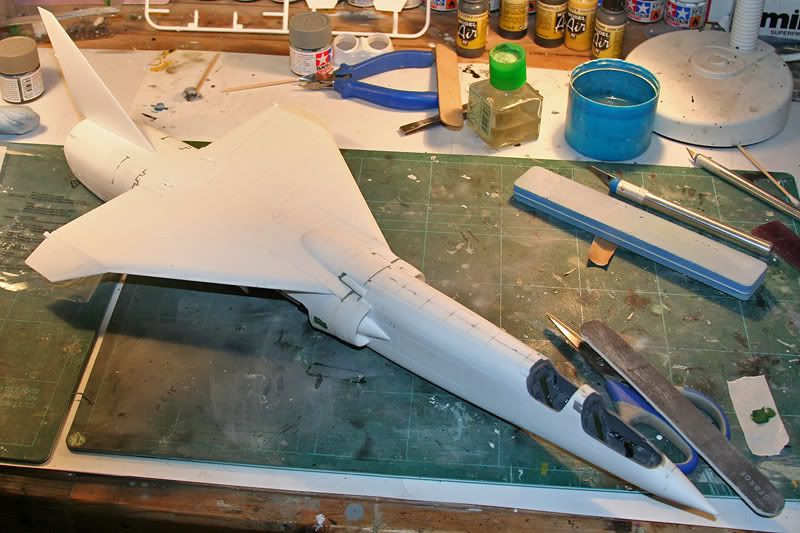
Tail on, checking the height of the stabilizers is equal both sides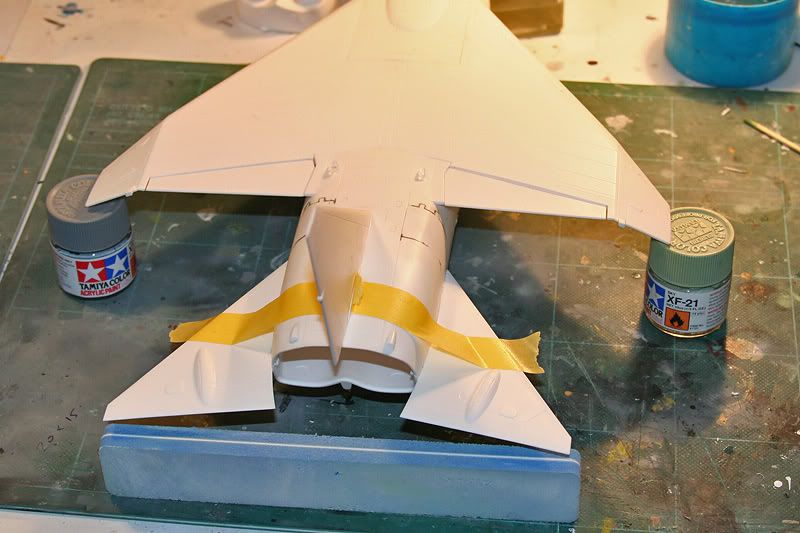
Wheel / Bomb bay doors installed with Blu Tack for painting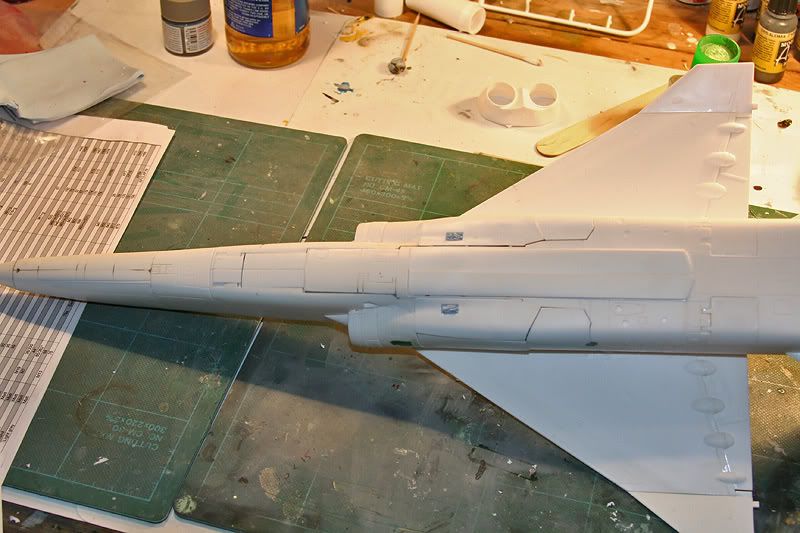
Fitted glazing, Front windshield to fuselage needed shaping to get rid of a 1.5mm step. Plastic is nice and soft so didn't take much to re-shape it.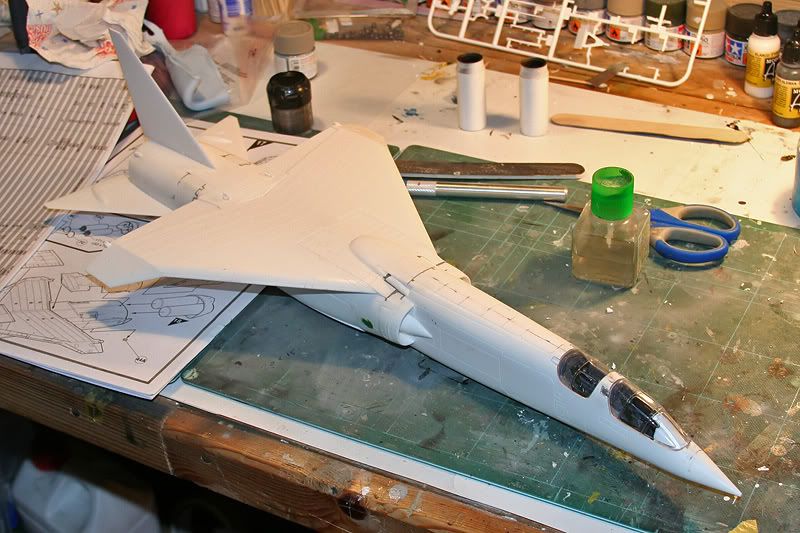
I used Tamiya Clear Orange thinned 50% with Tamiya thinners and sprayed the canopies on the inside with this mix. They were then dipped in Klear and left overnight.
Canopy masking started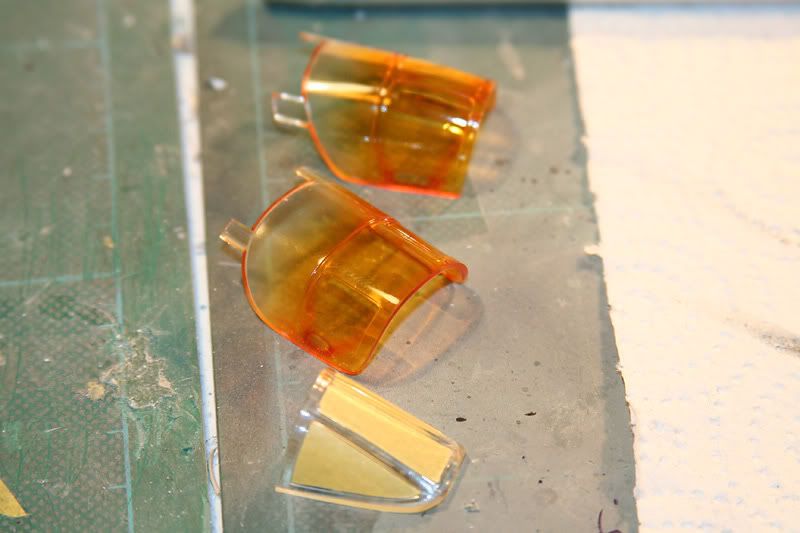
All masked and on the aircraft
Then got her primed up using the first grey that came to hand.
Top Primed........
And underneath........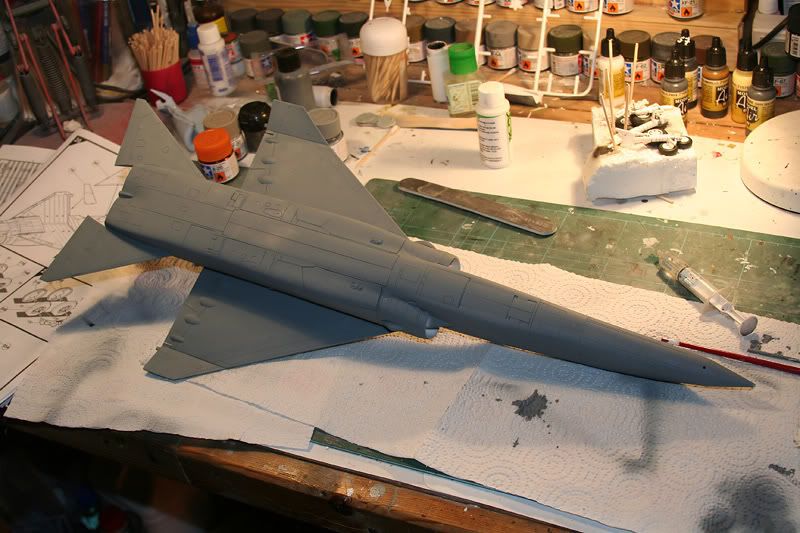
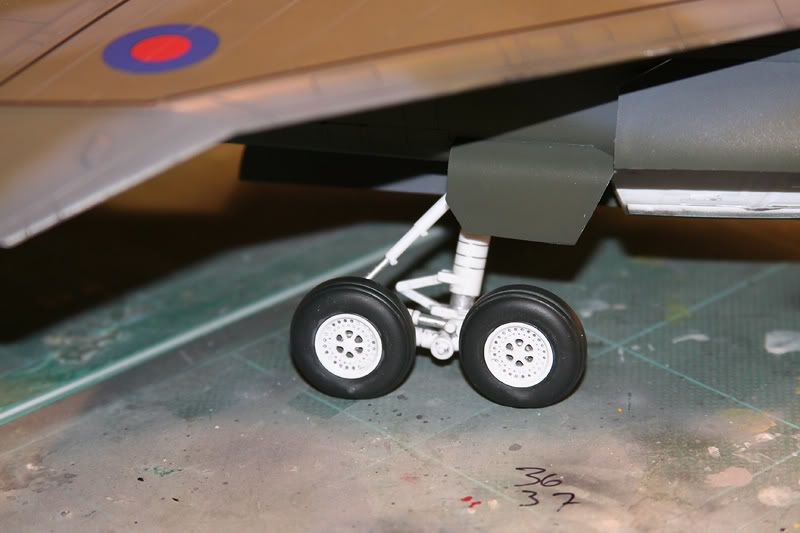
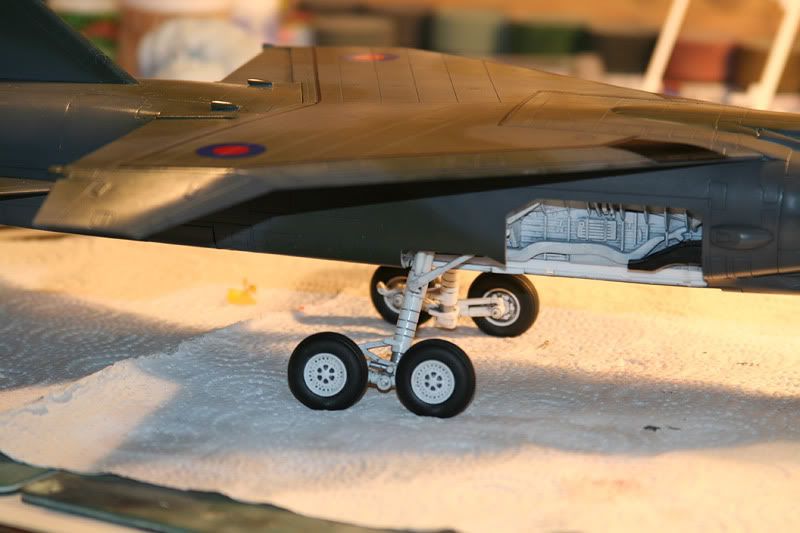
Got the gear all painted up and weathered and this is a stage where Airfix have got things wrong on their instruction sheet. There are two shock absorbers or struts (Part numbers 36 and 37) that connect the main gear bogies to the main gear leg. These aren't shown anywhere on the instruction sheet.
Missing struts fitted
 It's the strut above the left wheel in the next picture.
Close up of main gear leg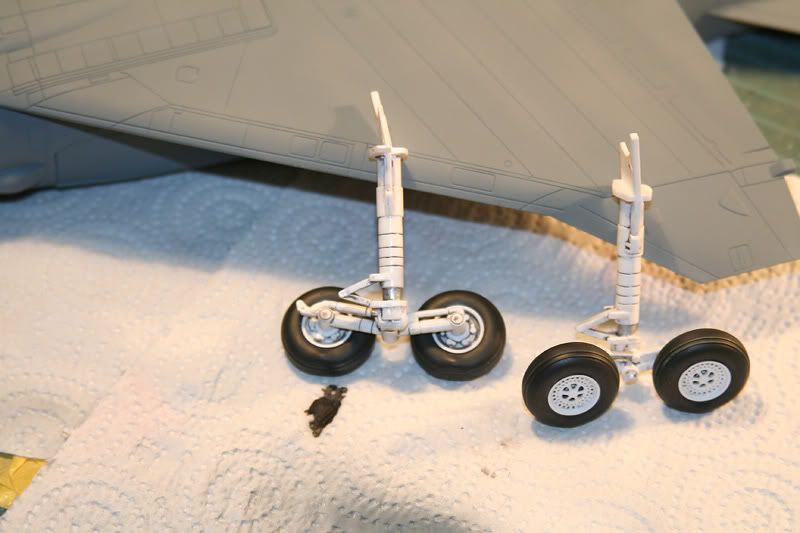
Got the pre shading done then started on the wrap around camo scheme.
Preshading

Camo started

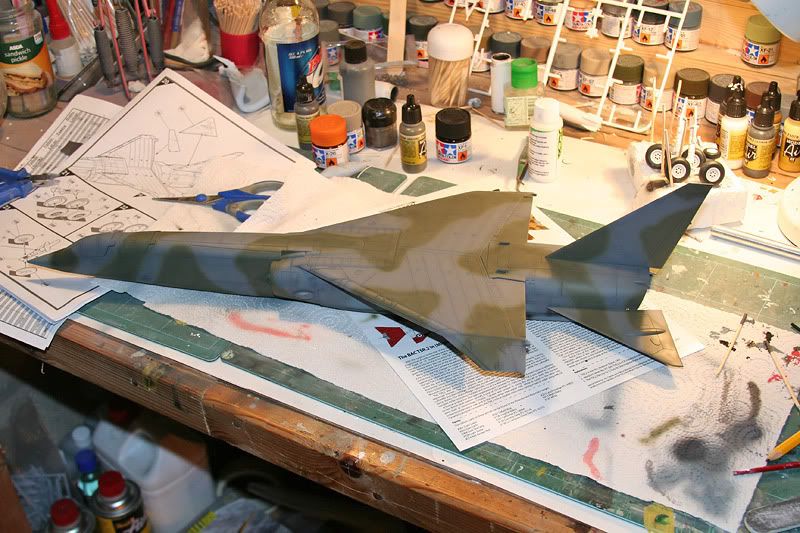
Left the topside to cure a bit before turning her over for the underside.
Camo's all done. And she's up on her legs. Be wary when you build yours though. If you fit and glue the bottom "clam shell" and the rear of the fuselage before you fit the main gear (as i did to ease the painting of the wraparound camo) the gear legs won't go in. I had to cut along a short panel line so i could ease it out of the way to fit the leg. When the leg was in and the panel was re-glued you can't see anything was done to facilitate the gear install. Hope this helps some of you.
Camo underneath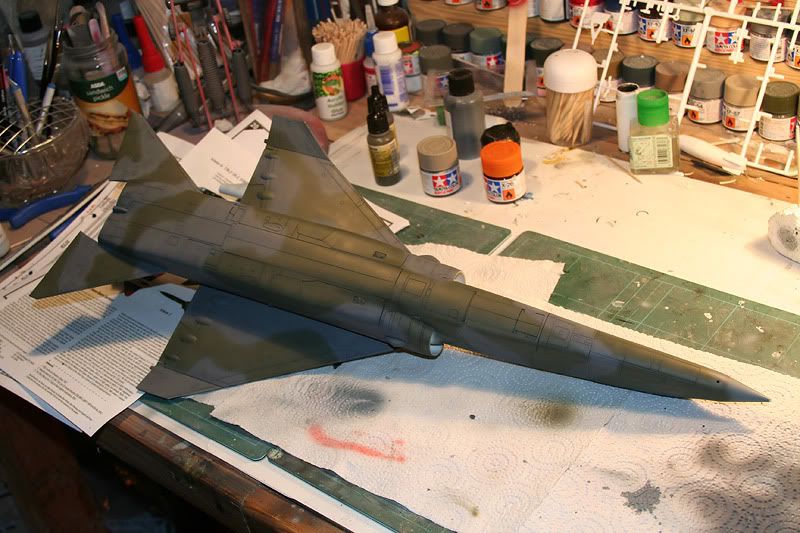
Gear on
Up on her legs at last!
Getting close to completion now......Klear coated the model to protect the paint finish and prepare it for decalling.
Masked up for all the black areas.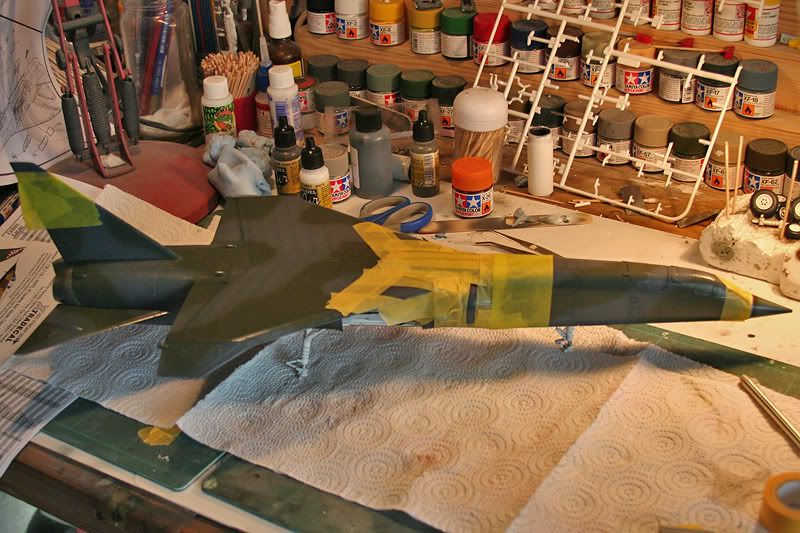
Painted
Masking removed
Got the decalling done.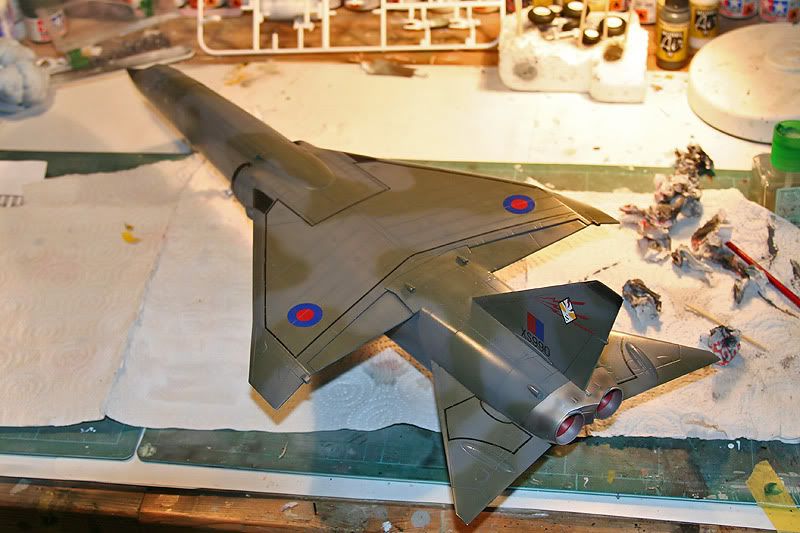
Lathered on Promodellers Dark Wash.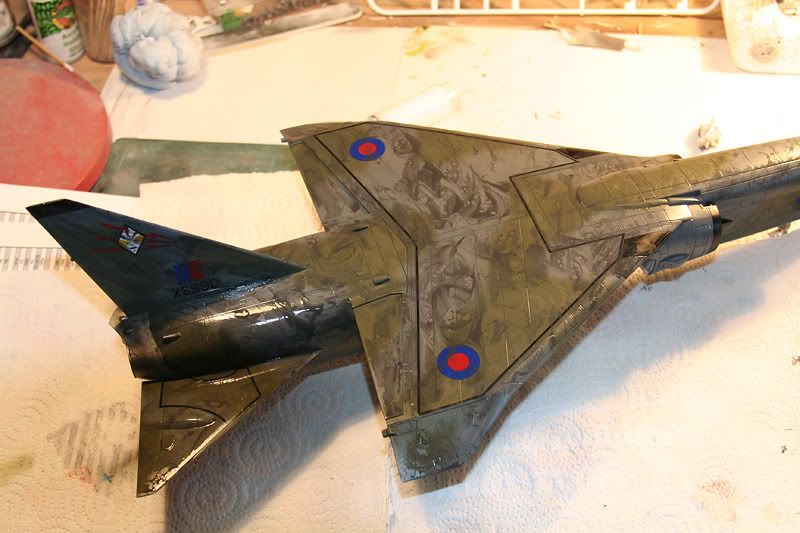
Wash on underneath.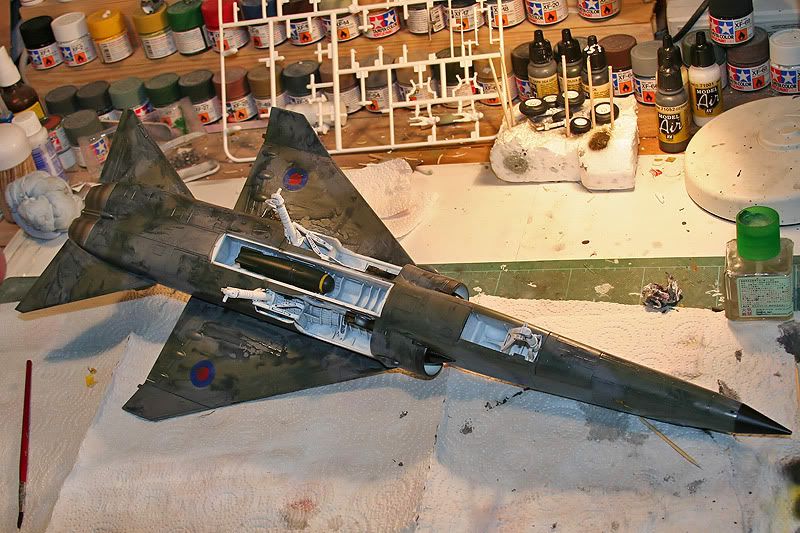
Removed the wash and fitted the wheels.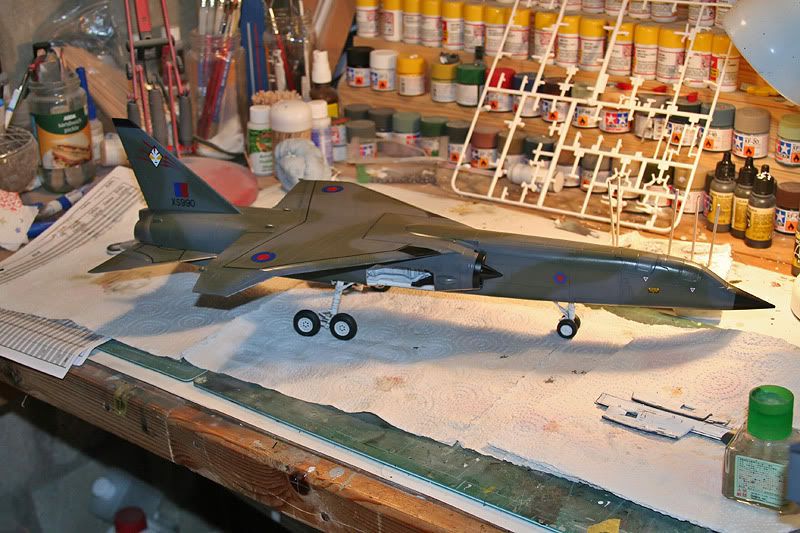

All that was left to do now was fit the doors and Pitot tube. Didn't take pictures of this but they are in the following completed pictures.
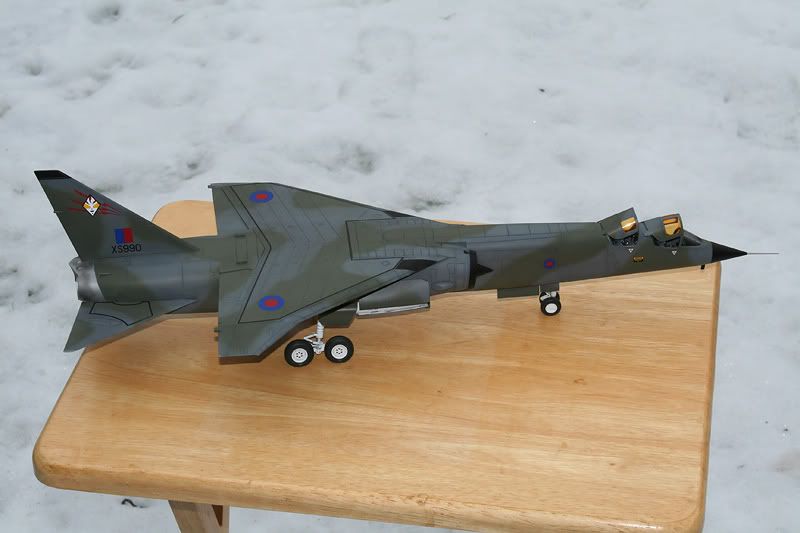
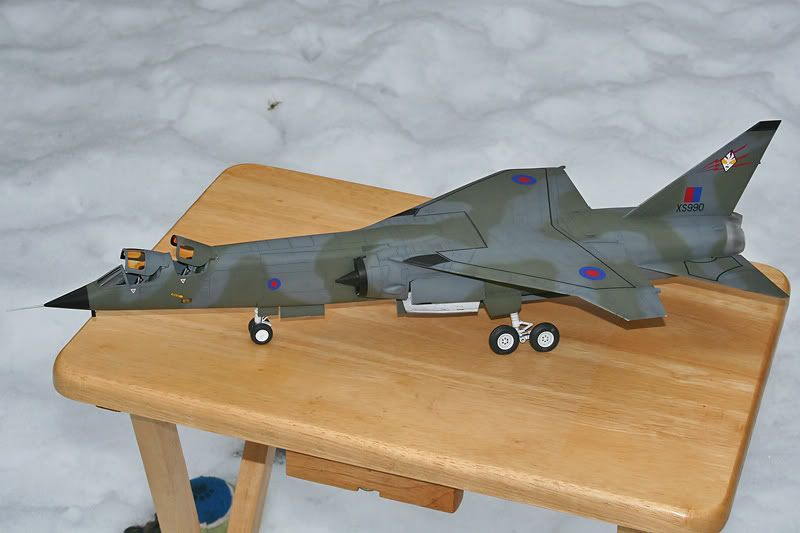
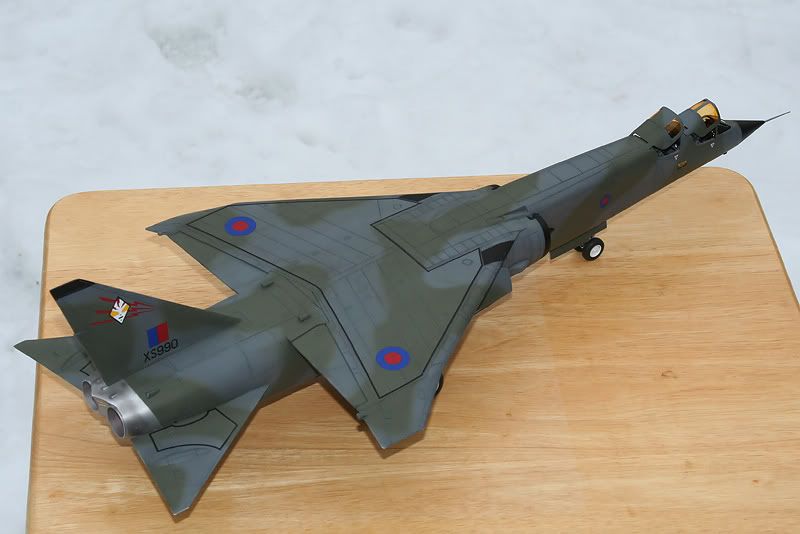
Here she is all finished.

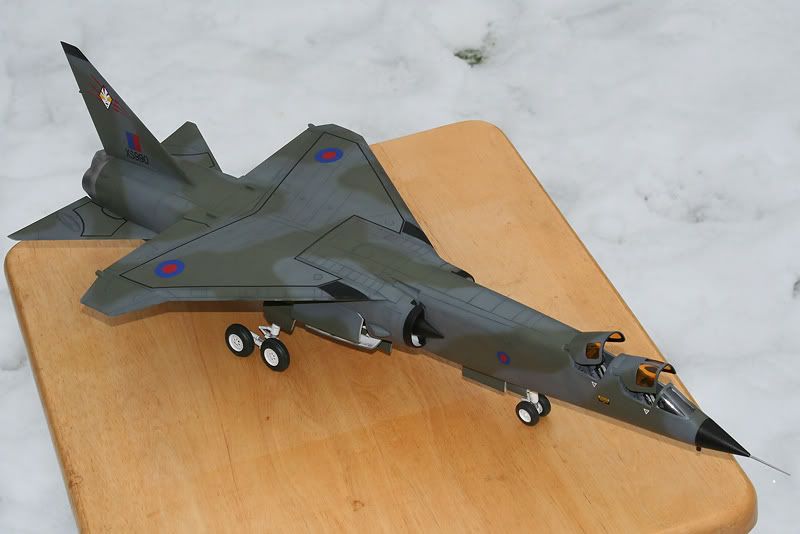
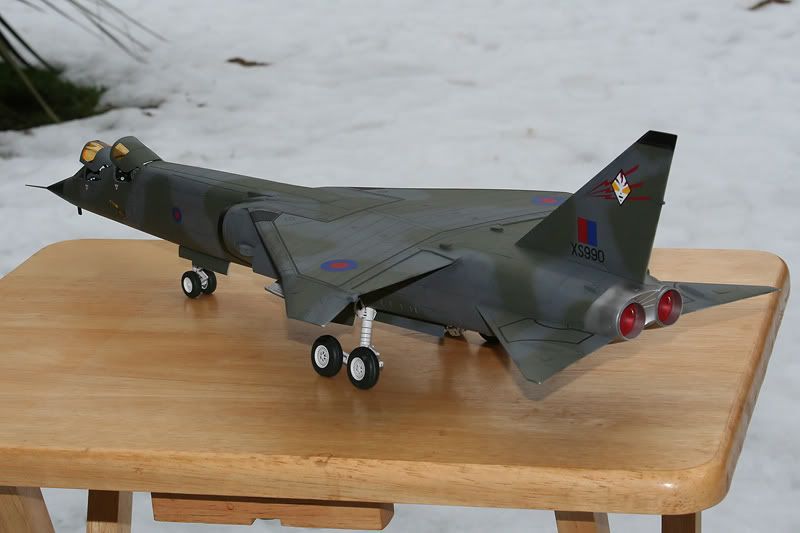
Tom Sunley