


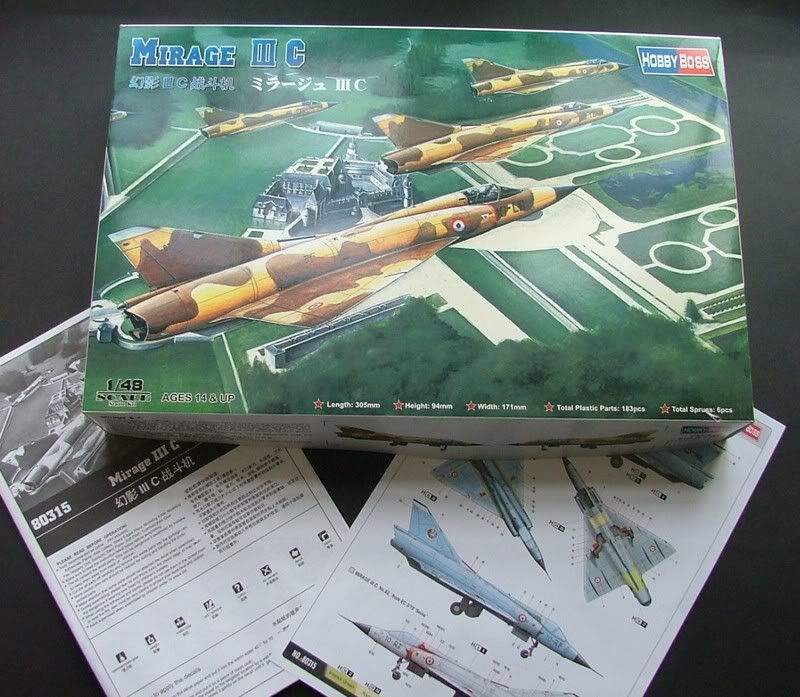
Hobby boss 1/48 Mirage IIIC Kit NO 80315
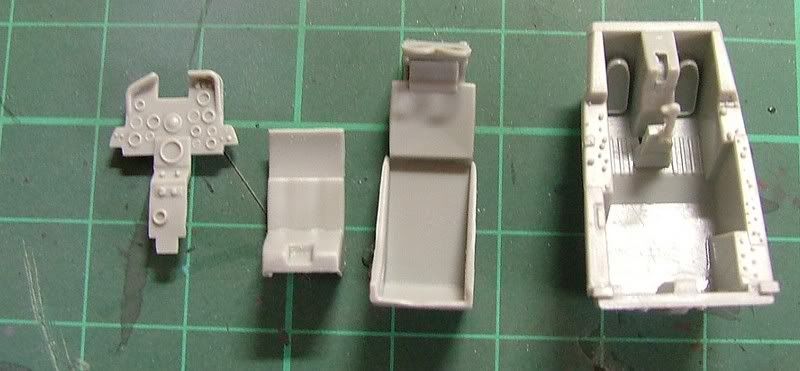
Step 1
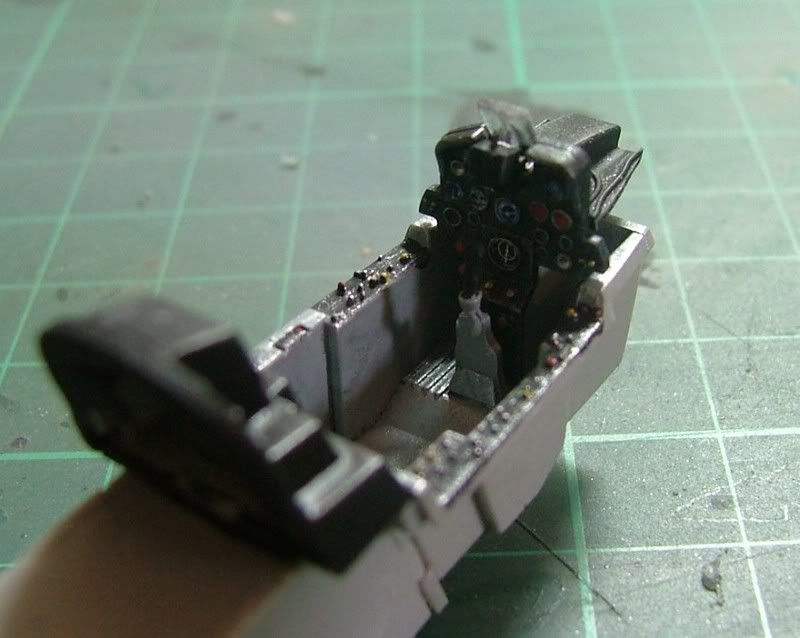
First find and cut all the parts for the Ejector seat and cockpit. Glue the seat base A25 and parts A30, A31 and A5/A6 together. Leave the seat and headrest to one side for the moment. Glue the pedals to the cockpit as well as the control column A17 and the rear cockpit wall C4 in place too. Now paint the cockpit and sidewall of the fuselage walls Fs 35237 Blue/Grey. I airbrushed mine but you could just as easily hand paint it.
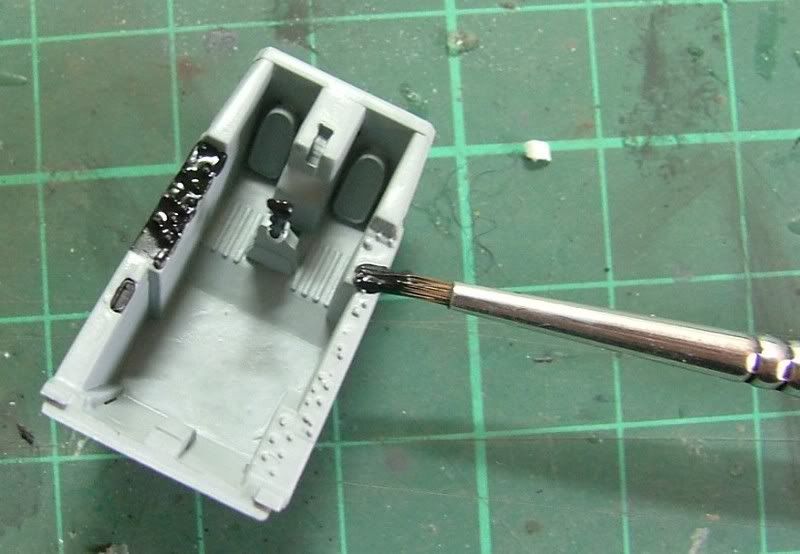
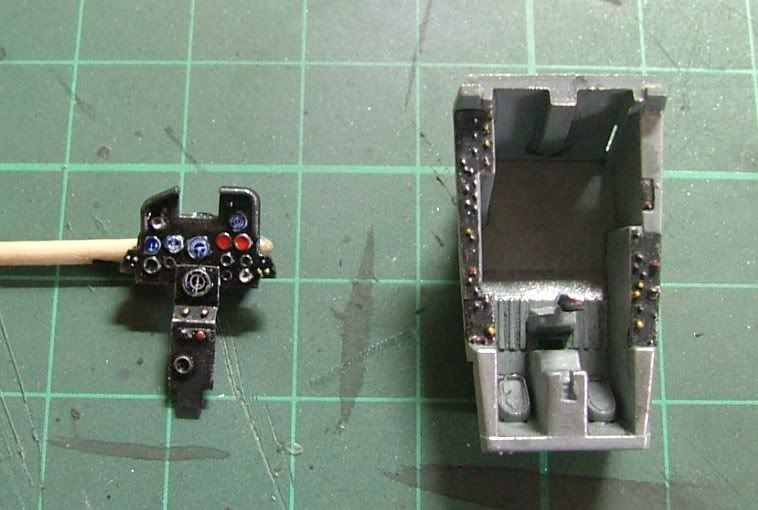
Now it’s time to pick out all the details. I used flat black for the cockpit panel and side consoles.Then dry brushed silver onto the panel and cockpit to highlight and weather the switches and tub. A quick brush round with a dark dirt weathering wash to further highlight the cockpit area. Some switches were picked out with a cocktail stick with red and yellow paint. I also added some decals in the dials on the instrument panel but I will cover this more in the advanced modelling section.
Step 2
In step 2 it’s a simple job of making the front wheel well, instrument panel and installing the rear bulkhead.
Step 3
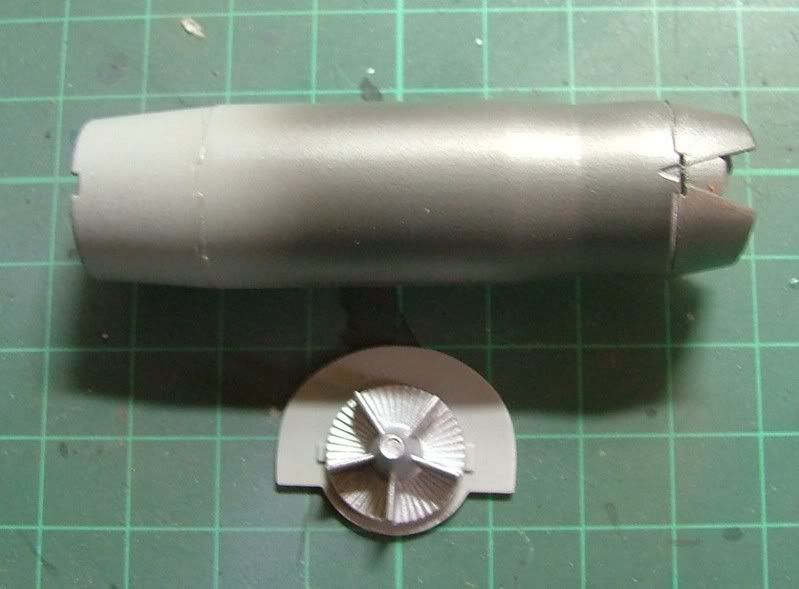
The engine is straight forward. I left off the fan end A8 and sprayed the lot aluminium. I then sprayed the nozzle area steel and then attached the fan end A8 to complete the engine.
Step 4
Sanding off all the sprue cuts and checked the fit, I then installed the engine and cockpit into the starboard fuselage A1.
Next it’s time to join the Fuselage halfs, test fit first then joining at the nose, join them together and hold in place with rubber bands.
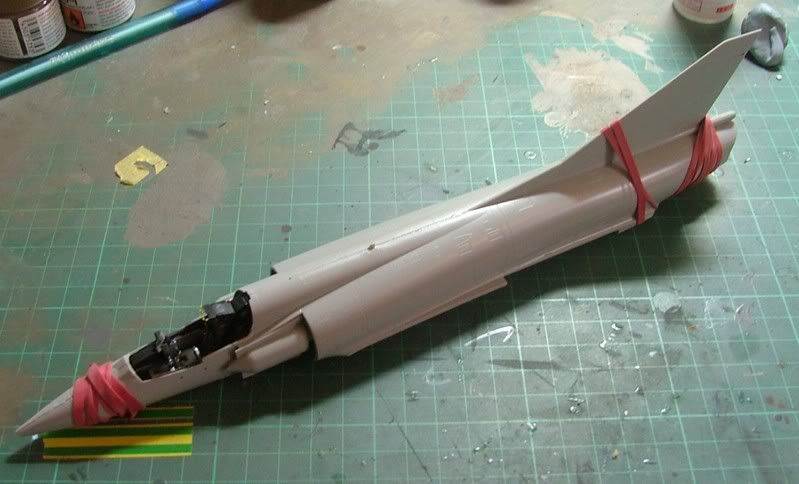

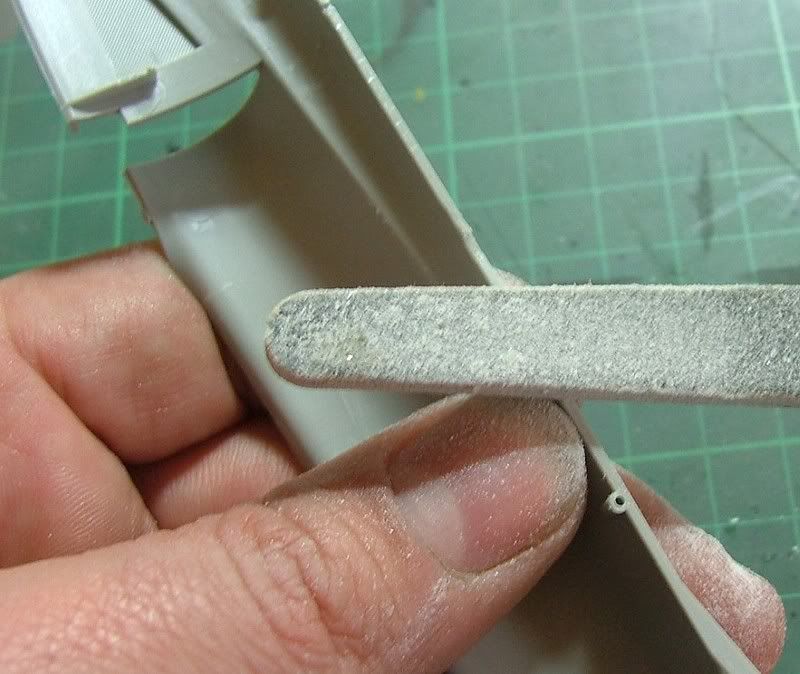
There was a small gap on the spine, so I put a few drops of CA glue on the inside of the fuselage spine and a quick spray of CA activator to speed things up.

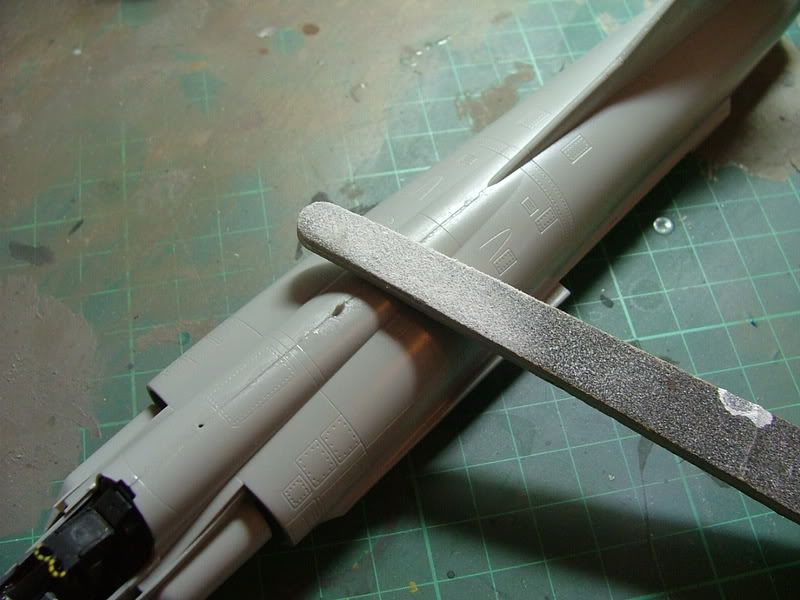
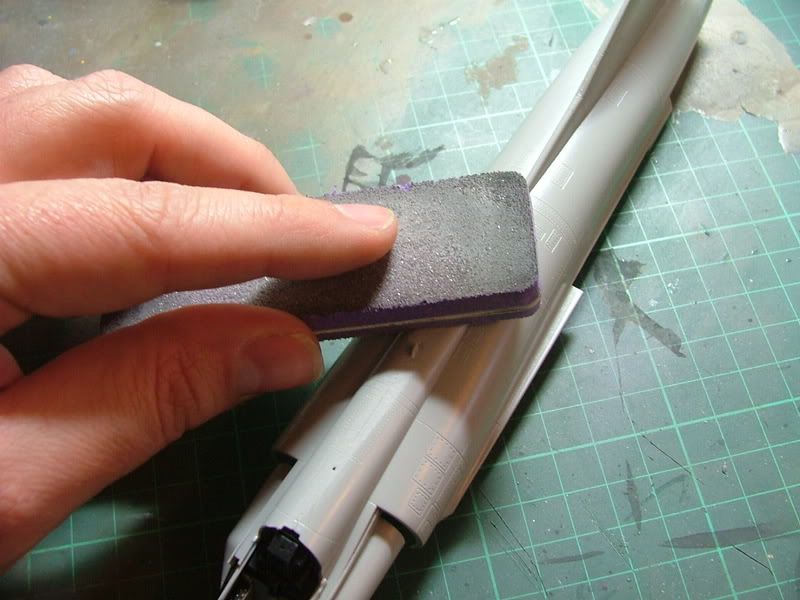
I used a sanding stick to take off the top edge of the join and then working with the sanding sponges rounded the flat spot off as well as any scratches away.
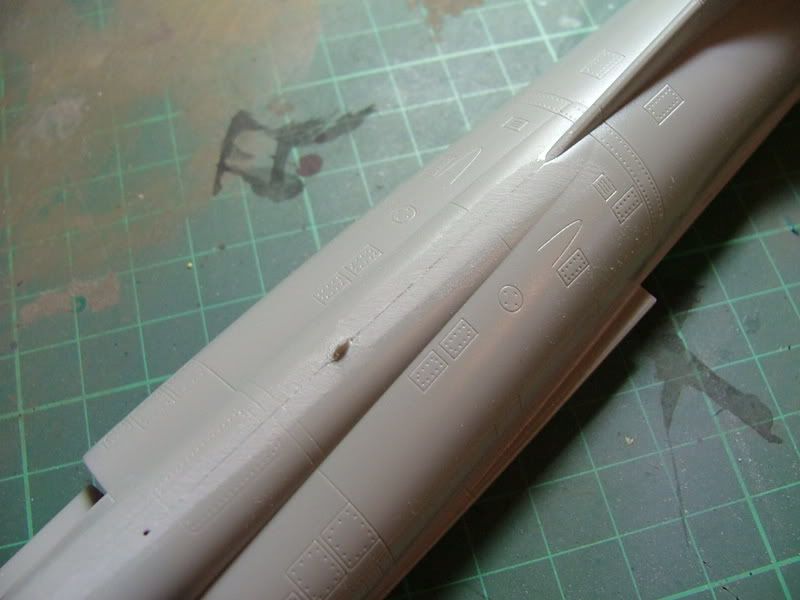
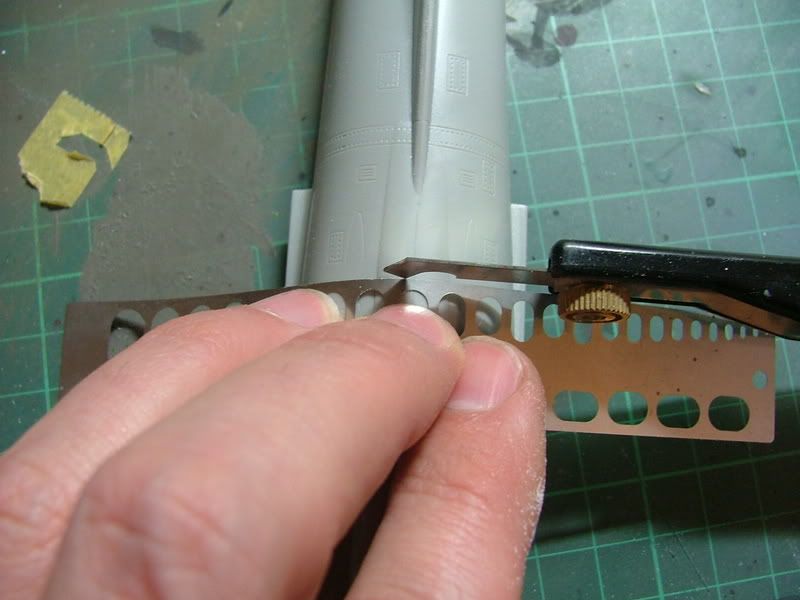
Next it’s re scribing the panel lines that were lost in the sanding process and not forgetting the rivets too.
Step5
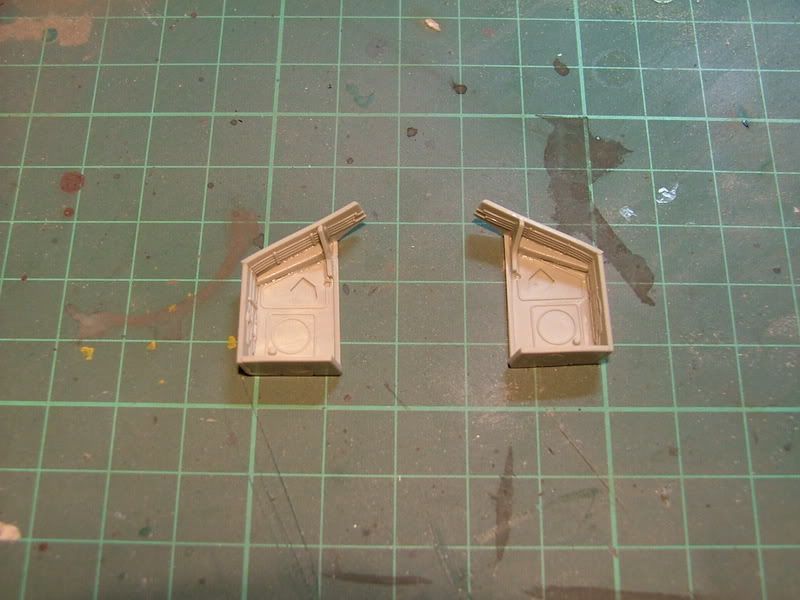
In step five it’s a simple job of building the main wheel wells. I didn't paint them at this stage.
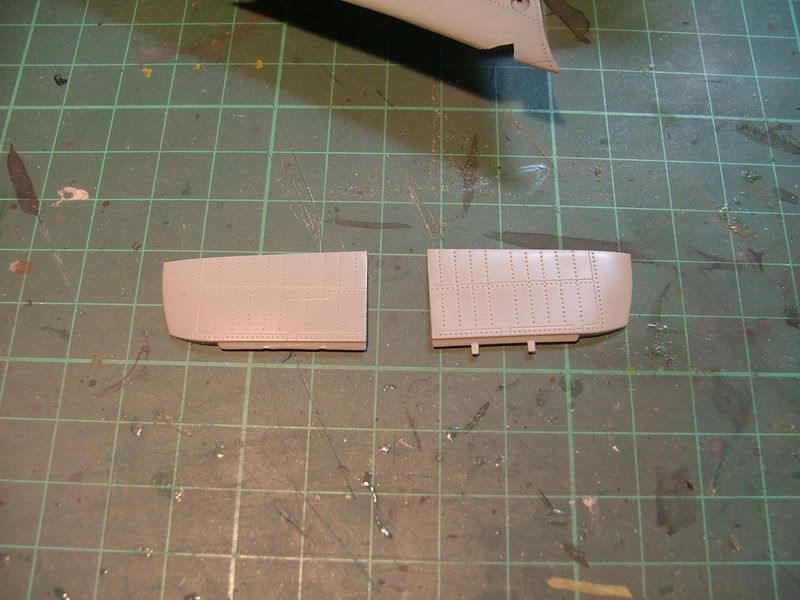
Step 6
Make the holes in the lower wings for the pylons and install the main gear wells. Next join the upper and lower wings together, I used a drop of CA in the corners and then used cement to fix in place and left to dry. I then sanded the leading edges on the wings and re scribed the panel lines on the front of the wing.
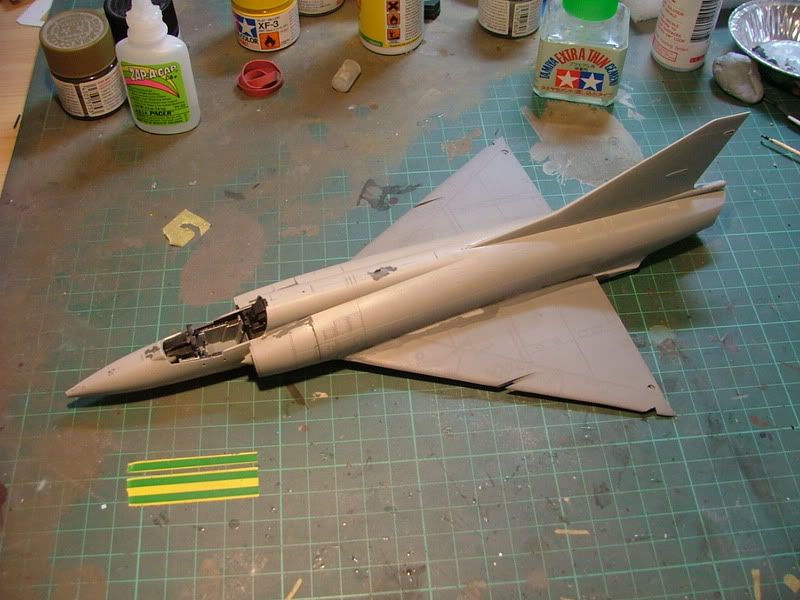
Step 7
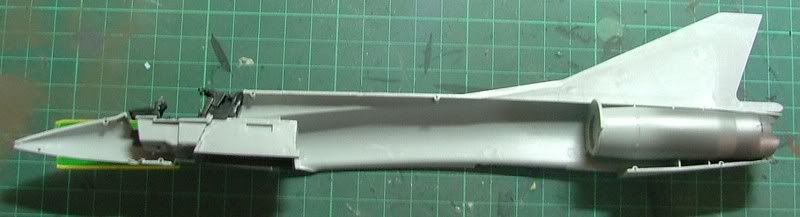
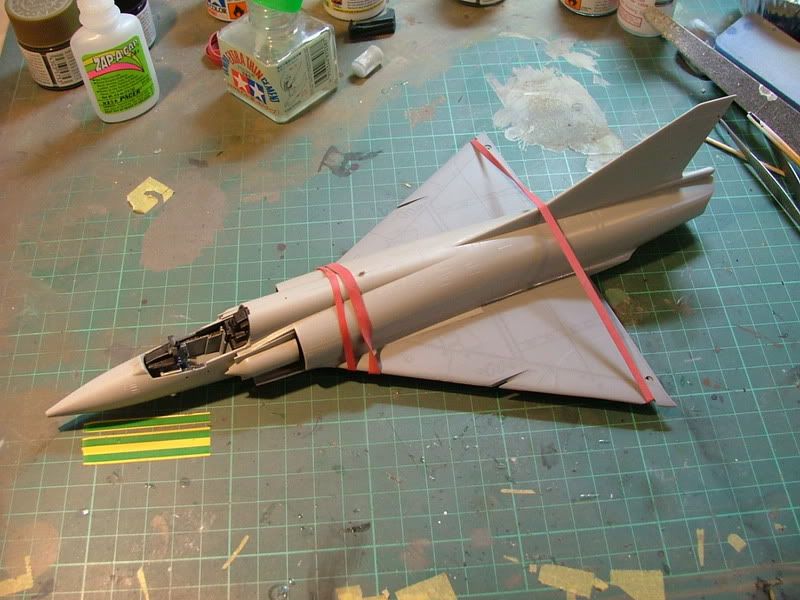
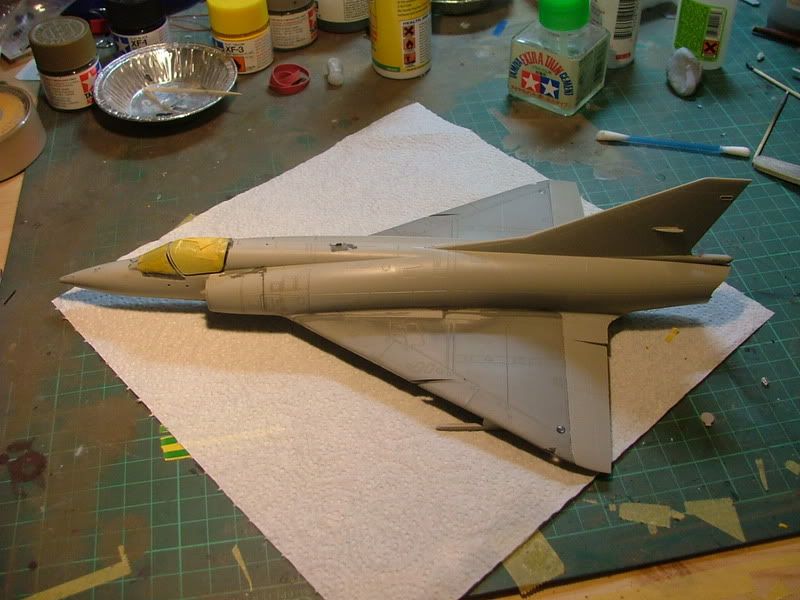
Attaching the wing to the fuselage is always a tricky area to do, so I used CA glue to tack it in place. I started at the rear join and the front. This gives you time to line up the wing to the fuselage join, the more time spent getting this join right will save having to fill the join latter. Once you have got it lined up let the cement flow down the join and weld the joint. Use bands to hold it in place until dry.
As it’s drying you can fit the intakes to the fuselage. I wouldn’t worry about the pin marks, as this can’t be seen. Use a few drop of CA to fill any gaps. I used some grey acrylic paint to check the seams.
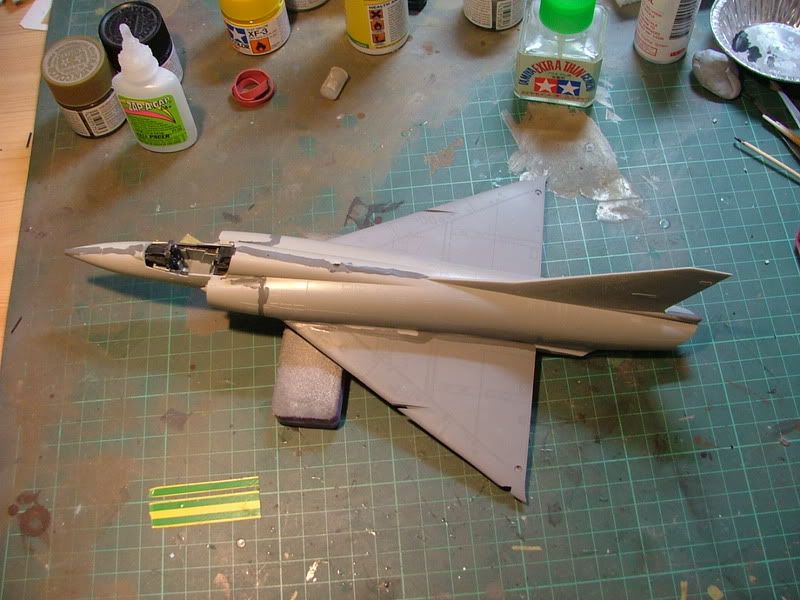
Let it dry then sand back and check your seams, any bad joins will stand out and can be taken care of at this point.
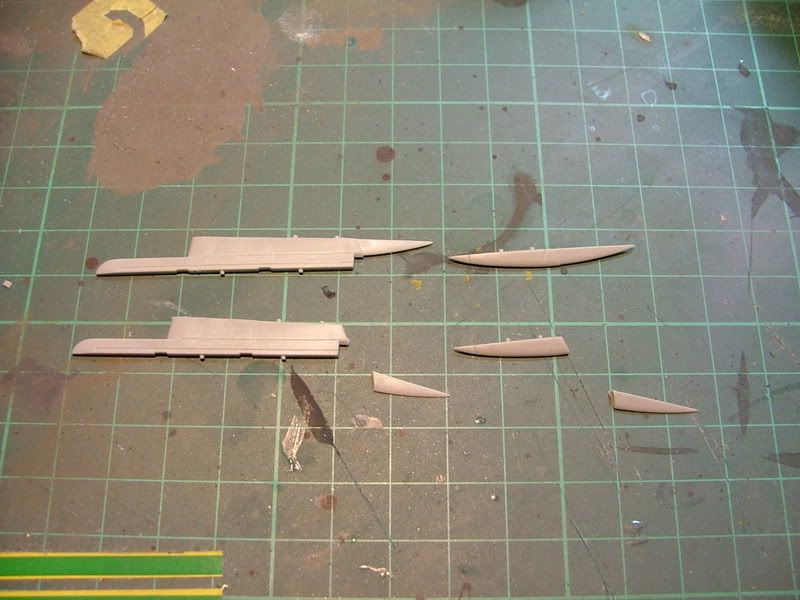
Step 8
I fixed the inner flaperons B4, B5 in place and then cut the fixing pegs off so I could drop the flaperons as if the aircraft was at rest.
I didn’t attach parts C18, C25 and E1 as theses will go on latter on.
Step 9
I will do step 9 at a later time.
Step 10
I will attach parts C20 and E9 later on.
I’m going for the Magic II missiles on the outer wing pylons. Because I dropped the flaps I will have to cut the hinges to the right angle.
This is where testing as you go is a must, do sand a little at a time until you have the right angle and then glue in place.
Then add part C24.
Step 11
At this point I would just add C21 and C22 and move on to step 13
Step 13
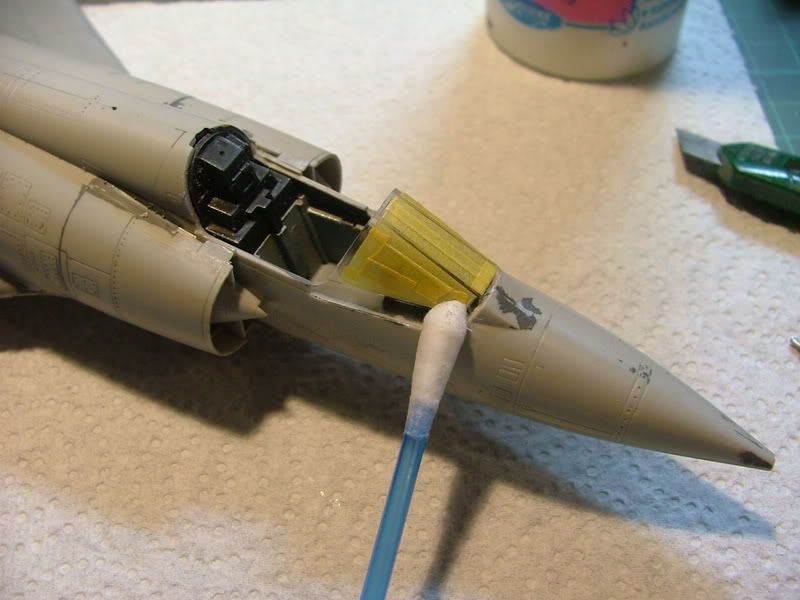
Fixing the canopies. First up we need to mask the front and rear canopies, in this case there is not a notch or grove to follow between the glass and canopy bars. I used thin strips of Tamiya tape to mask the clear areas.
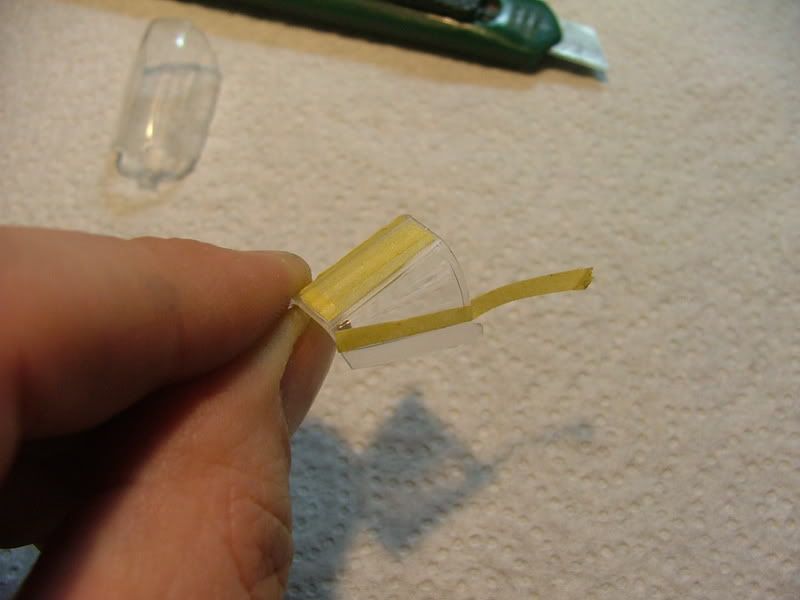
Then using some PVA white glue on a cocktail stick, I put it on the joining edges and put it in place. When I was happy I wiped off the excess with a wet cotton bud.
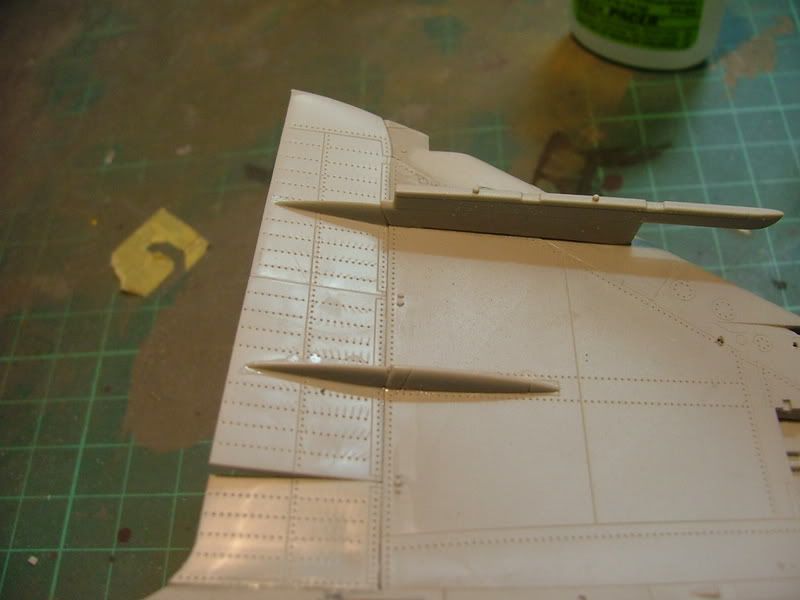
It’s best to leave it for a few hours to dry or you might knock it out of place.At this point I added the navigation light on the wing and under the nose.
I have to say at this point the carpet monster tried to eat one of the wing top lights and took me 15 minutes to get it back.
Now it's back to step 9
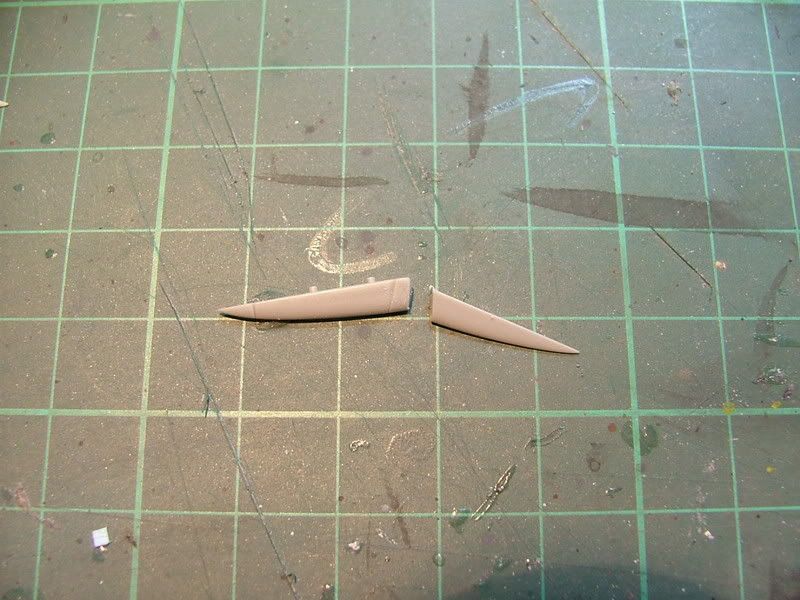
Cut parts A3,A13,A14,A15and A16 from the sprue. Fix parts A15 and A16 to part A3, but NOT A14 yet and don't fix the nose gear leg to the undercarriage. All of the undercarriage will be fixed on after all the spraying is completed.
Go to step 12 and build the wheels and remove the main undercarriage leg. Parts C31,C33,C23 and C30 on the sprue and can be sprayed there.
At this point you can pick your weapons load and build the boarding ladder.
OK time to spray.
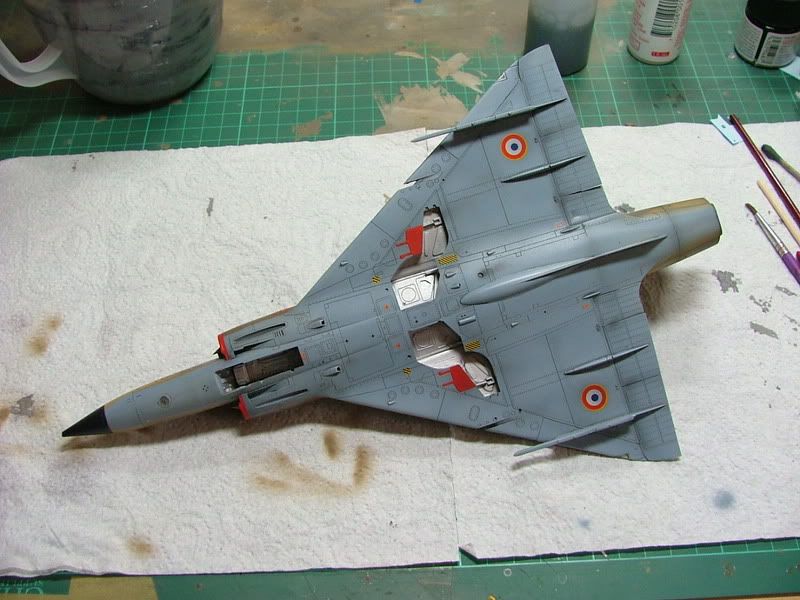
First we'll spray the wheel well bay and inner doors. Then move on to spray the gear, wheel hubs and any other parts that are silver. I used Tamiya XF-16 Aluminum.
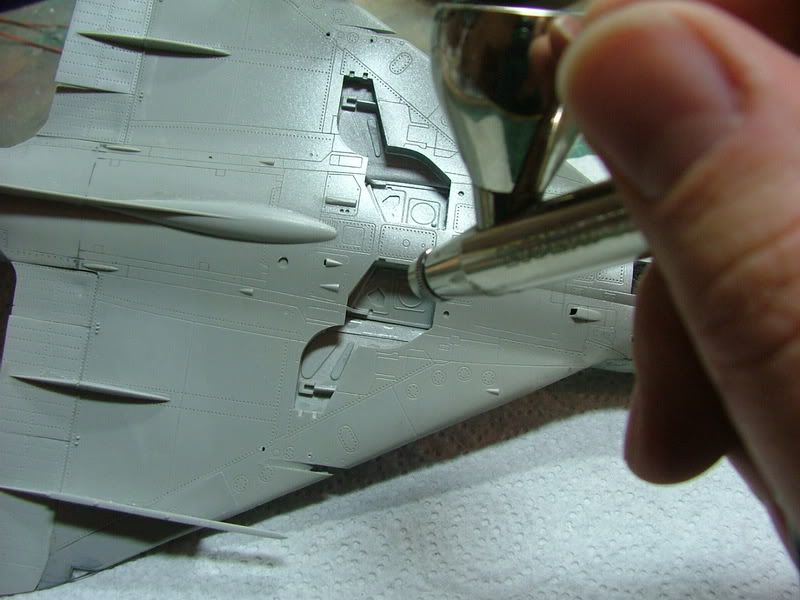

OK time to close up the model ready for spraying. I use some sponge and the doors themselves to cover the wheel wells.
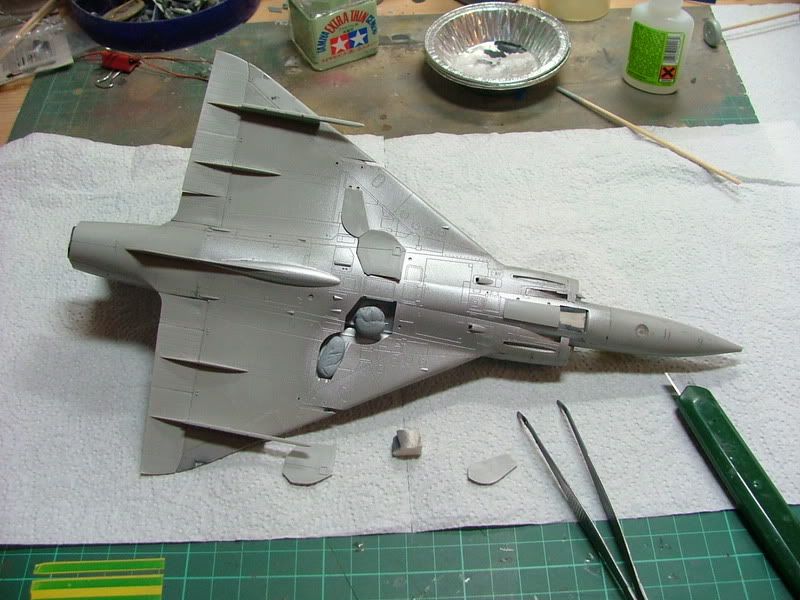
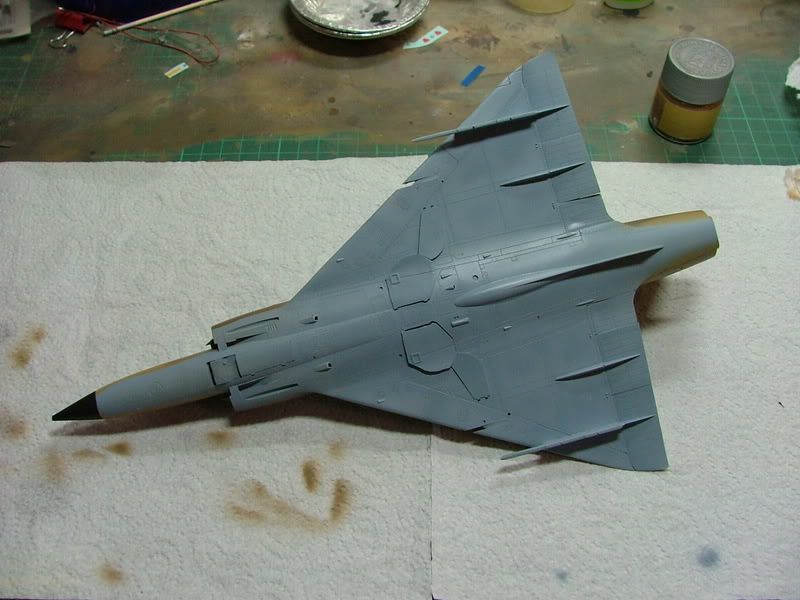
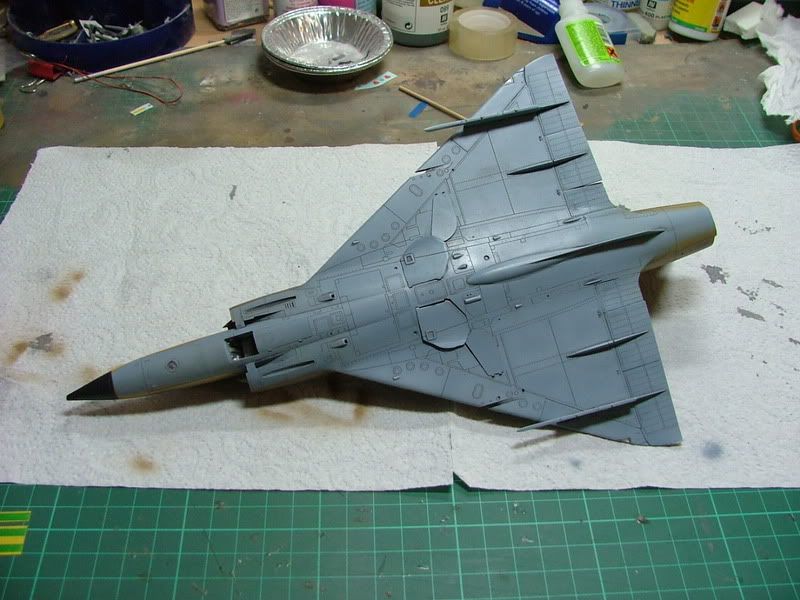
Now it's all ready for Pre-shading.
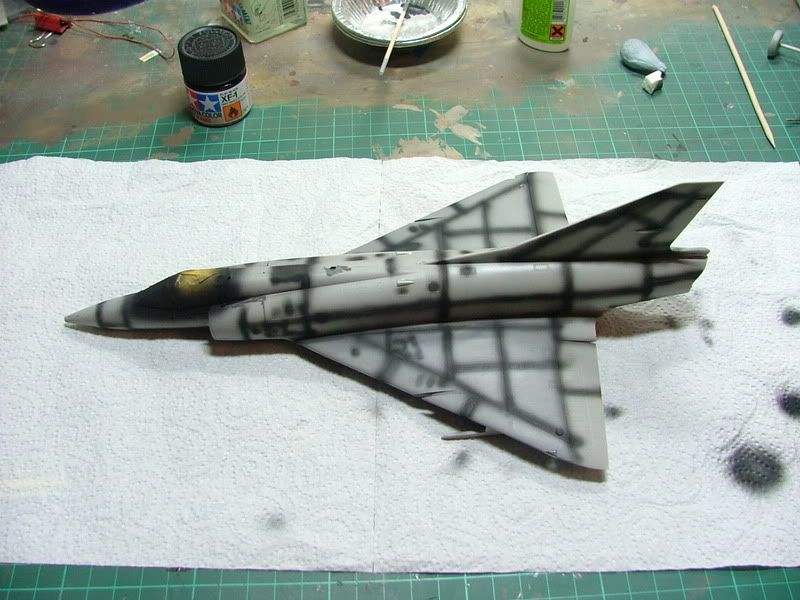
Pre-shading done.
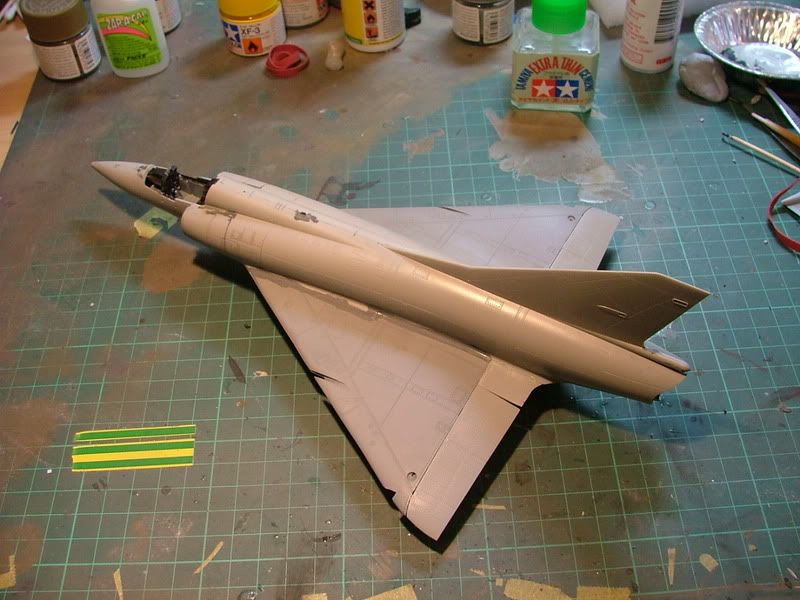
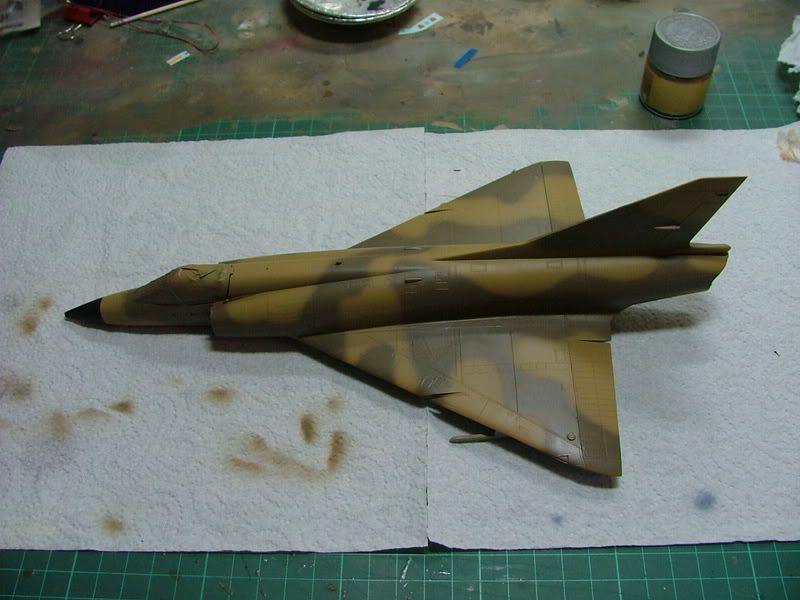
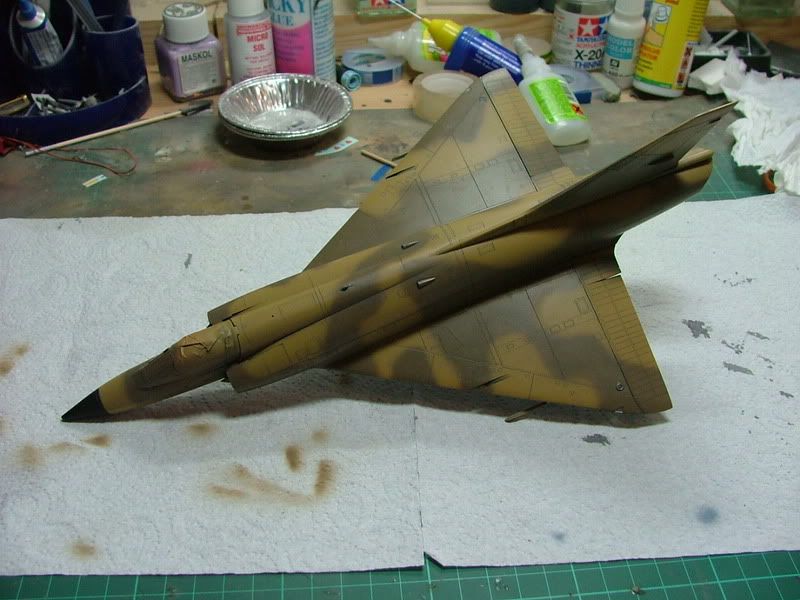
Now it's on to spraying, I used a mix of Tamiya colours to do the mirage, so I can't give you the numbers sorry. Anyway sand on.
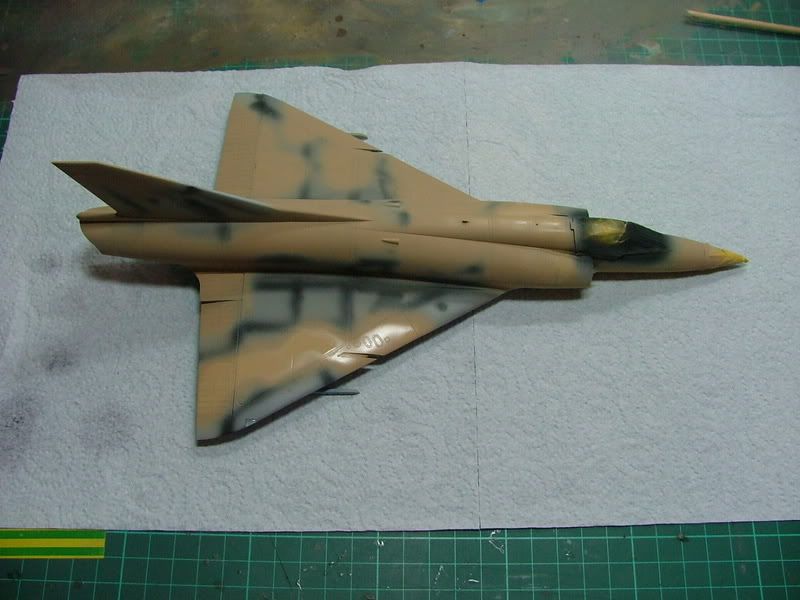
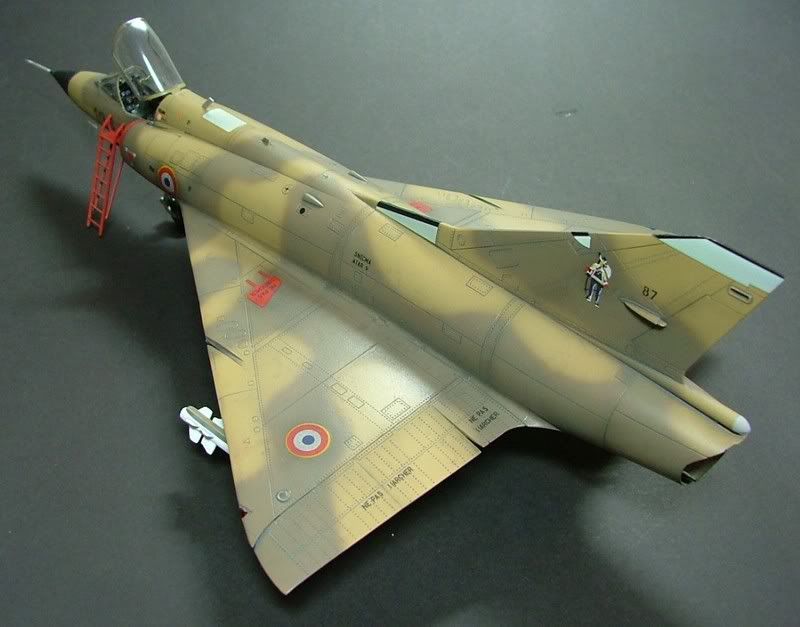
Then it's on with the brown. I sprayed it all freehand, I find it works well on desert aircraft as it adds to the faded look. Again it's a mix so no colour number.
Light blue grey for the under side.
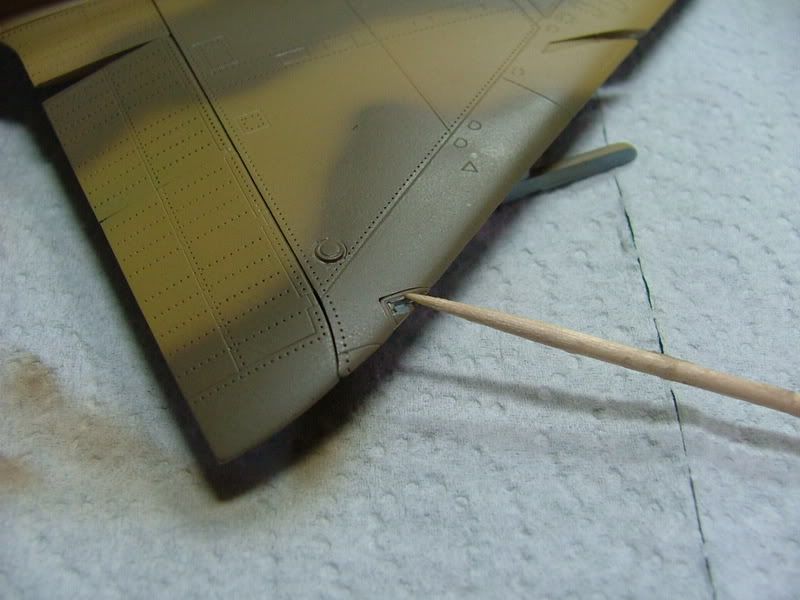
Next I use a cocktail stick to clean up the lights. Being a Acrylic it easily scraps of clear parts and saves the need to mask.
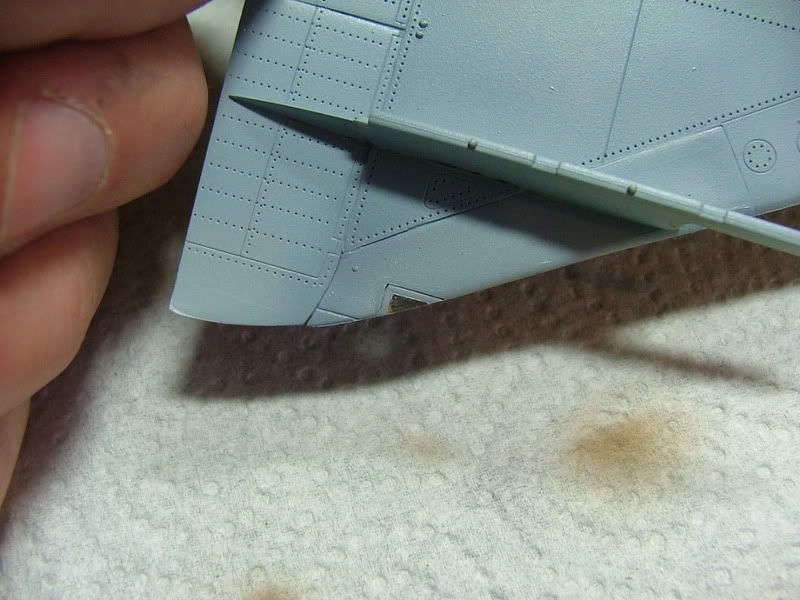
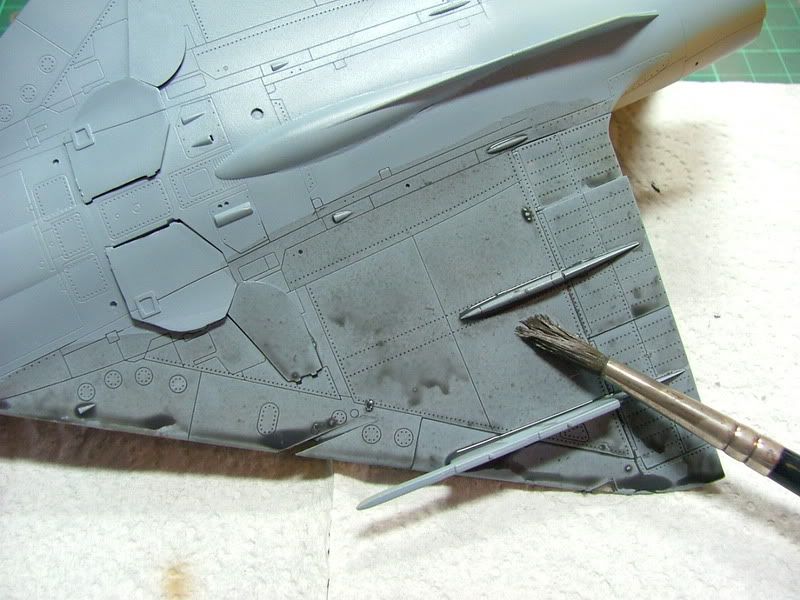
Next it's the fun part and really brings the model to live, the wash. I have done a video as well and can be seen in the workshop videos or click HERE
I used the Dark grey Promodellers wash and just brushed it all over.
When it's dry I just rubbed it off with moist kitchen roll and cotton buds.
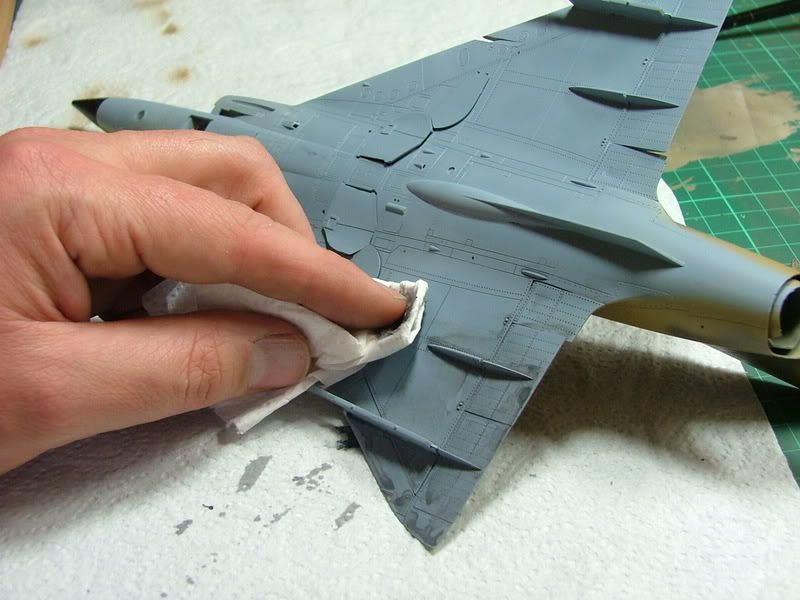
Wing all done, then the same to the rest of the model.
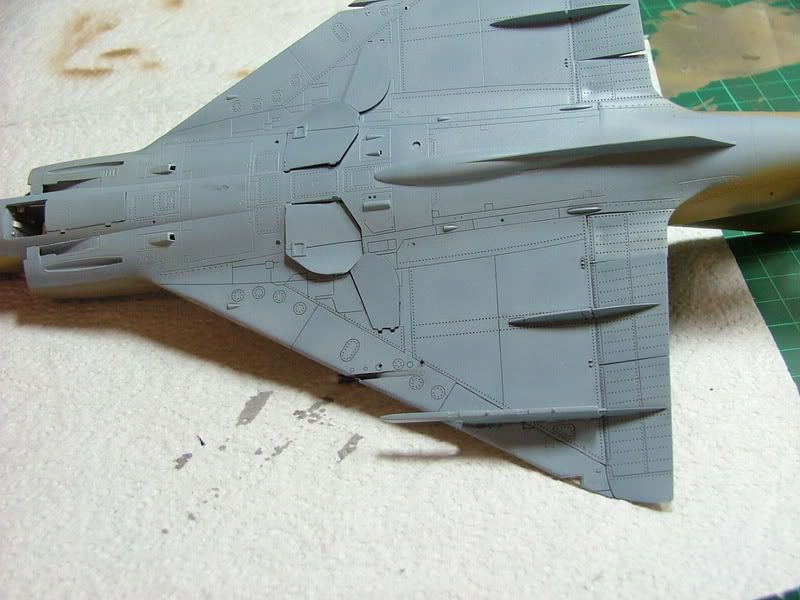
OK with the wash finished ( no need to put down a clear coat as all the decals are small) I started decaling.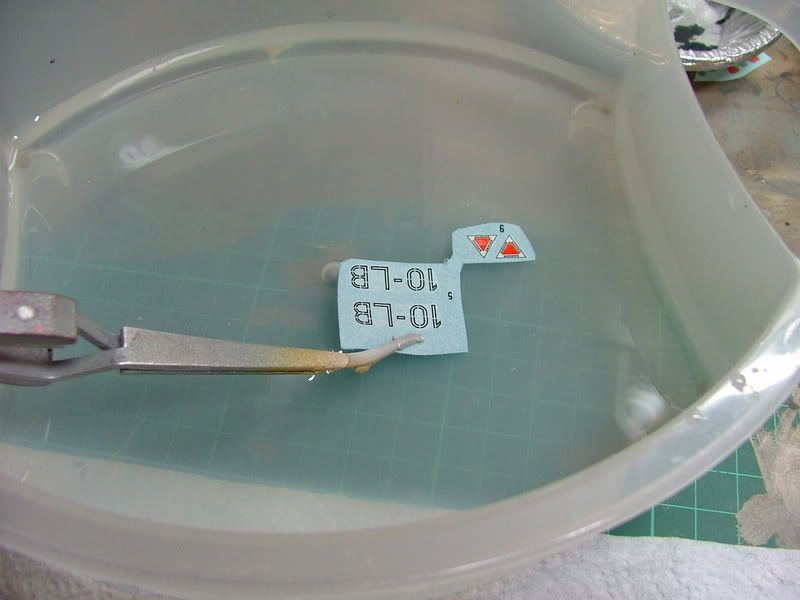
Into warm water for 30 seconds
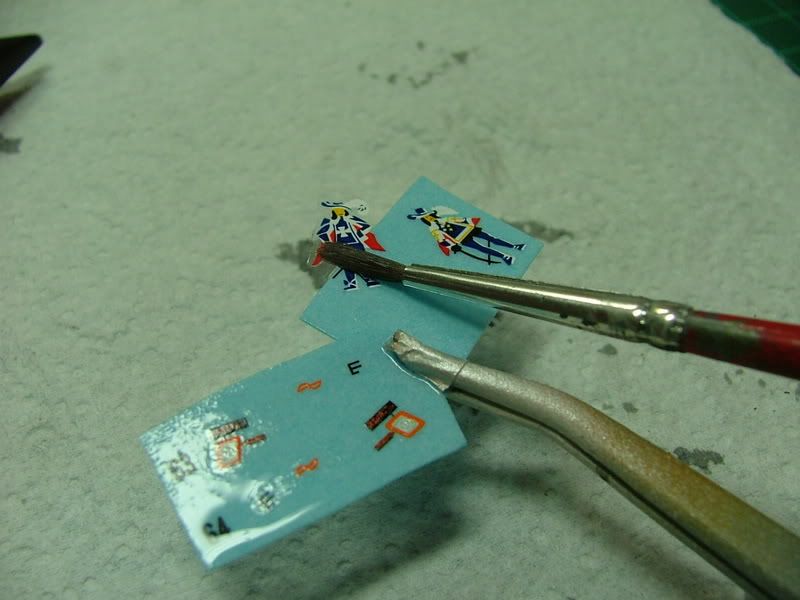
Then out of the water and let them lift of the backing paper. If you give them a push with a soft brush you can tell when ther ready with out damaging the decal.
Wet the are the decal is going to go the slide off the decal with a soft brush and place it in position.

You can now position the decal with the brush, when happy roll a cotton bud over the decal to push any water and air out from under it. 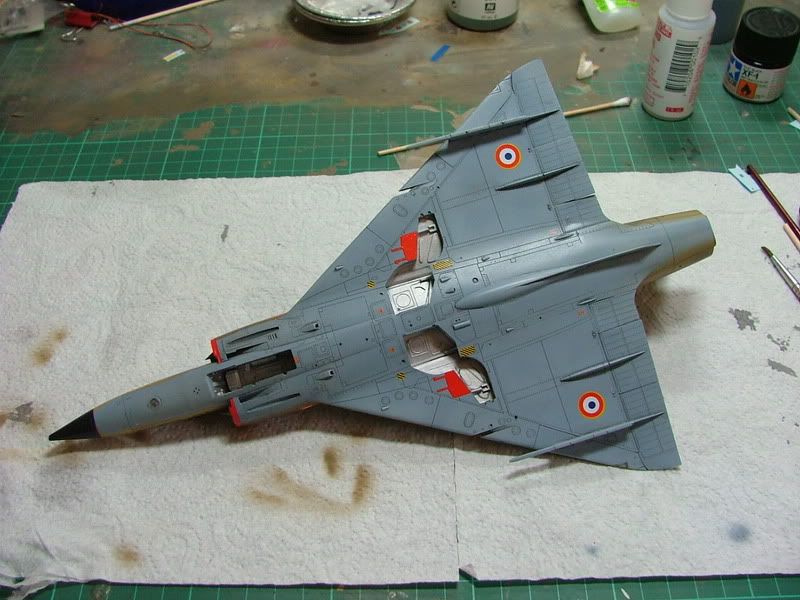

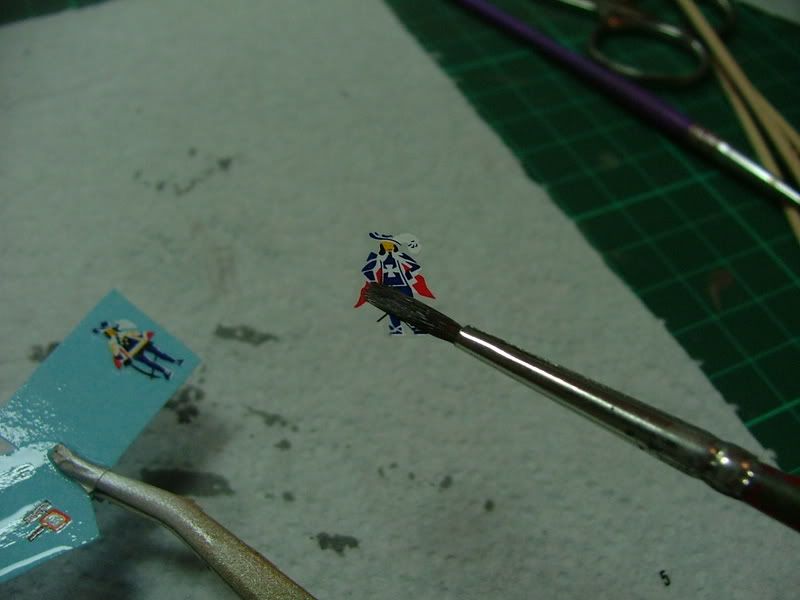
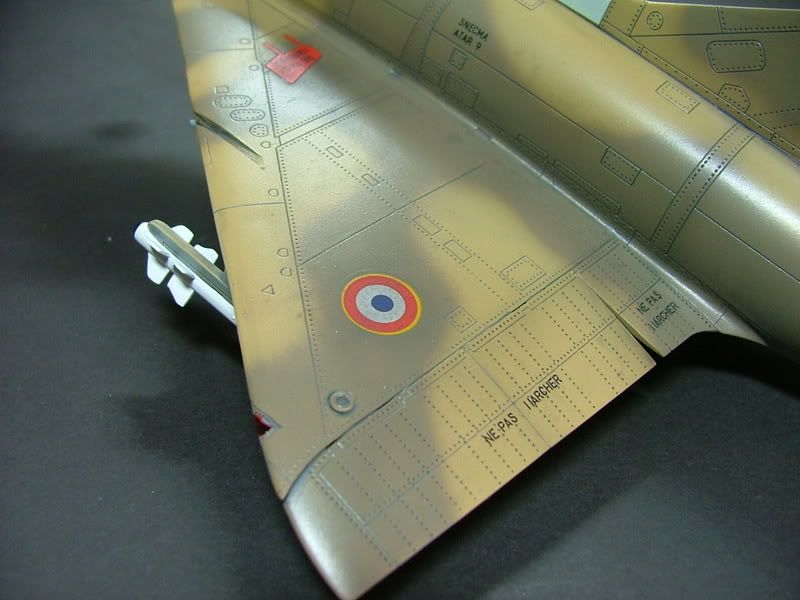
Now the decaling is over they look to new and need toning down to make them look warn.
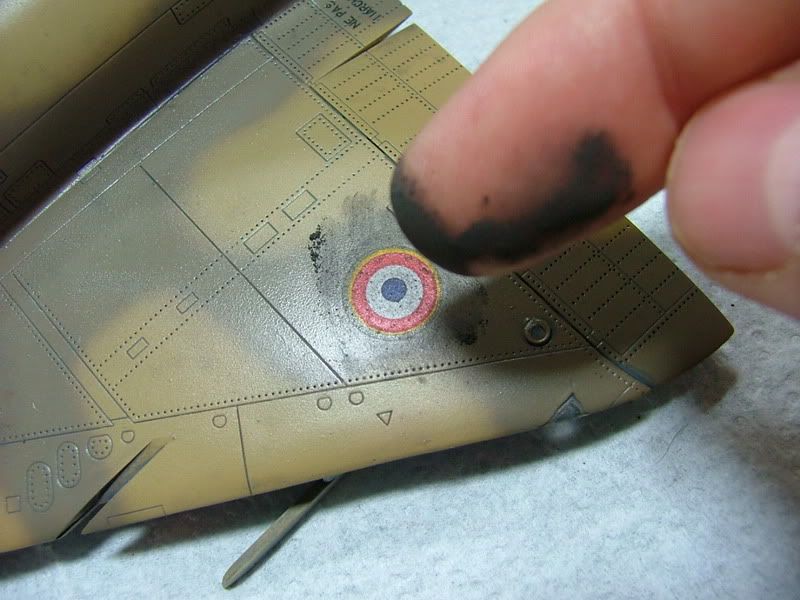
For this I use some pastel dust on my finger and rub it in to the decal. 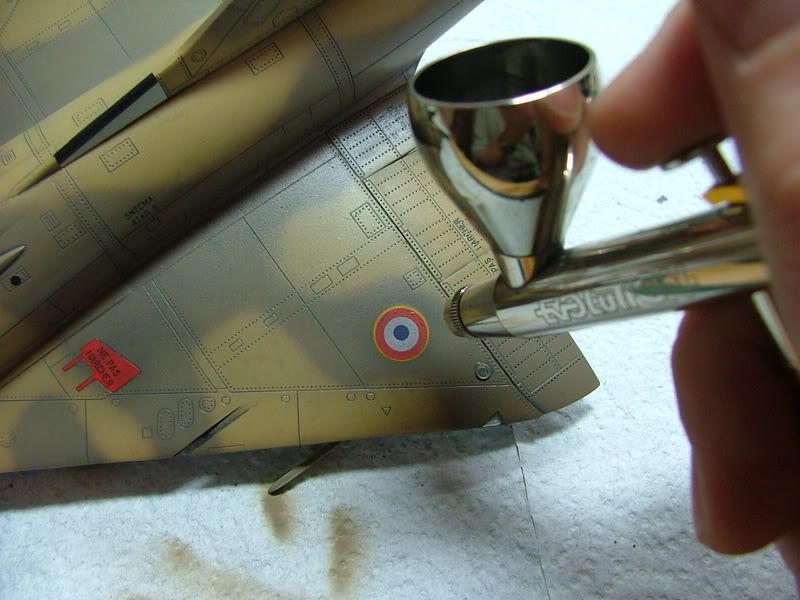
Then with the airbrush I very lightly spray some flat black thinned to 90% thinners over the decals until they blend in.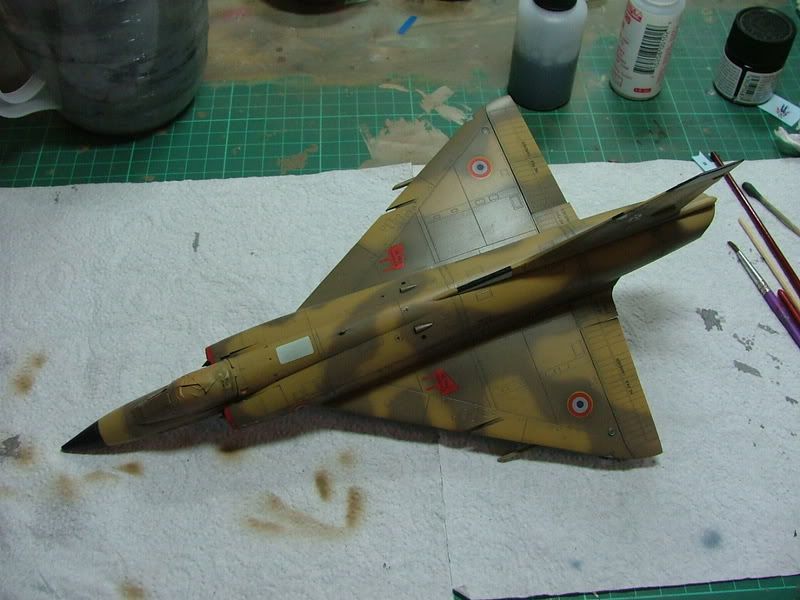
As you can see it changes the hole look of the model and brings it all to life.
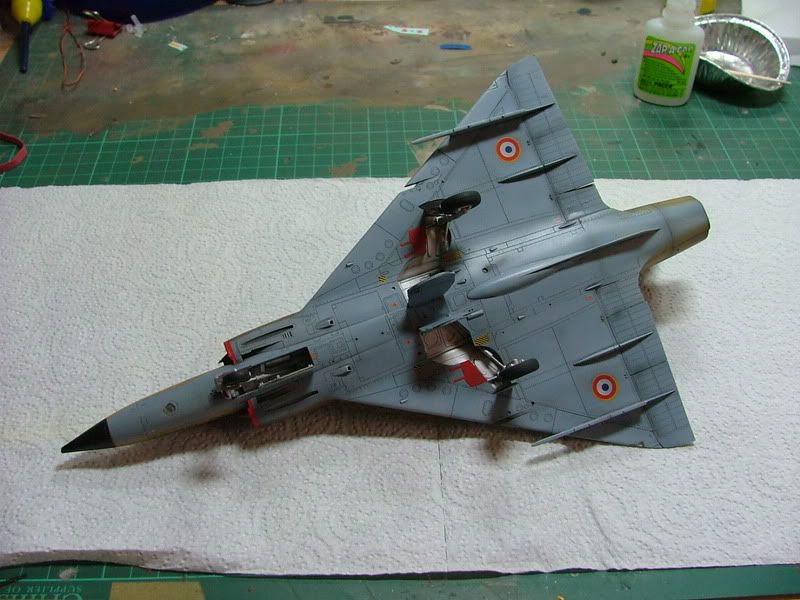
Next it's gear and doors on. 
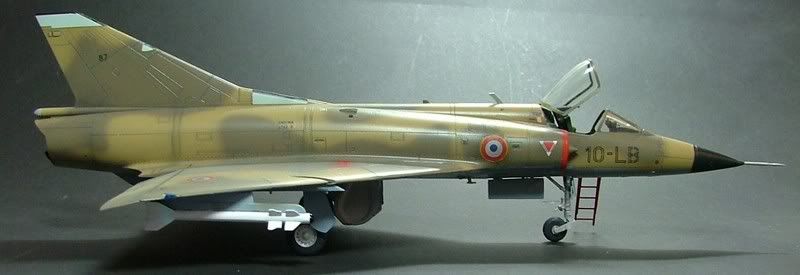
Moment of truth, it it a tail sitter..........No but only just. I would put 5 grams in the nose next time. 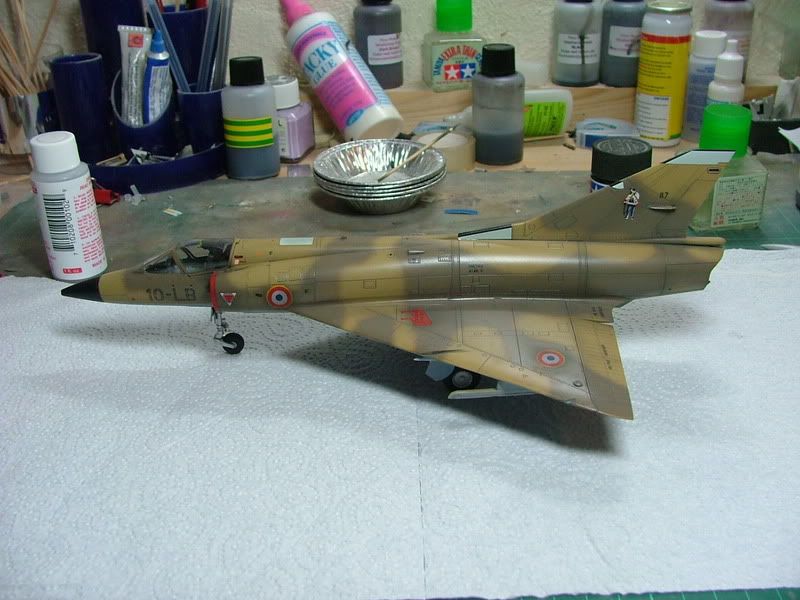
OK unmask the canopies and installed to seat.
Then it's time to finish the model. Paint the nav lights, Tamiya clear red and blue. On with the gun barrels (gun metal) and probs (Silver). I then installed the boarding ladder (flat red). Next the missiles (Flat white with black gloss seeker) and that's about it job done.
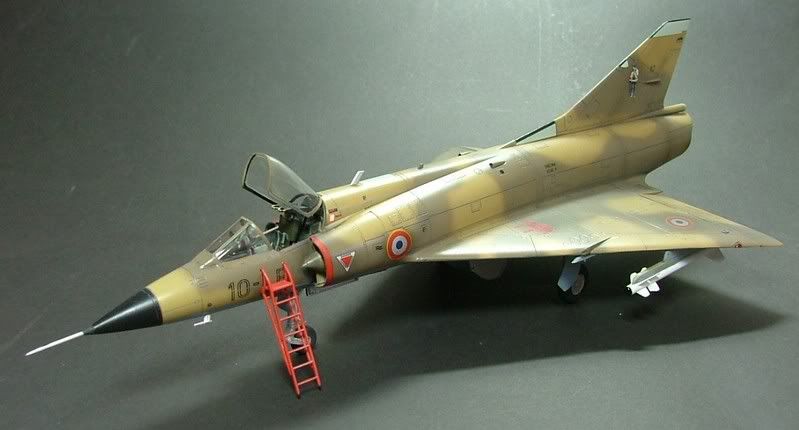
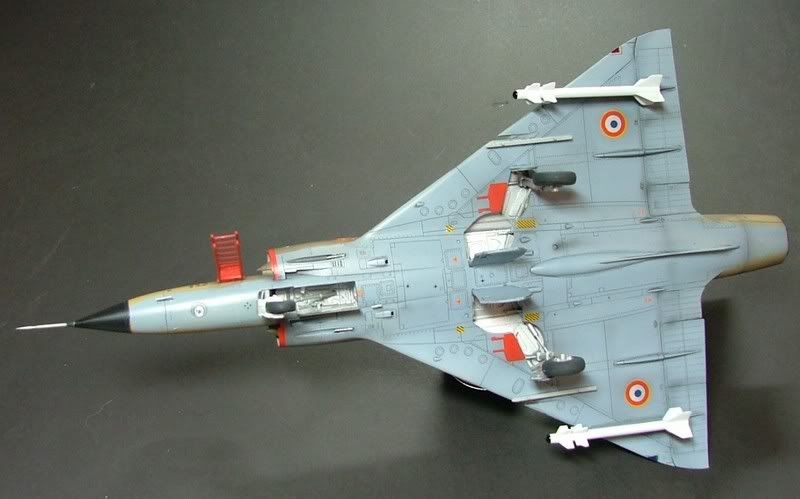
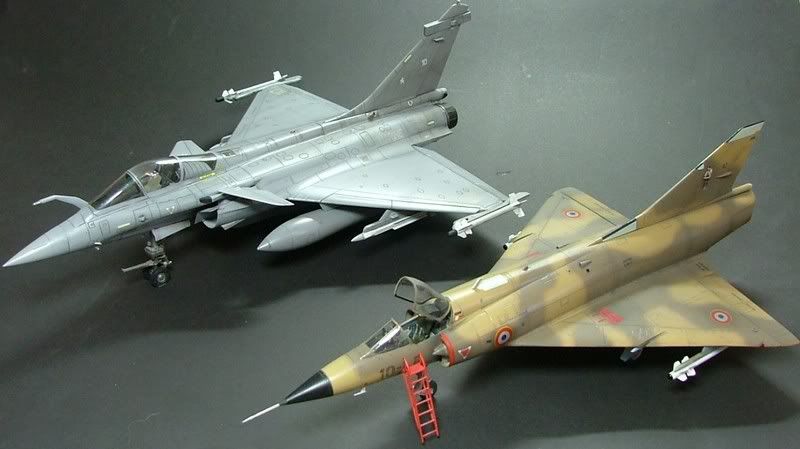
I hope you have enjoyed the build and found it a help.
Regards
Phil